postgresql 16.4安装
一、下载

上传到服务器,并解压
二、安装依赖
yum install -y perl-ExtUtils-Embed readline-devel zlib-devel pam-devel libxml2-devel libxslt-devel openldap-devel
在单独安装一下这个
yum install libicu-devel python3-devel -y
创建postgresql 和目录
useradd  postgresql
  mkdir -p /usr/local/postgresql/data
  chown -R postgresql:postgresql /usr/local/postgresql
编译
./configure --prefix=/usr/local/postgresql --with-python --with-libxml --with-libxslt
如果提示找到到python 那就安装python3-devel
yum install python3-devel -y
报错:
checking for /dev/urandom... yes
checking Python.h usability... no
checking Python.h presence... no
checking for Python.h... no
configure: error: header file <Python.h> is required for Python
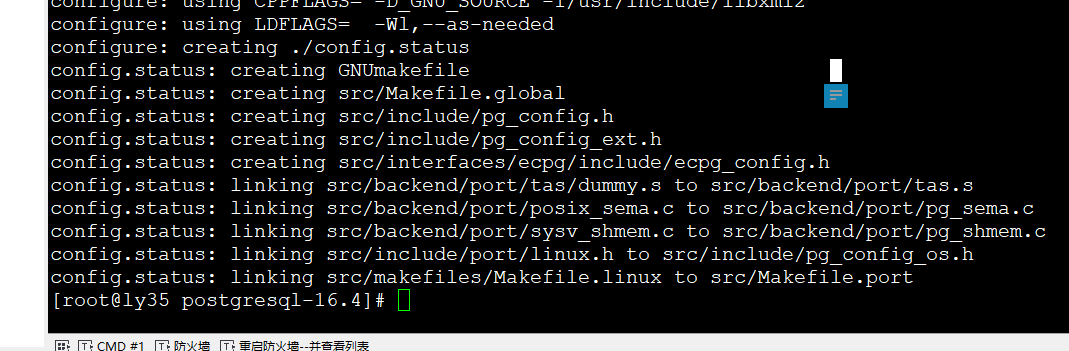
make && make install 多核的可以 make -j32 && make install -j32三、 打开profile文件,添加环境变量
vim /etc/profile
#拉到profile文件最下端,将下属内容追加到profile文件最后
export PATH=/usr/local/postgresql/bin:$PATH
export PGHOME=/usr/local/postgresql
export PGDATA=/usr/local/postgresql/data/
export LD_LIBRARY_PATH=$LD_LIBRARY_PATH:$PGHOME/lib/
export PATH=$PGHOME/bin:$PATH:$HOME/bin
重新加载环境变量 source /etc/profile
再次确认目录所属组
chown -R postgresql:postgresql /usr/local/postgresql四、数据初始化
 su postgresql

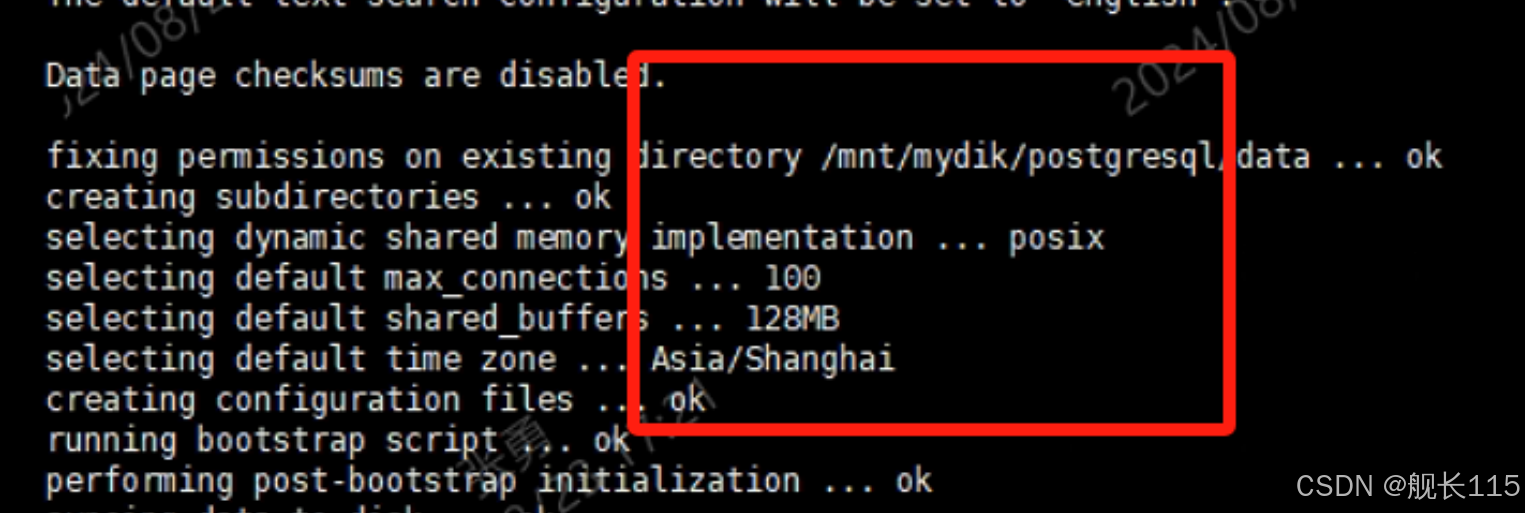
./bin/initdb   或 /usr/local/postgresql/bin/initdb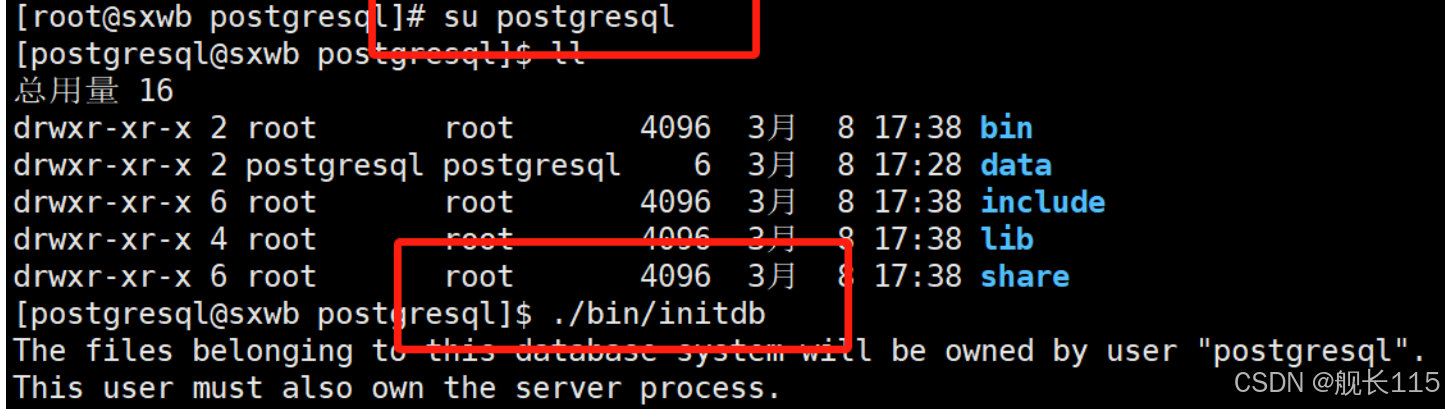
五、配置文件
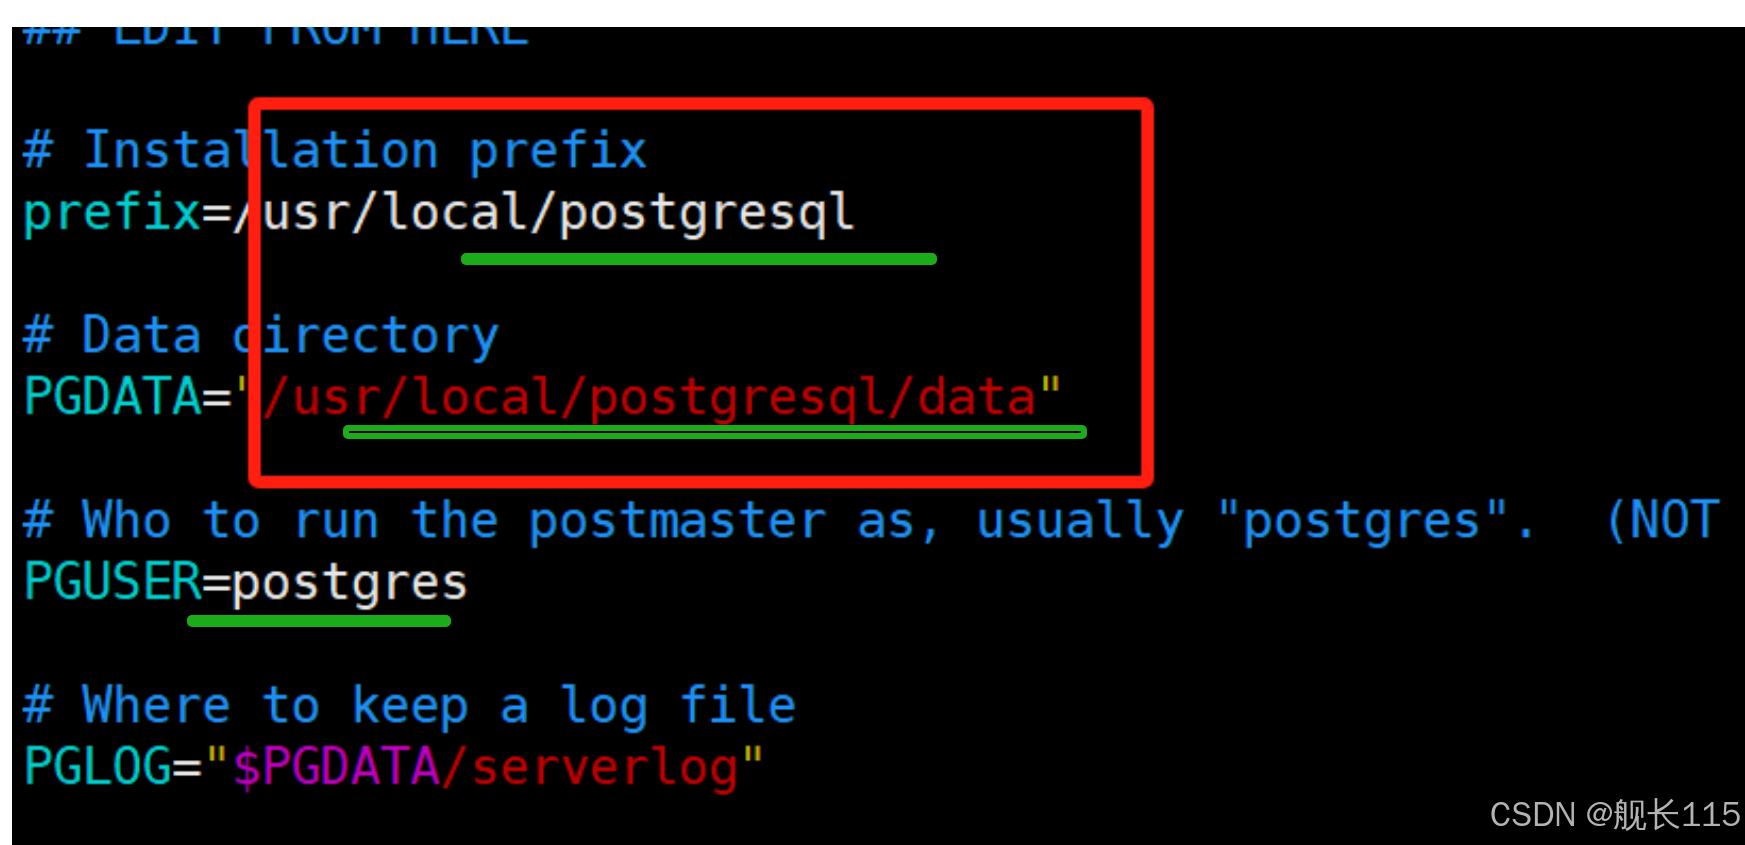
添加启动文件:cp /opt/tool/postgresql-16.4/contrib/start-scripts/linux /etc/init.d/postgresql
修改/etc/init.d/postgresql文件的
三个变量 路径和用户 postgresql
六、添加开机启动
chmod +x  /etc/init.d/postgresql

chkconfig --add postgresql
启动
/etc/init.d/postgresql start
查看 netstat -antp|grep 5432 或 ps -ef | grep postgres
进入data目录 vim postgresql.conf 配置文件
 vim postgresql.conf

#修改允许访问的ip地址
listen_addresses = '*'
#端口
port = 5432
#内存大小。可以使用默认值
max_wal_size = 1GB
min_wal_size = 80MB
vi pg_hba.conf 找到最下面这一行 ,这样局域网的人才能访问。红色为新添加内容。
# IPv4 local connections:
host all all 127.0.0.1/32 trust
host all all 0.0.0.0/0 trust
七、初始化数据库
进入的安装bin目录,切换到 su postgresql
./psql postgres
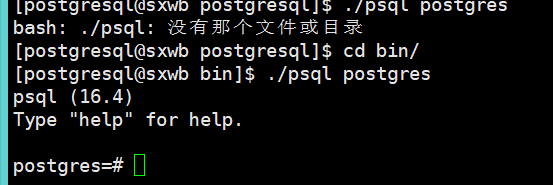
创建用户并赋予权限
#创建一个超级管理员用户
 CREATE USER superman SUPERUSER;

#创建一个有密码的用户
 CREATE USER user_pg WITH PASSWORD 'pgsql_DB';

#创建数据库
 CREATE DATABASE  test001 ;

 赋予超级权限
ALTER ROLE user_pg CREATEROLE CREATEDB;

ALTER ROLE user_pg CREATEROLE SUPERUSER;
北京人形旗下天工造物具身智能开源社区,聚焦具身天工与慧思开物两大平台
更多推荐
 15
15 0
0- 0


 已为社区贡献20条内容

所有评论(0)