jenkins 自动化部署CI/CD流程之RTE接口自动化
一、背景与需求
在AUTOSAR 软件开发中,RTE(Runtime Environment)接口的配置是一个繁琐但重要的步骤。工具(博主目前是DaVinci Developer)手动添加接口不仅耗时,还容易出错。为了提高开发效率以及实现接口标准化,我们可以通过 Python 工具读取填写的 Excel 表格,自动添加RTE接口并通过jenkins部署。本文将介绍这一自动化流程的实现方法。
二、整体设计流程
1.设计流程图
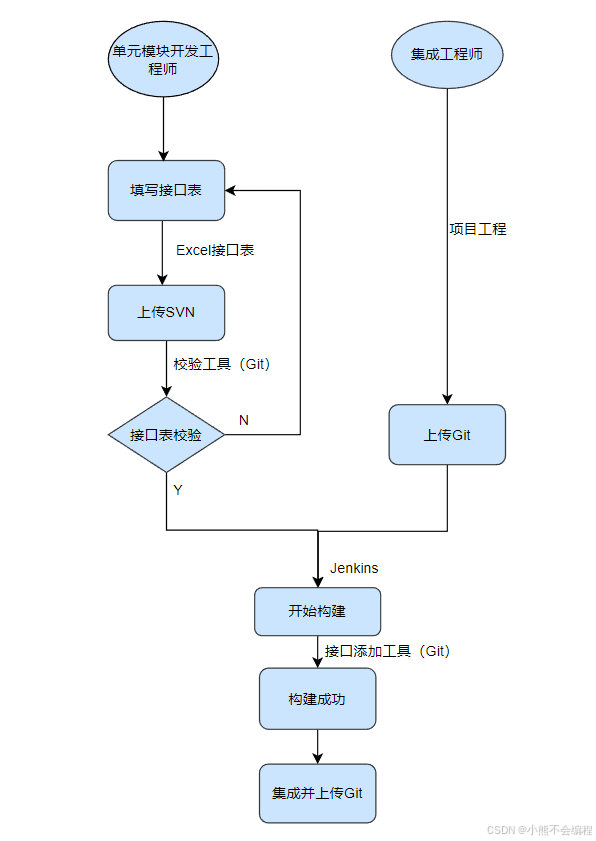
上图是CI/CD流程中的部分流程,如有不完善的地方,欢迎各位大神前来讨论指导,感谢。
三、文件/工具设计
1.接口表模版
接口表设计根据具体需要的输入元素来设计,为了实现工具自动生成的特殊要求,完成接口表的设计与规范。接口表具备以下属性(工作表):
- Calibration Port 标定参数
- SWC Runnable 调度内容
- PortSR S/R类型的接口内容
- Port 连线表
- PortSC C/S接口内容
2.接口表校验工具
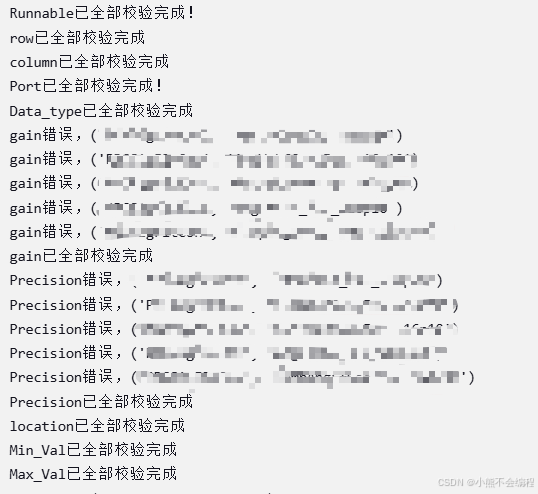
接口表校验工具作用在于检查开发人员接口表的错误填写并反馈,最大程度避免集成后发现错误再返工的情况。对整个流程工作提高了工作效率。
下图是校验工具校验结果,错误信息反馈出来。本内容仅供参考,具体实现和实际工作相关,不作为标准。
3.接口添加工具
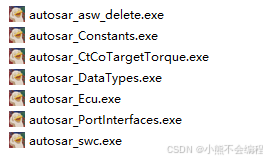
通过python开发自动生成工具,下图文件是代码打包出来的exe文件。
3.1 Python代码实现(部分):
读取Excel
import pandas as pd

df = pd.read_excel(file_path_excel, sheet_name='PortCalibration')
dp = pd.read_excel(file_path_excel, sheet_name='PortSR')
da = pd.read_excel(file_path_excel, sheet_name='PortAutoIntegrate')
dr = pd.read_excel(file_path_excel, sheet_name='SWCRunnale')
di = pd.read_excel(file_path_excel, sheet_name='InterRunnable')
ds = pd.read_excel(file_path_excel, sheet_name='PortSC')
# 举例 以下内容
'''InterRunnable'''
Swc_inter = list(di.iloc[:, 1])
Element_inter = list(di.iloc[:, 2])
DataType_inter = list(di.iloc[:, 3])
InitValue_inter = list(di.iloc[:, 4])
RunnableRead_inter = list(di.iloc[:, 5])
RunnableWrite_inter = list(di.iloc[:, 6])
autosar_asw_delete.exe 通过对arxml内容的重写操作,跳过需要删除的部分,则实现接口删除功能。
import re
        for PortInterfaces_index, PortInterfaces_line in enumerate(PortInterfaces_lines):
            if '<SHORT-NAME>Pi' in PortInterfaces_line:
                Pi_port = re.search(PortInterfaces_pattern, PortInterfaces_line).group(1)
                if Pi_port in Port_del_list:
                    PortInterfaces_start_list.append(PortInterfaces_index - 1)
                    for index, line in enumerate(PortInterfaces_lines[PortInterfaces_index:]):
                        if '</CLIENT-SERVER-INTERFACE>' in line or '</SENDER-RECEIVER-INTERFACE>' in line \
                                or '</PARAMETER-INTERFACE>' in line:
                            PortInterfaces_stop_list.append(index + PortInterfaces_index)
                            break
autosar_Constants.exe 读取接口表的参数信息,对Constants进行新增和修改,以下是部分代码。
                    constant_list.append('                <ARRAY-VALUE-SPECIFICATION>\r')
                    constant_list.append('                  <SHORT-LABEL>' + str(sub_constant) + '</SHORT-LABEL>\r')
                    constant_list.append('                  <ELEMENTS>\r')
                    '''Column and Row will be on the contrary when different person fill the excel'''
                    for constants_number in range(sub_constant_number,
                                                  sub_constant_number + int(Row[sub_constant_number])):
                        calculate_list = list(df.iloc[constants_number][10:])
                        for i_value, value in enumerate(calculate_list):
                            if str(value) != 'nan':
                                calibration_data = rate(Rate[sub_constant_number]) * float(value)
                                calibration_data_final = calibration_data
                                constant_list.append(values_make(calibration_data_final))
                    constant_list.append('                  </ELEMENTS>\r')
                    constant_list.append('                </ARRAY-VALUE-SPECIFICATION>\r')
autosar_DataTypes.exe 根据提前写好的模版文件,将输入值传给模版,最终生成定义好的Idt类型。
from string import Template
                if mode_check(idt_name) == 1:
                    if array_number > 1:
                        Idt_file = open('Idt_4.tmpl', 'r')
                        tmpl_idt = Template(Idt_file.read())
                        Idt_independent_list.append(tmpl_idt.substitute(sub_idt=sub_element, array_number=array_number,
                                                                        sub_idttype=idt(Idt_dataType[sub_element_number])))
                    else:
                        Idt_file = open('Idt_3.tmpl', 'r')
                        tmpl_idt = Template(Idt_file.read())
                        Idt_independent_list.append(
                            tmpl_idt.substitute(sub_idt=sub_element, sub_idttype=idt(Idt_dataType[sub_element_number])))
autosar_Ecu.exe 根据输入信息,通过模版文件,将不同SWC组件Port建立连线关系。
from string import Template
import openpyxl
            '''both out of CoTargetTorque'''
            '''wait name front of swc be cp'''
            '''PR Port'''
            ecu = 'ECU_Composition'
            Types = 'ECUCompositionTypes'
            ecu_connect_file = open('port_connect.tmpl', 'r')
            tmpl_ecu_connect = Template(ecu_connect_file.read())
            ECUComposition_connect_list.append(tmpl_ecu_connect.substitute(Swc_send=Swc_send_connect,
                                                                           Swc_rec=Swc_rec_connect,
                                                                           Swc_send_connect=Swc_send_connect,
                                                                           Swc_rec_connect=Swc_rec_connect,
                                                                           Port=port, ECU=ecu, Types=Types,
                                                                           Swc_send_component=Swc_send_component,
                                                                           Swc_rec_component=Swc_rec_component))
autosar_PortInterfaces.exe 生成Pi Port
from string import Template
        for index, element in enumerate(Element_sr[port_i:portsr_find(port_i)]):
            element_i = index + port_i
            pi_port_file = open('portsr.tmpl', 'r')
            pi_port_buffer_tmp = pi_port_file.read()
            tmpl_piport = Template(pi_port_buffer_tmp)
            port_sr_list.append(tmpl_piport.substitute(element=element, datatype=datatype_check(DataType[element_i].replace('\n', ''))))
autosar_swc.exe 给SWC组件添加Port(标准命名为Pp + 接口名字) ,并在对应Runnable调度添加参数。
from string import Template
# Pp Port 新增
    for element_index in list(SR_Port_dict.get(Pp_port)):
        Pp_port_file = open(Porttype + 'swc_portsr.tmpl', 'r')
        Pp_port_buffer_tmp = Pp_port_file.read()
        init_Value_demo = InitValue[element_index]
        init_Value = rate(DataType[element_index]) * float(init_Value_demo)
        Pp_port_swc = Template(Pp_port_buffer_tmp)
        Pp_port_buffer_list.append(
            Pp_port_swc.substitute(interface=Pp_port, element=Element_sr[element_index], initvalue=init_Value))

# Runnable 参数新增
                                Porttype = runnable_find(swc, data_element)[2]
                                runnable_file = open('runnable.tmpl', 'r')
                                tmpl_runnable = Template(runnable_file.read())
                                if Porttype == 'PortType':
                                    continue
                                if Porttype == 'PR':
                                    R_Runnable_list.append(
                                        tmpl_runnable.substitute(DataElement=data_element, Porttype=Porttype,
                                                                 SWC=swc,
                                                                 Port=Port_runnable, Port_runn='REC'))
                                    P_Runnable_list.append(
                                        tmpl_runnable.substitute(DataElement=data_element, Porttype=Porttype,
                                                                 SWC=swc,
                                                                 Port=Port_runnable, Port_runn='SEND'))
                                if Porttype == 'R':
                                    R_Runnable_list.append(
                                        tmpl_runnable.substitute(DataElement=data_element, Porttype=Porttype,
                                                                 SWC=swc,
                                                                 Port=Port_runnable,
                                                                 Port_runn=PortType_dict[Porttype]))
                                if Porttype == 'P':
                                    P_Runnable_list.append(
                                        tmpl_runnable.substitute(DataElement=data_element, Porttype=Porttype,
                                                                 SWC=swc,
                                                                 Port=Port_runnable,
                                                                 Port_runn=PortType_dict[Porttype]))
四、jenkin部署应用
1. jenkins插件安装
Multiple SCMs plugin 可以同时部署 Git 和 SVN 
2. 部署配置步骤
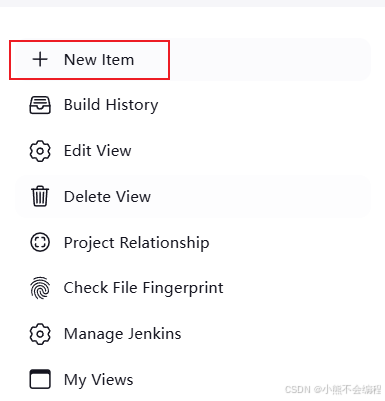
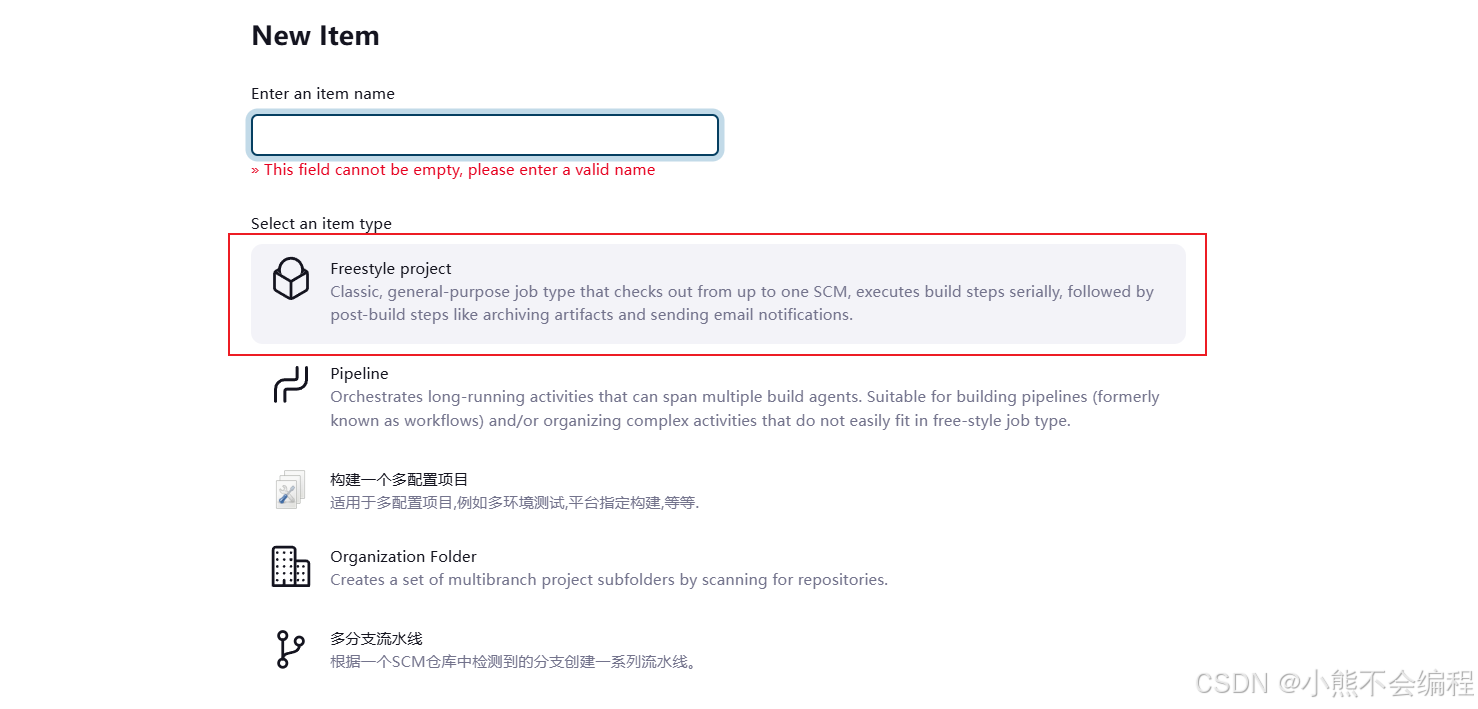
主页点击 New Item
点击 Freestyle project 并填写工程名字
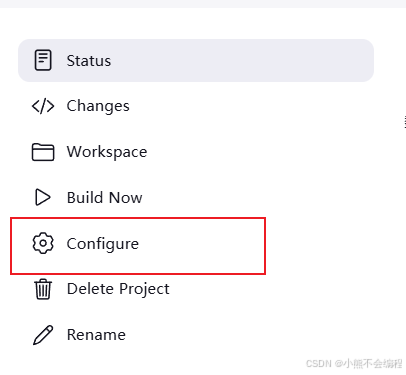
点击配置 Configure
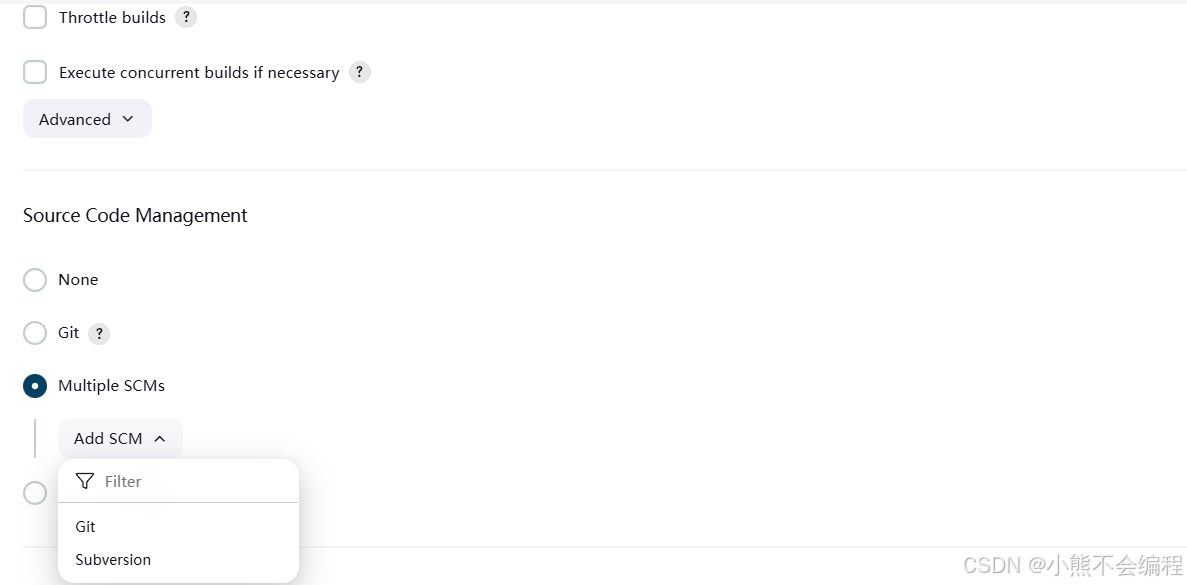
找到 Source Code Management 选项下的 Multiple SCMs 并点击,选择部署 Git 和 SVN 。项目工程、校验工具 和 接口添加工具 配置(Git),接口表配置(SVN)。
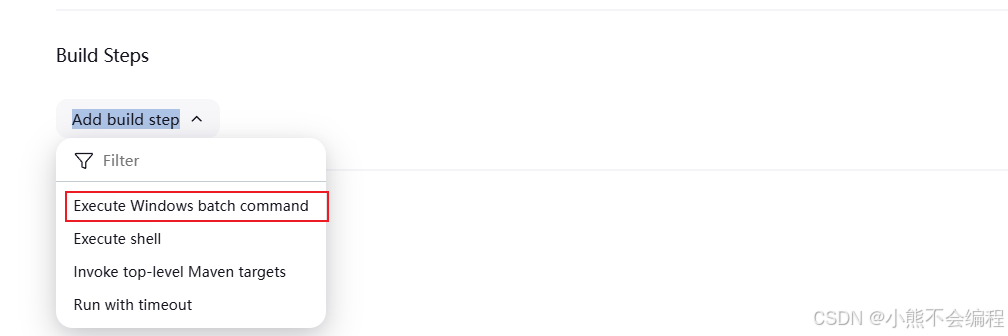
找到 Build Steps (如果没有,安装插件 Credentials Binding Plugin ),点击 Add build step ,选择 Execute Windows batch command(Windows指令,控制脚本或构建过程中需要执行的操作)。
五、构建打印内容
工程内部 Build History 显示构建历史,双击之后点击 Console Output 可以查看构建具体信息。
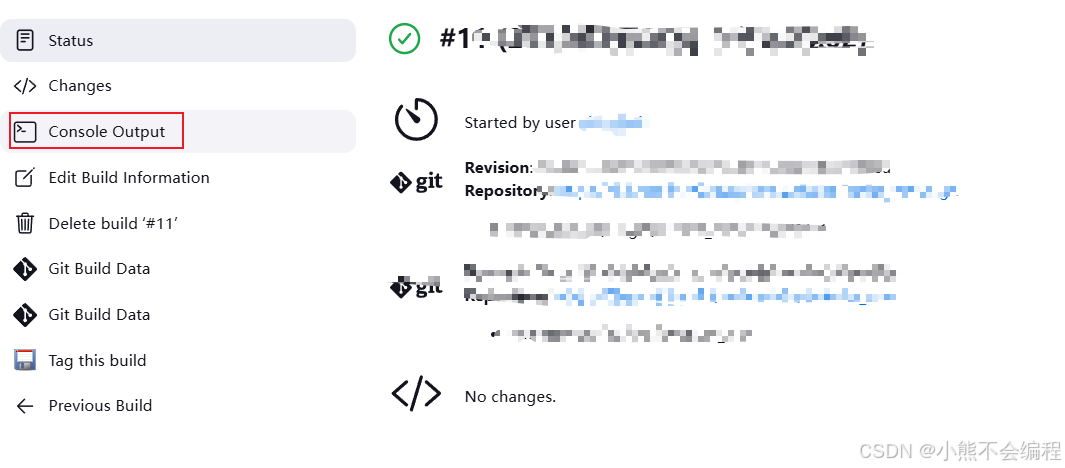
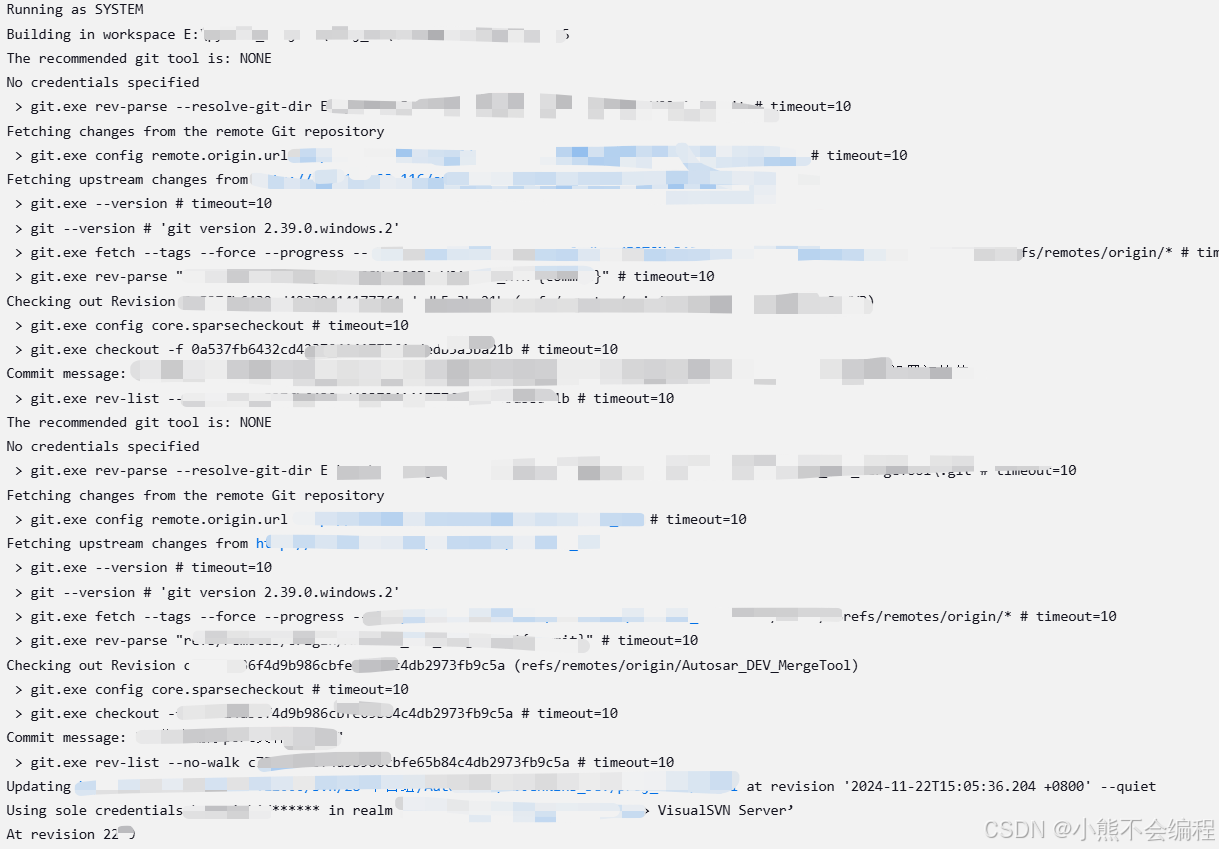
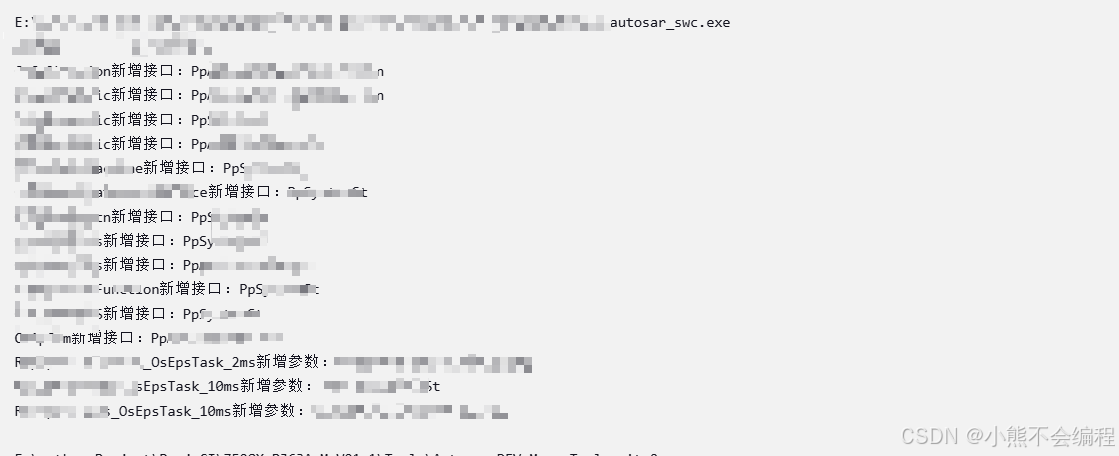
下图是 jenkins 构建完成之后的输出报告(部分内容,由于不方便透露具体内容,所以打了码)。

北京人形旗下天工造物具身智能开源社区,聚焦具身天工与慧思开物两大平台
更多推荐
 17
17 0
0- 0


 已为社区贡献1条内容

所有评论(0)