安装influxdb
时序数据库
版本2.1.1
目录
一、influxdb
1、Window
下载地址:版本2.1.1
https://portal.influxdata.com/downloads/
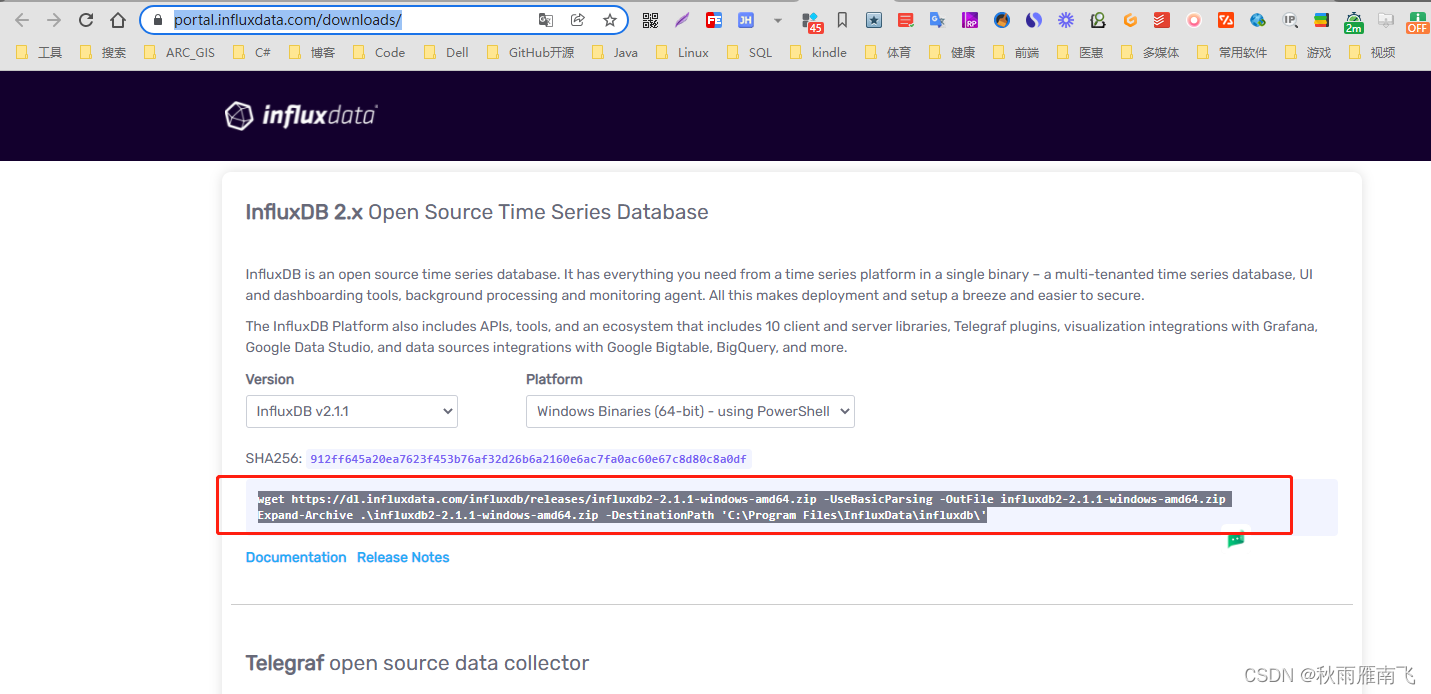
复制磁力,通过迅雷下载
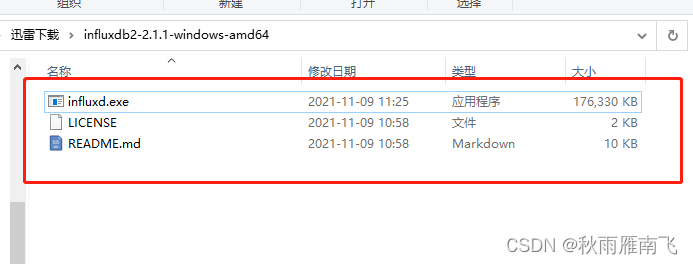
解压缩后目录结构:
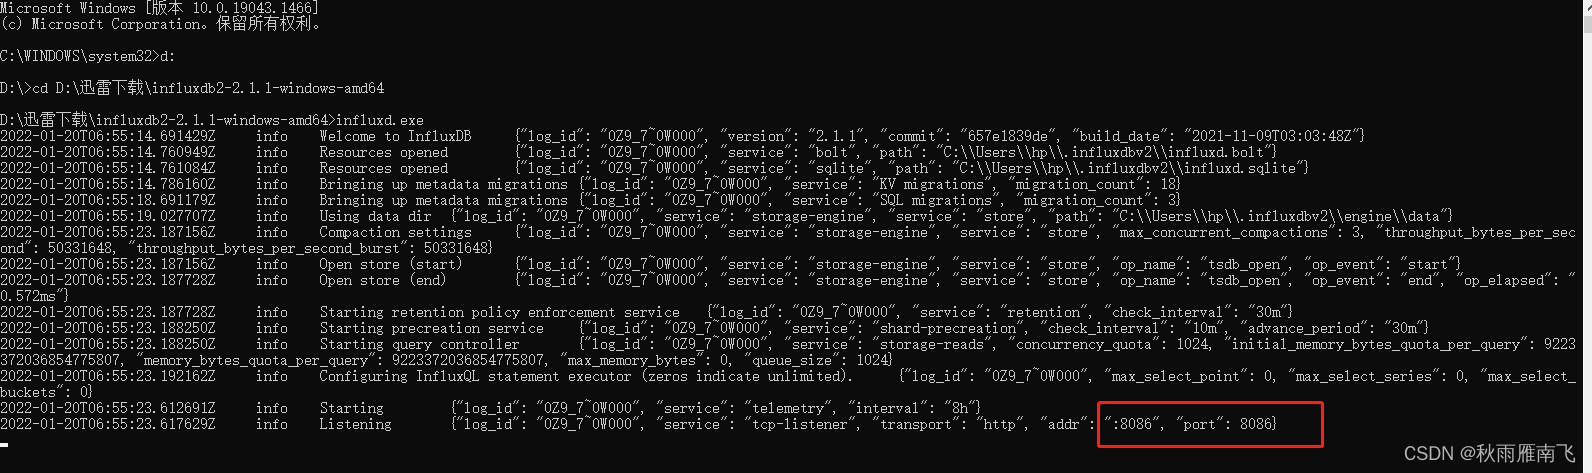
cmd 运行influxdb:
influxd.exe
2、Docker
docker run -itd --name influxdb -p 8086:8086 influxdb
二、Telegraf
Telegraf 下载地址:Downloads
介绍文档:https://docs.influxdata.com/telegraf/v1.21/
Telegraf 是一个插件驱动的服务器代理,用于收集和报告指标。Telegraf 有插件可以直接从其运行的系统中获取各种指标,从第三方 API 中提取指标,甚至通过 statsd 和 Kafka 消费者服务来监听指标。它还具有输出插件,可将指标发送到各种其他数据存储、服务和消息队列,包括 InfluxDB、Graphite、OpenTSDB、Datadog、Librato、Kafka、MQTT、NSQ 等。
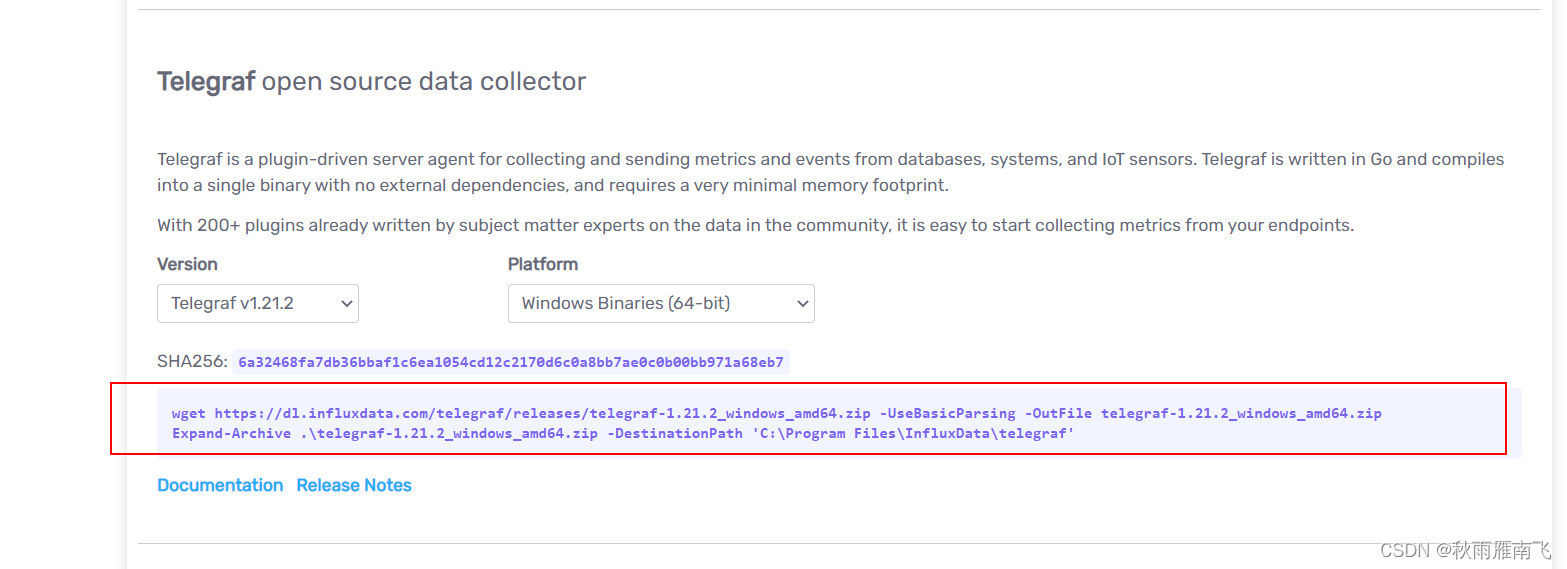
解压缩目录结构:
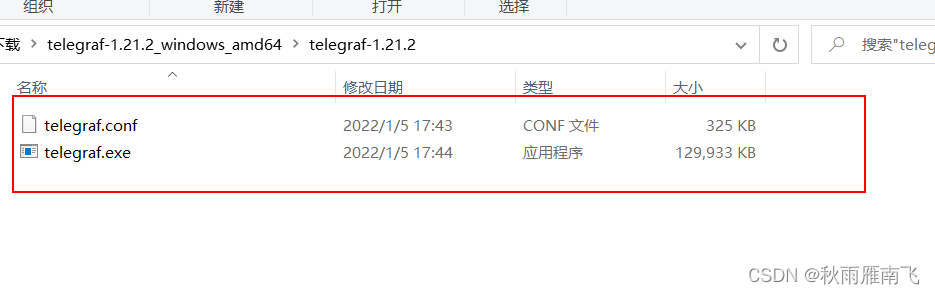
配置 telegraf.conf文件:
1.找到节点:[[outputs.influxdb]]
注释该节点
修改前
[[outputs.influxdb]]
修改后:
#[[outputs.influxdb]]
2.找到节点: [[outputs.influxdb_v2]]
修改前
# # Configuration for sending metrics to InfluxDB
# [[outputs.influxdb_v2]]
#   ## The URLs of the InfluxDB cluster nodes.
#   ##
#   ## Multiple URLs can be specified for a single cluster, only ONE of the
#   ## urls will be written to each interval.
#   ##   ex: urls = ["https://us-west-2-1.aws.cloud2.influxdata.com"]
#   urls = ["http://127.0.0.1:8086"]
#
#   ## Token for authentication.
#   token = ""
#
#   ## Organization is the name of the organization you wish to write to; must exist.
#   organization = ""
#
#   ## Destination bucket to write into.
#   bucket = ""
#
#   ## The value of this tag will be used to determine the bucket.  If this
#   ## tag is not set the 'bucket' option is used as the default.
#   # bucket_tag = ""
#
#   ## If true, the bucket tag will not be added to the metric.
#   # exclude_bucket_tag = false
#
#   ## Timeout for HTTP messages.
#   # timeout = "5s"
#
#   ## Additional HTTP headers
#   # http_headers = {"X-Special-Header" = "Special-Value"}
#
#   ## HTTP Proxy override, if unset values the standard proxy environment
#   ## variables are consulted to determine which proxy, if any, should be used.
#   # http_proxy = "http://corporate.proxy:3128"
#
#   ## HTTP User-Agent
#   # user_agent = "telegraf"
#
#   ## Content-Encoding for write request body, can be set to "gzip" to
#   ## compress body or "identity" to apply no encoding.
#   # content_encoding = "gzip"
#
#   ## Enable or disable uint support for writing uints influxdb 2.0.
#   # influx_uint_support = false
#
#   ## Optional TLS Config for use on HTTP connections.
#   # tls_ca = "/etc/telegraf/ca.pem"
#   # tls_cert = "/etc/telegraf/cert.pem"
#   # tls_key = "/etc/telegraf/key.pem"
#   ## Use TLS but skip chain & host verification
#   # insecure_skip_verify = false
修改后:
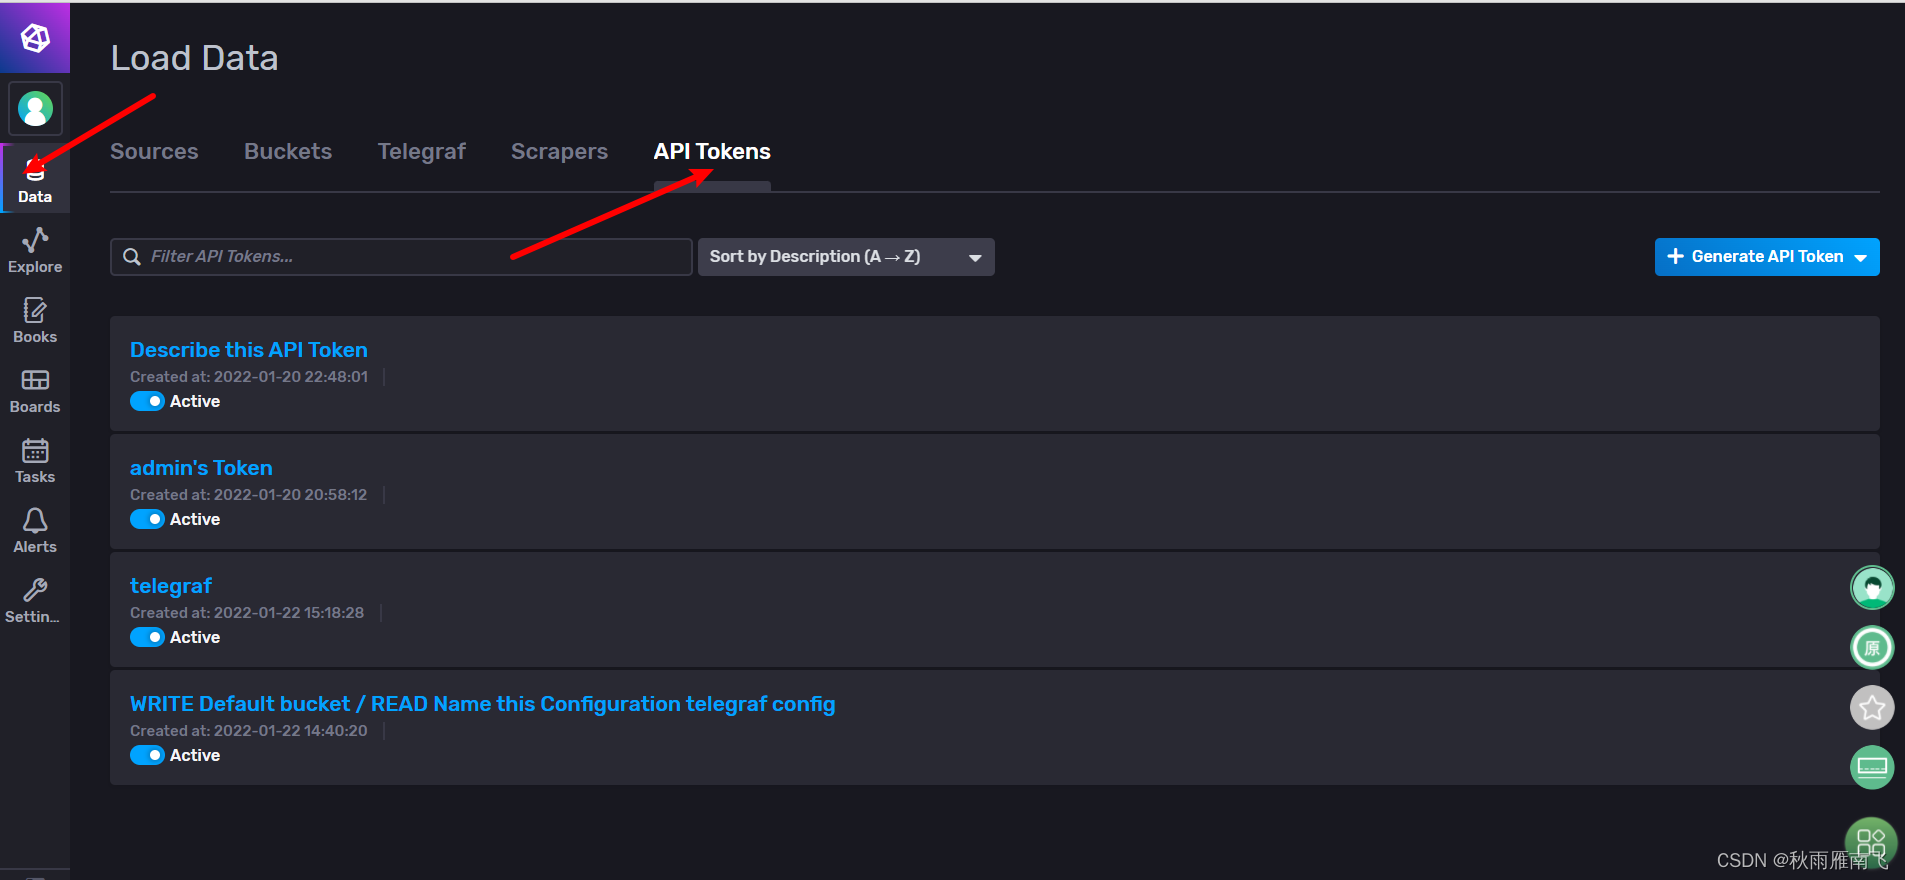
修改token 、organization 、bucket 属性值,这些都可在influxdb网页中找到
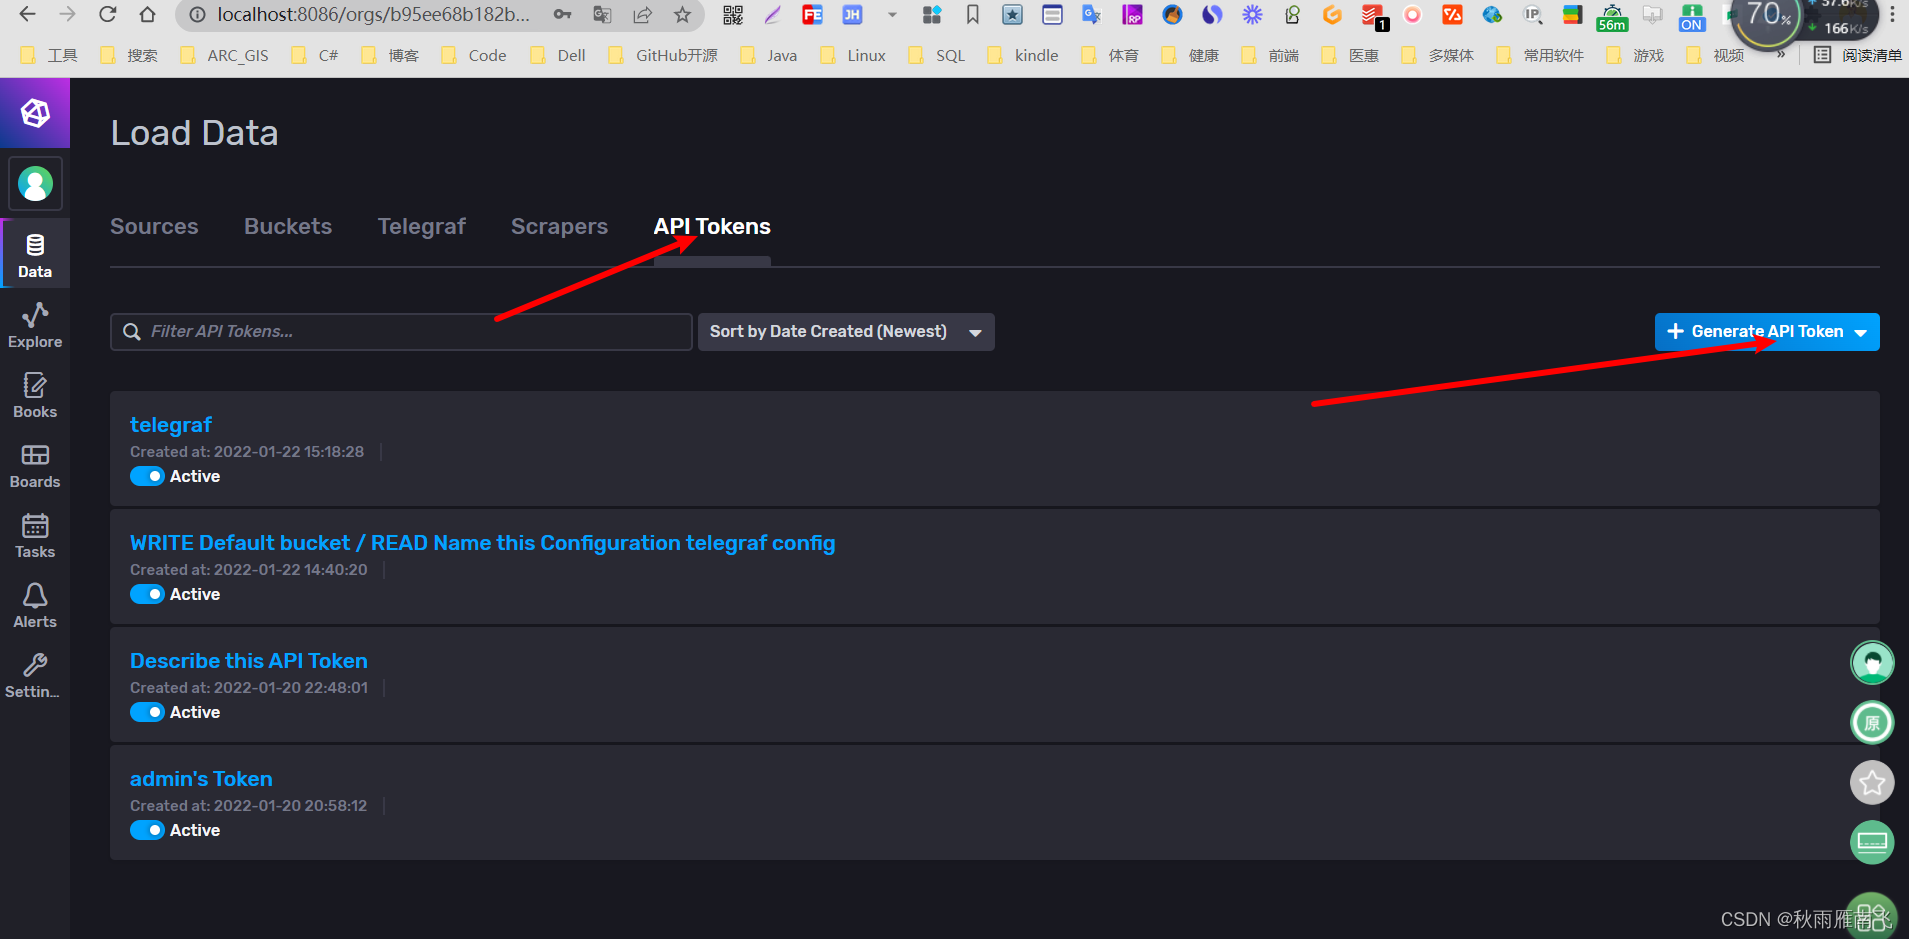
[[outputs.influxdb_v2]]
  ## The URLs of the InfluxDB cluster nodes.
  ##
  ## Multiple URLs can be specified for a single cluster, only ONE of the
  ## urls will be written to each interval.
  ##   ex: urls = ["https://us-west-2-1.aws.cloud2.influxdata.com"]
  urls = ["http://localhost:8086"]

  ## API token for authentication.
  token = "ie7VuATY9-NBf33rFGlj7oo6c8_OoSDEHwYZiCIsl2pexw82rvW4g9K0s498PYErUfSHgve8z2ss3qpAZqMPyA=="

  ## Organization is the name of the organization you wish to write to; must exist.
  organization = "czj"

  ## Destination bucket to write into.
  bucket = "Default"

  ## The value of this tag will be used to determine the bucket.  If this
  ## tag is not set the 'bucket' option is used as the default.
  # bucket_tag = ""

  ## If true, the bucket tag will not be added to the metric.
  # exclude_bucket_tag = false

  ## Timeout for HTTP messages.
  # timeout = "5s"

  ## Additional HTTP headers
  # http_headers = {"X-Special-Header" = "Special-Value"}

  ## HTTP Proxy override, if unset values the standard proxy environment
  ## variables are consulted to determine which proxy, if any, should be used.
  # http_proxy = "http://corporate.proxy:3128"

  ## HTTP User-Agent
  # user_agent = "telegraf"

  ## Content-Encoding for write request body, can be set to "gzip" to
  ## compress body or "identity" to apply no encoding.
  # content_encoding = "gzip"

  ## Enable or disable uint support for writing uints influxdb 2.0.
  # influx_uint_support = false

  ## Optional TLS Config for use on HTTP connections.
  # tls_ca = "/etc/telegraf/ca.pem"
  # tls_cert = "/etc/telegraf/cert.pem"
  # tls_key = "/etc/telegraf/key.pem"
  ## Use TLS but skip chain & host verification
  # insecure_skip_verify = false
cmd运行:
telegraf --config telegraf.conf

三、Influxdb使用
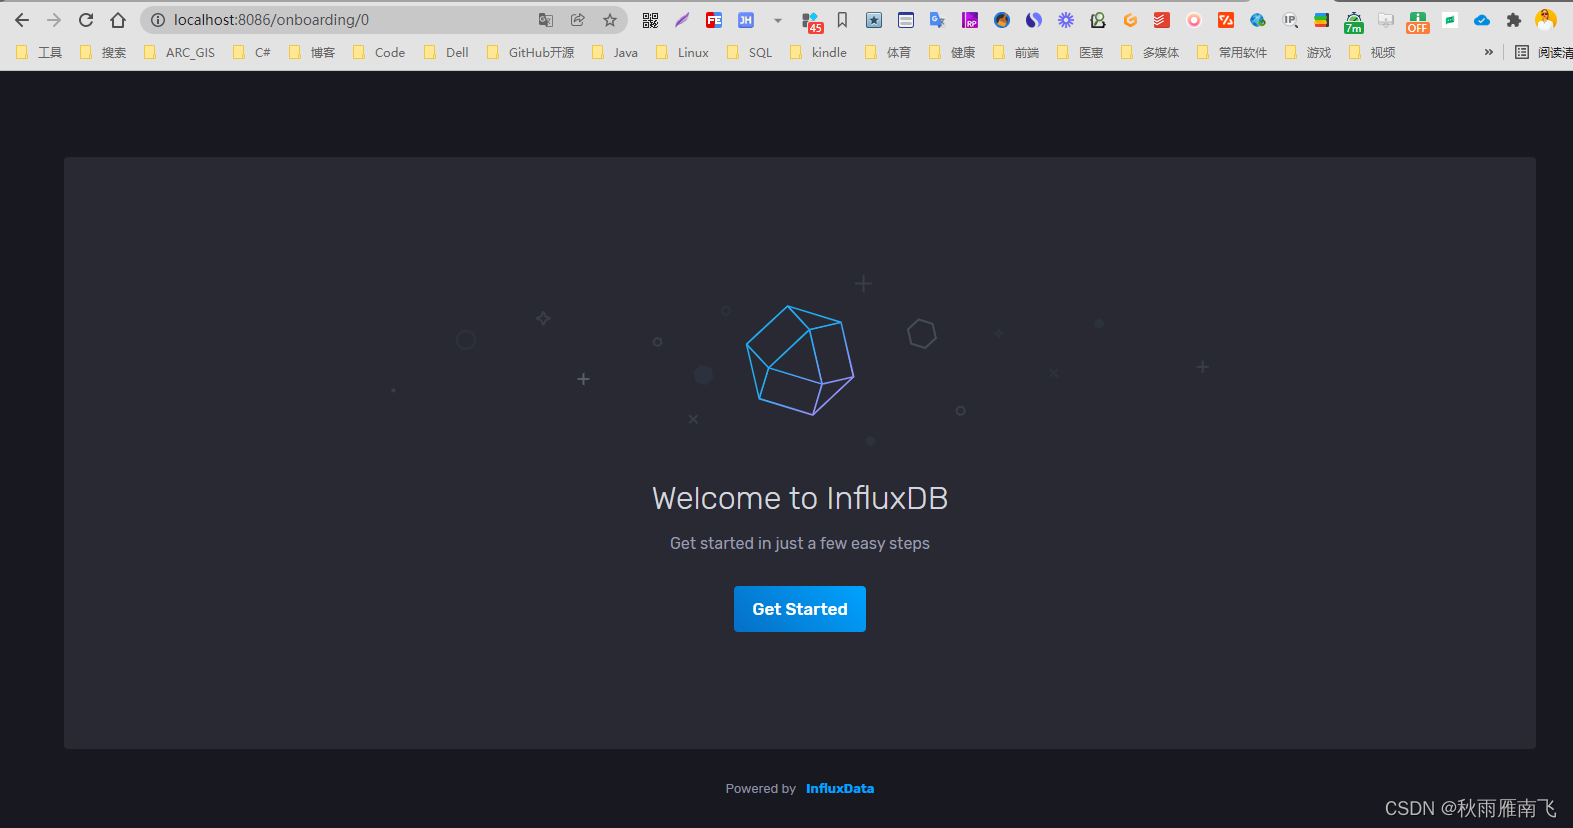
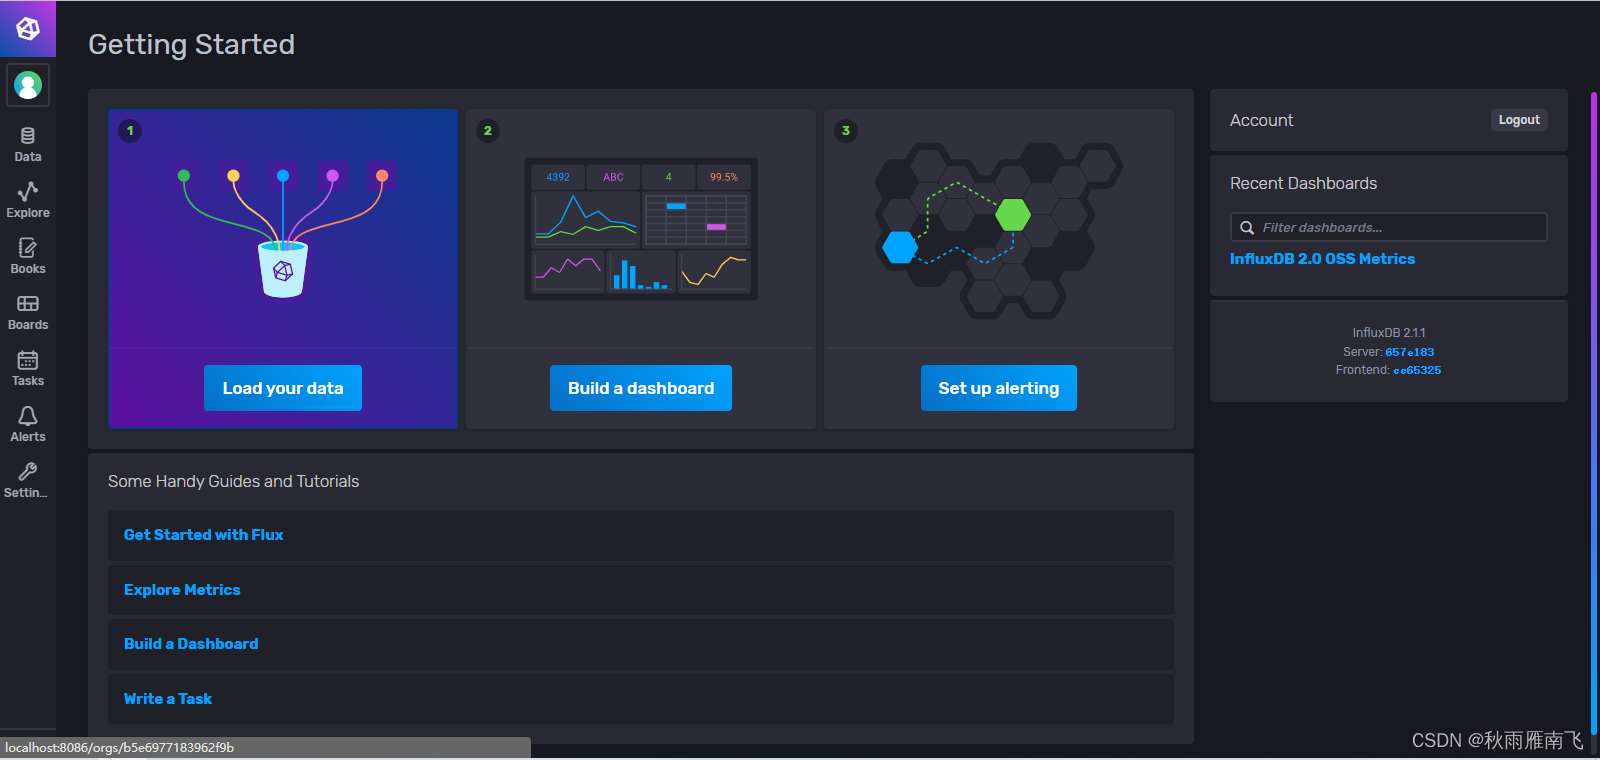
浏览器打开: http://localhost:8086/
1、
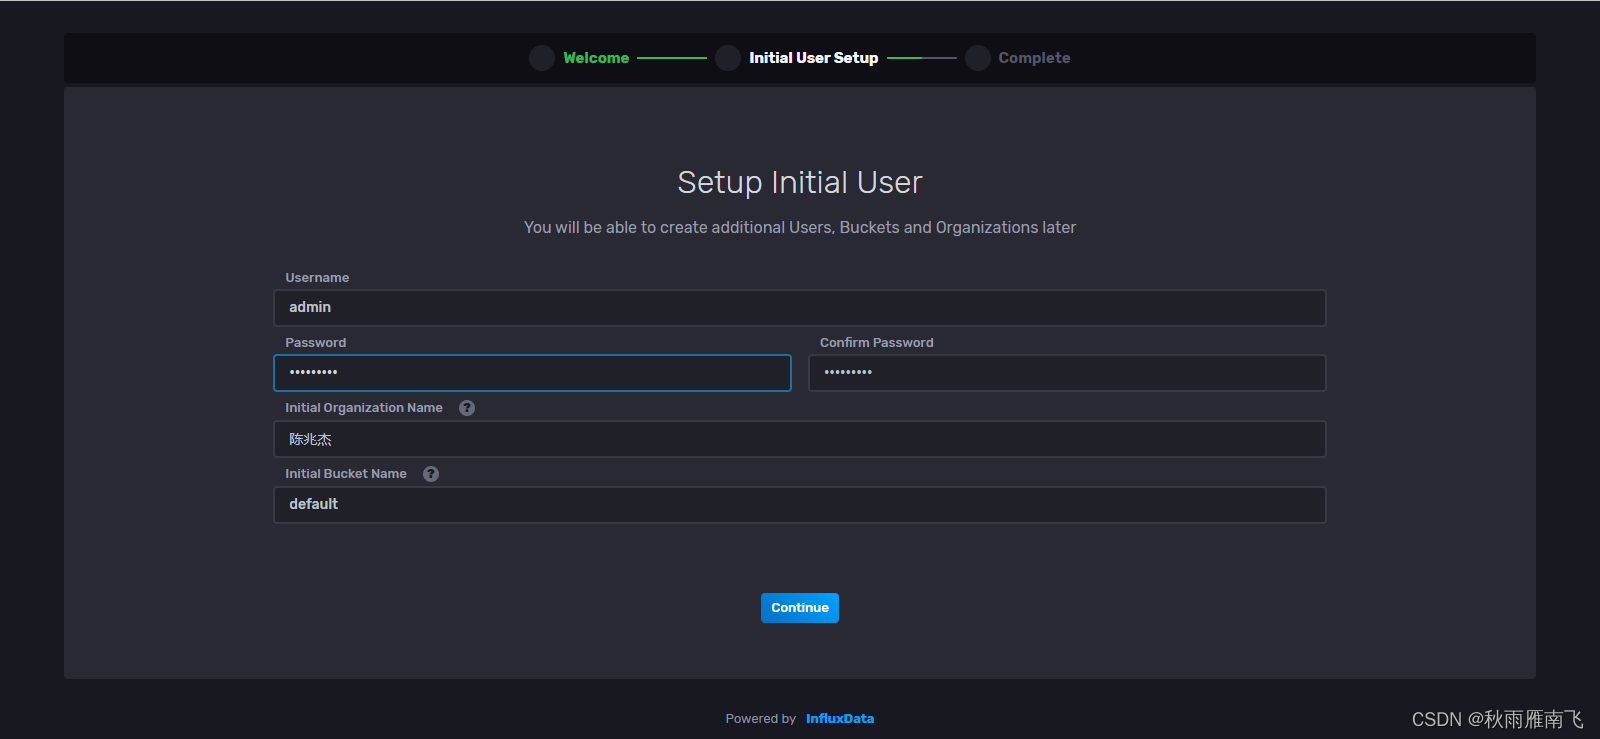
2、设置用户名、密码
3、
4.token
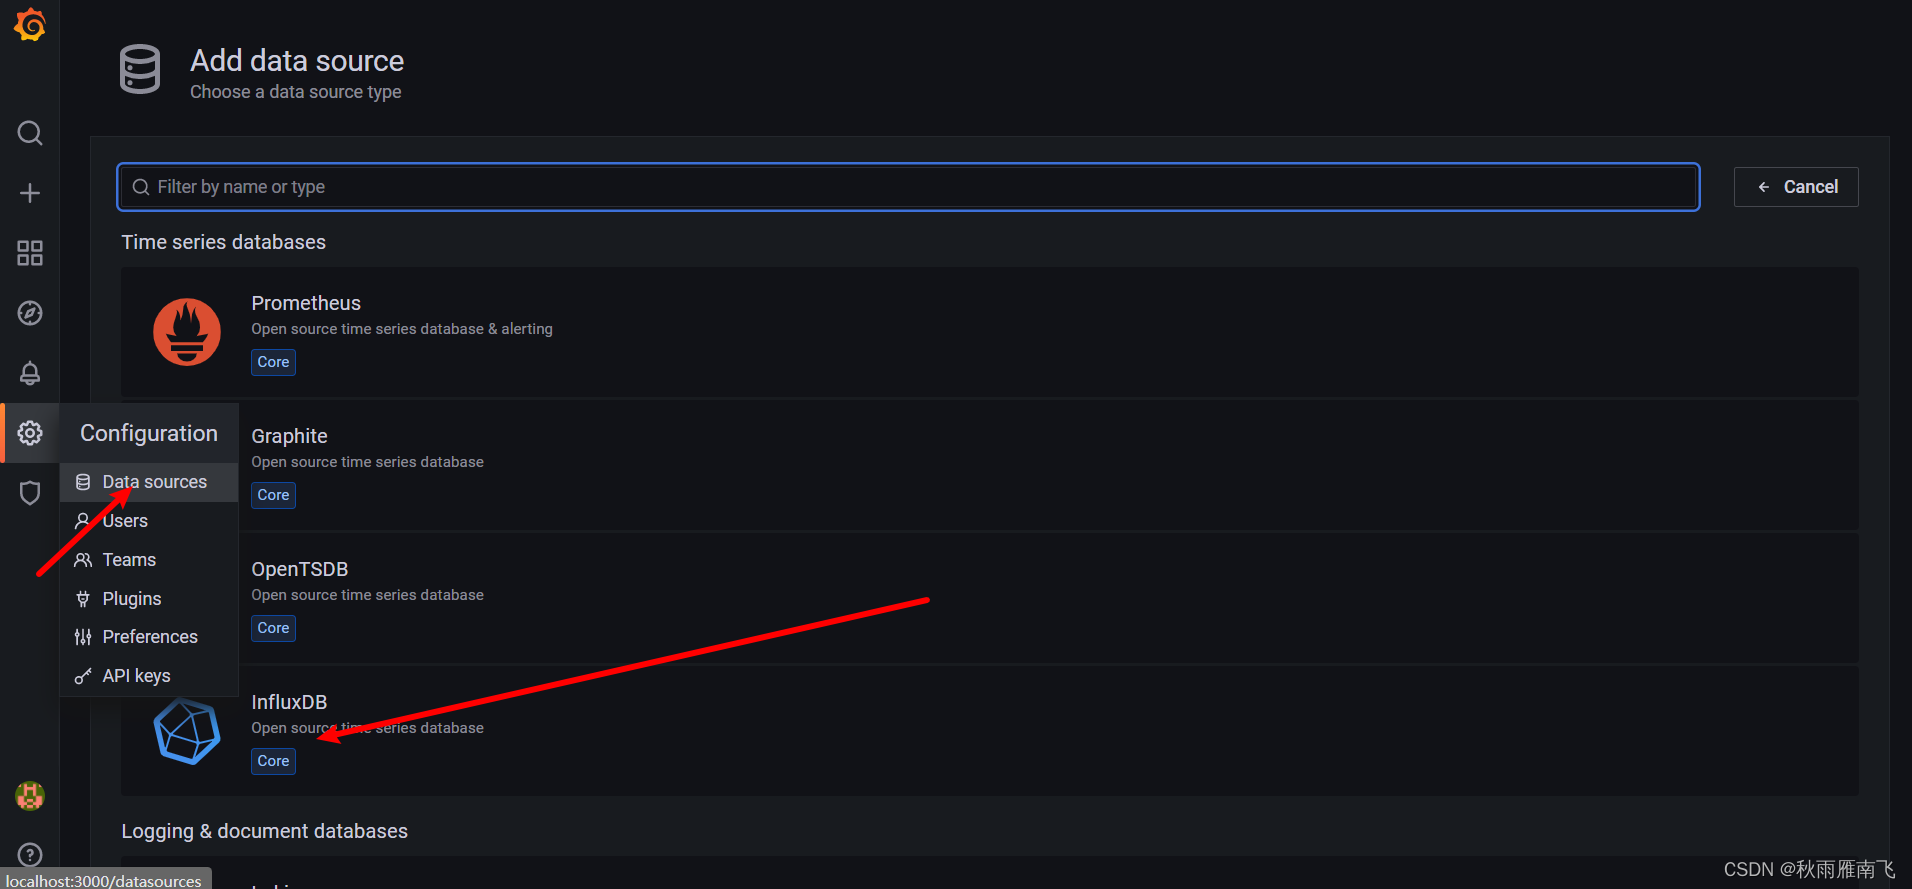
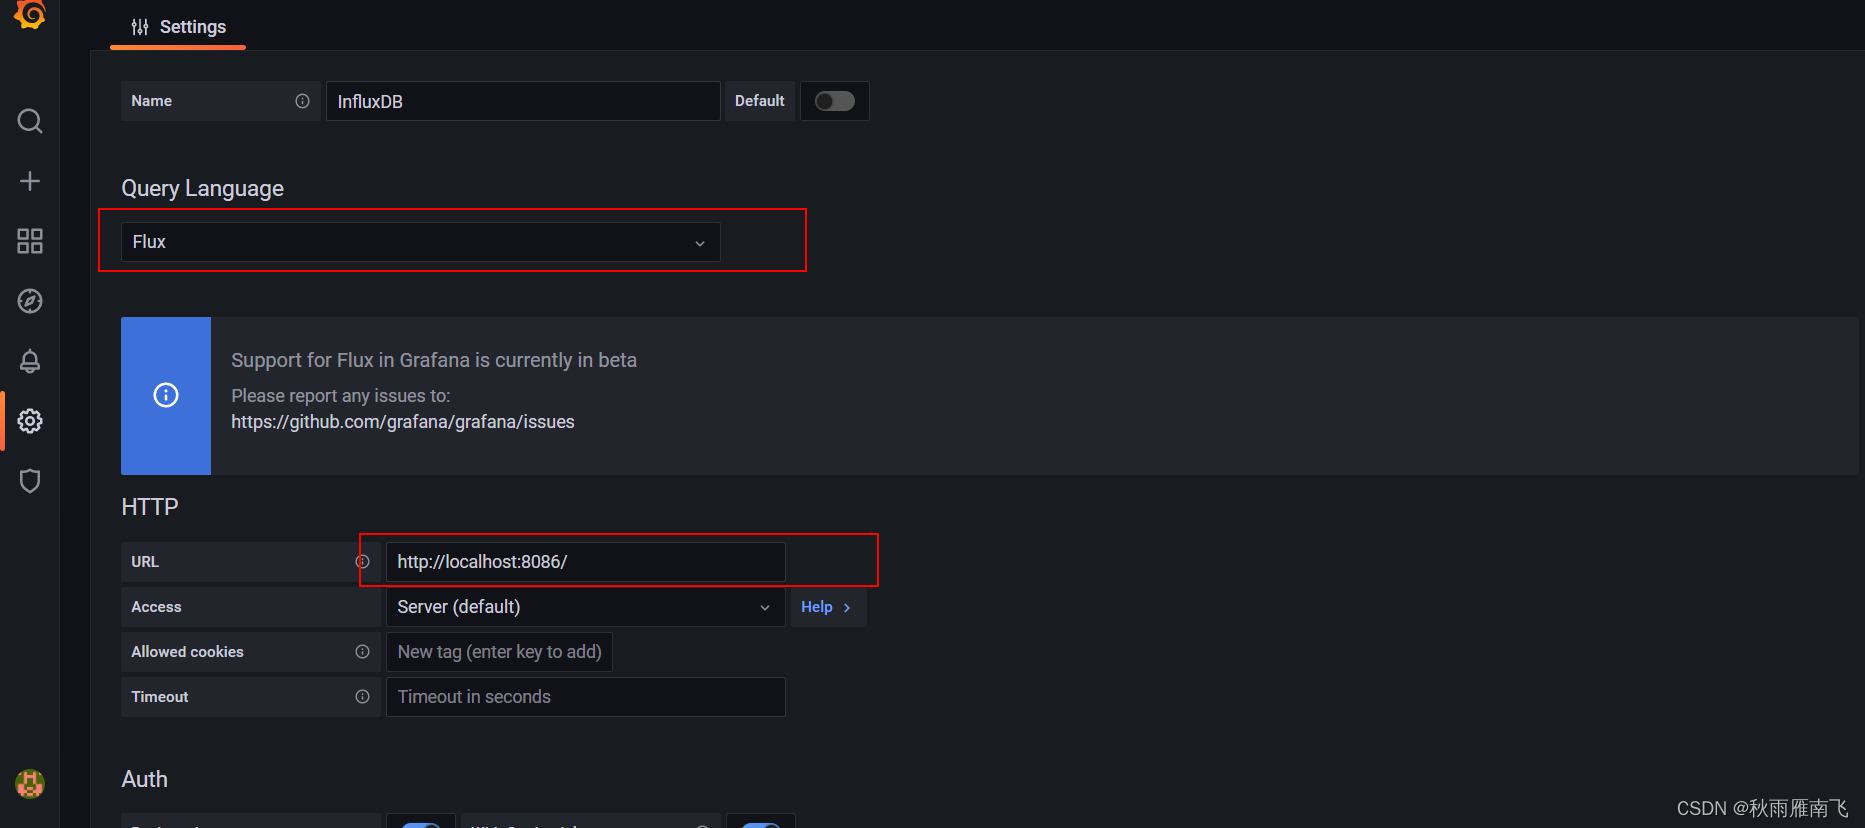
四、Grafana配置Influxdb数据源
1.
2.
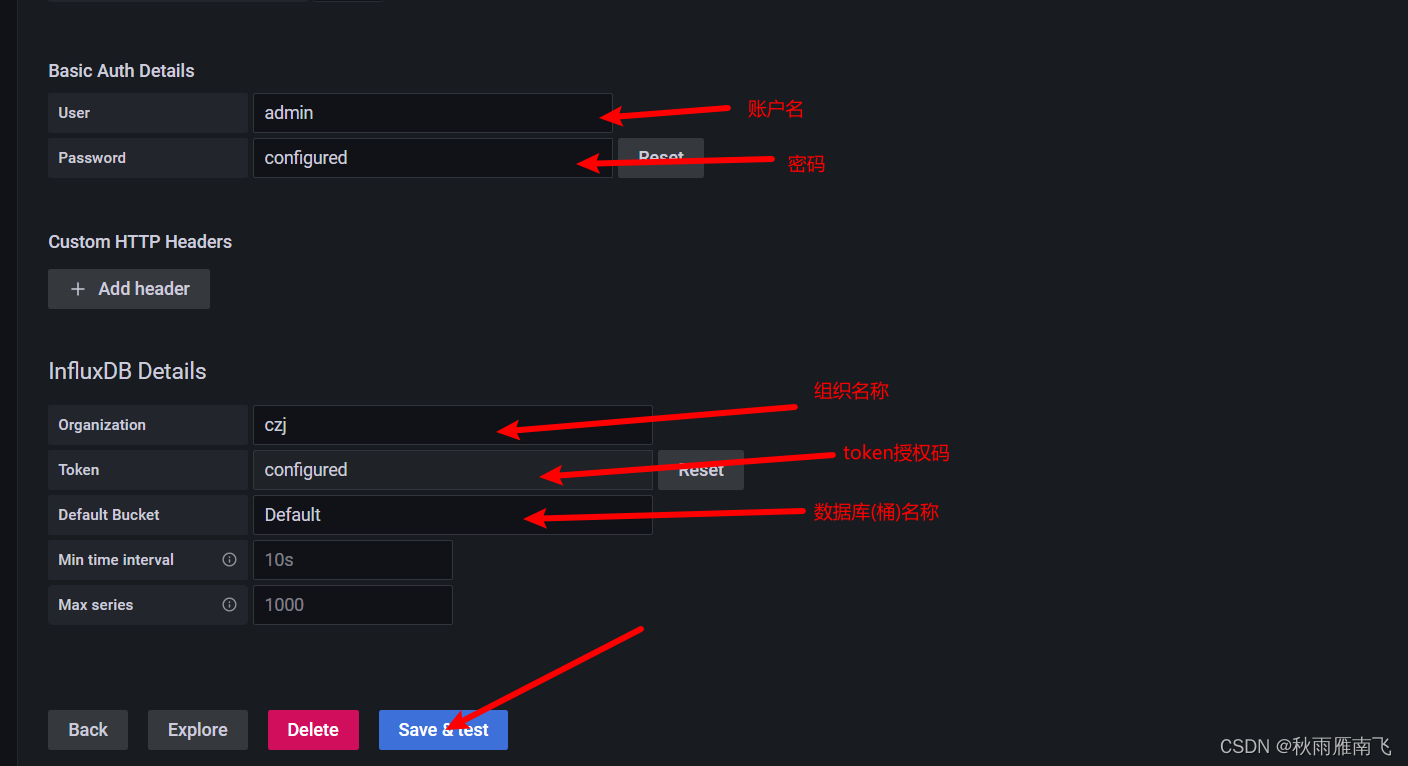
3.
4.导入面板
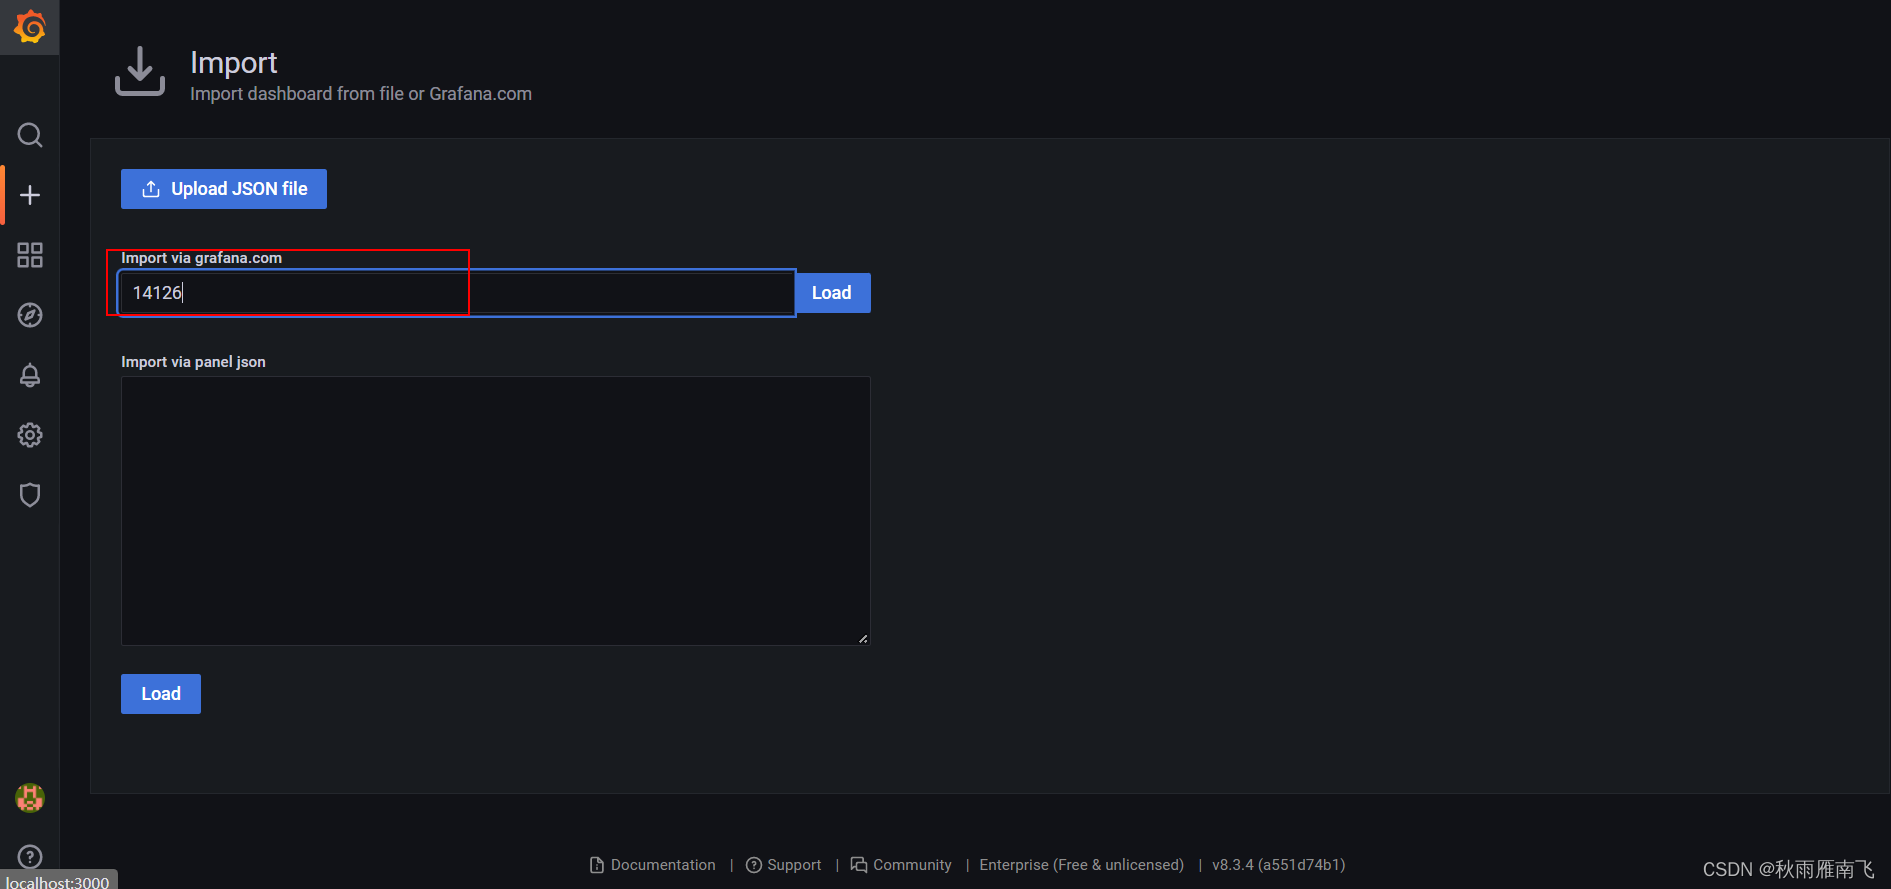
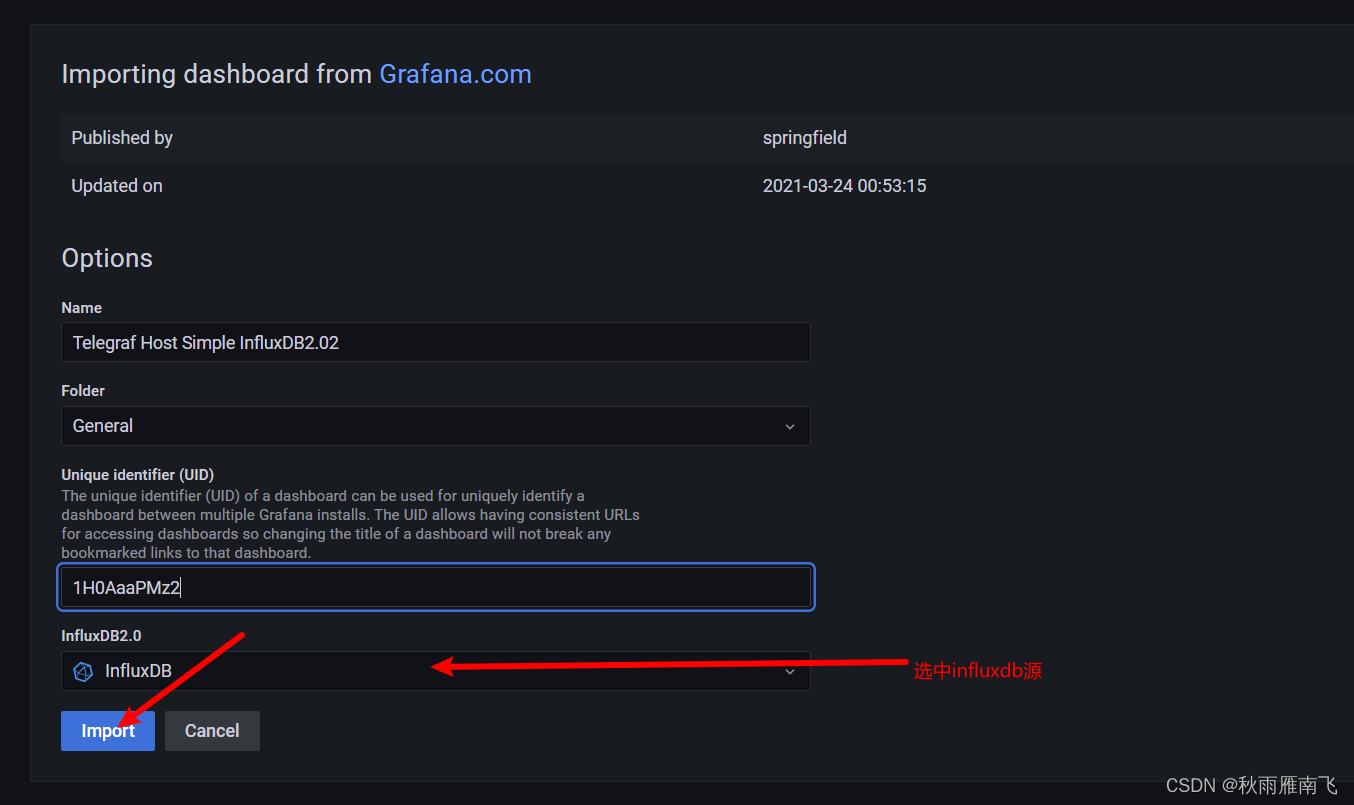
5.查看面板
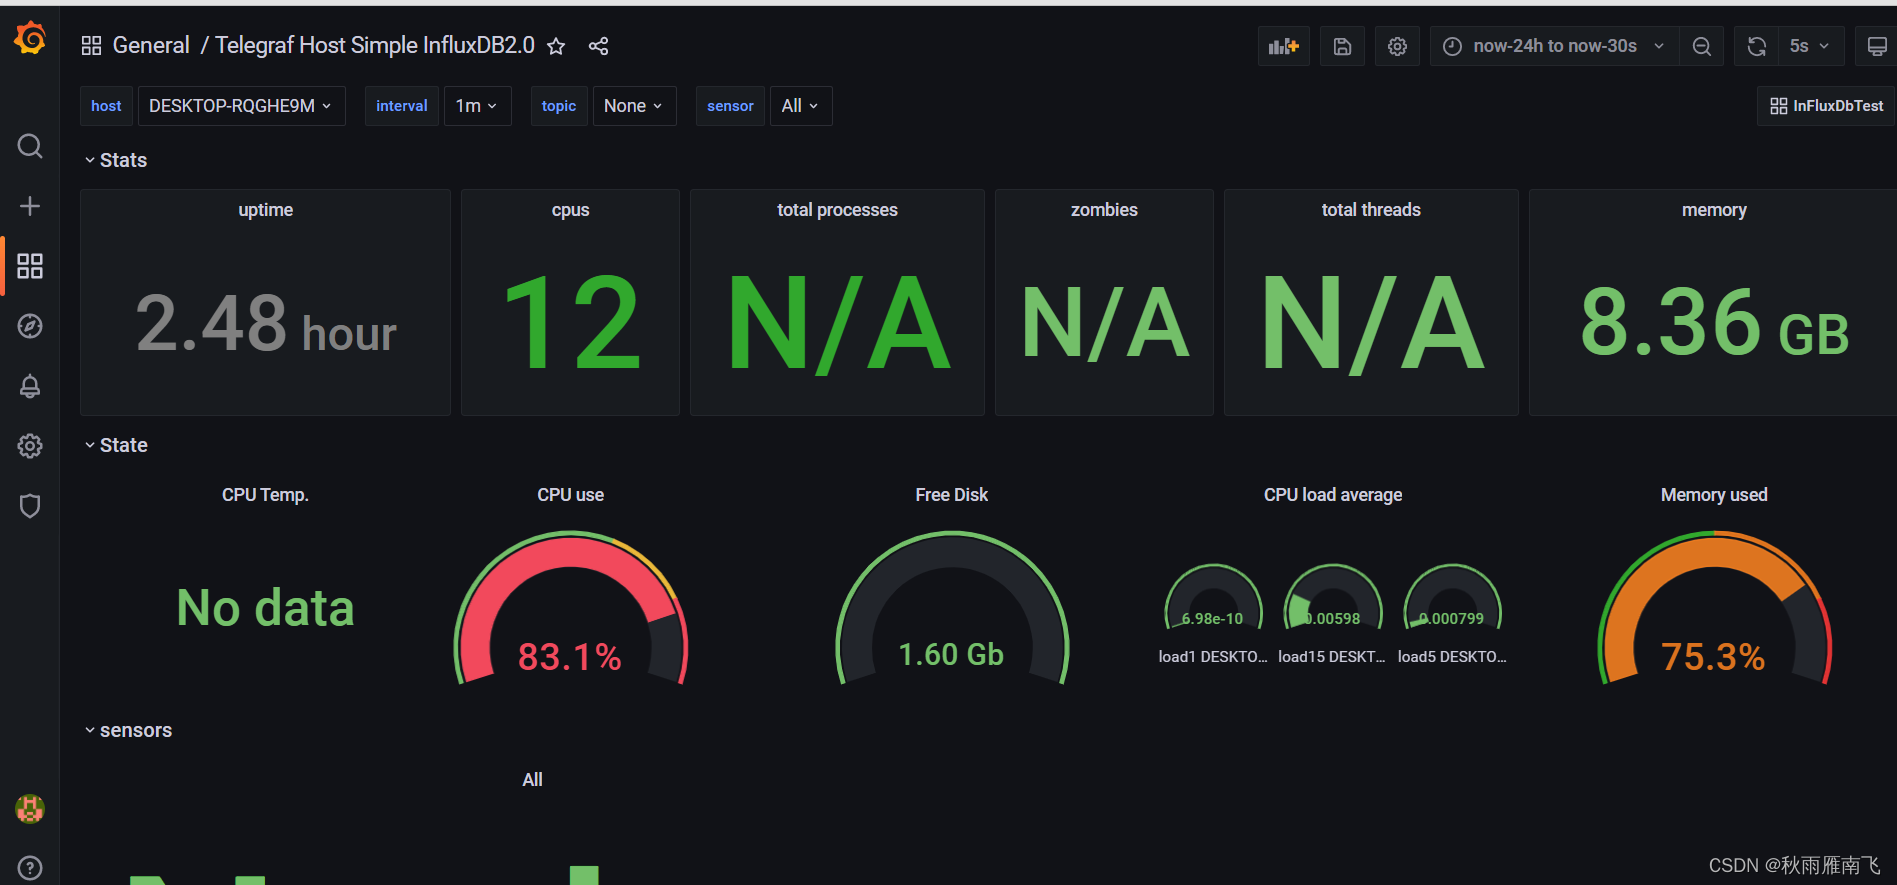

北京人形旗下天工造物具身智能开源社区,聚焦具身天工与慧思开物两大平台
更多推荐
 0
0 0
0- 0


 已为社区贡献6条内容

所有评论(0)