elasticsearch 7.6 添加数据节点
·
os: centos 7.6
es: 7.6
现有集群包含节点 n1、n2、n3(master + data),可以通过添加 n4 节点(data),来实现数据的打散。
版本
# cat /etc/centos-release
CentOS Linux release 7.6.1810 (Core)

# yum list installed |grep -i elasticsearch
elasticsearch.x86_64               7.6.2-1                             installed


# cat /etc/hosts
127.0.0.1   localhost localhost.localdomain localhost4 localhost4.localdomain4
::1         localhost localhost.localdomain localhost6 localhost6.localdomain6

192.168.56.211  n1
192.168.56.212  n2
192.168.56.213  n3
192.168.56.214  n4
实际操作
修改n4节点的 /etc/elasticsearch/elasticsearch.yml 文件
下面列出一些关键参数
node.master: false
node.data: true

discovery.seed_hosts: ["n1:9300", "n2:9300", "n3:9300", "n4:9300"]
启动 es
# systemctl start elasticsearch.service
查看 集群、节点信息
# curl -X GET 'http://192.168.56.211:9200/_cat/health?v'
epoch      timestamp cluster        status node.total node.data shards pri relo init unassign pending_tasks max_task_wait_time active_shards_percent
1628051702 04:35:02  my-application green           4         4    192  64    0    0        0             0                  -                100.0%
# curl -X GET 'http://192.168.56.211:9200/_cat/nodes?v'

ip             heap.percent ram.percent cpu load_1m load_5m load_15m node.role master name
192.168.56.214           10          99  16    0.89    0.44     0.26 dil       -      node-4
192.168.56.212           26          99  13    2.60    0.92     0.43 dilm      *      node-2
192.168.56.211           11          99   6    2.49    0.70     0.28 dilm      -      node-1
192.168.56.213           15          99   6    1.40    0.37     0.16 dilm      -      node-3
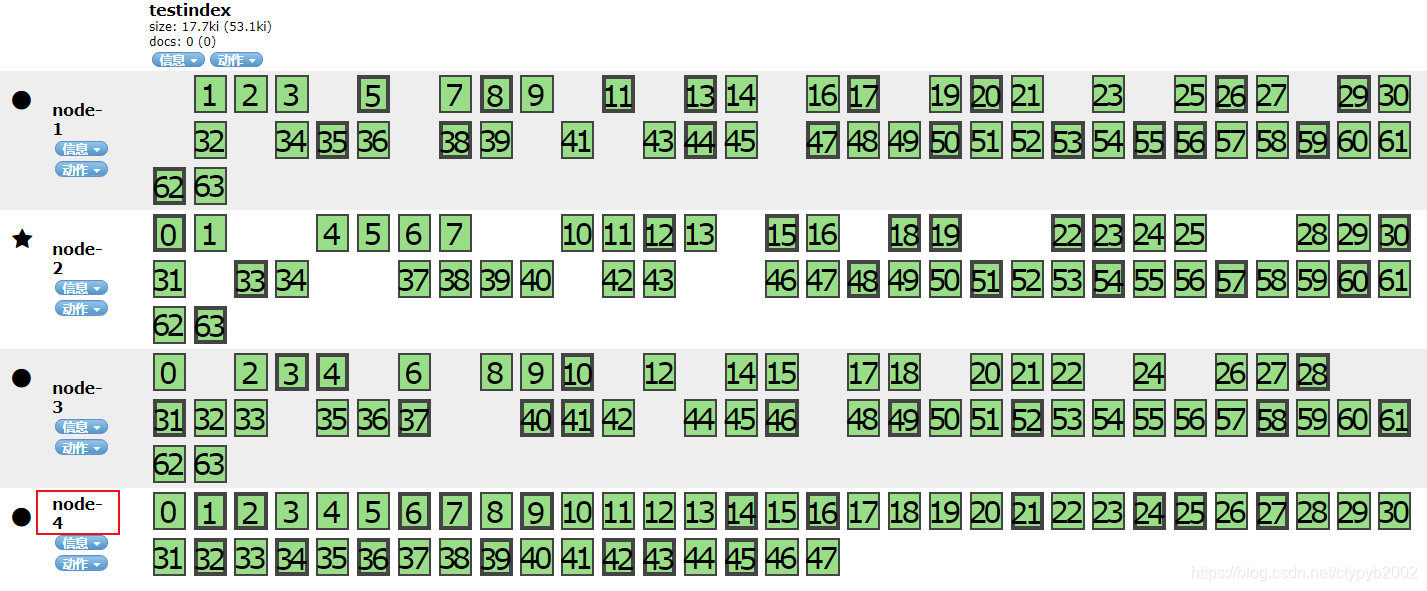
稍等片刻后,可以看到 node-4 已经存储了部分 shard
或者另外一种方案
加入前,关闭自动分片
curl -X PUT 'http://192.168.56.211:9200/_cluster/settings' -H 'Content-Type: application/json' -d '
{
    "transient" : {
        "cluster.routing.allocation.enable" : "none"
    }
}
'
节点加入后,再重新分配数据。
curl -X PUT 'http://192.168.56.211:9200/_cluster/settings' -H 'Content-Type: application/json' -d '
{
    "transient" : {
        "cluster.routing.allocation.enable" : "all"
    }
}
'

curl -X PUT 'http://192.168.56.211:9200/_cluster/settings' -H 'Content-Type: application/json' -d '
{
    "transient" : {
		"cluster.routing.allocation.exclude._ip" : null
    }
}
'
记得n1、n2、n3 节点的 discovery.seed_hosts 值也修改下。
参考:

北京人形旗下天工造物具身智能开源社区,聚焦具身天工与慧思开物两大平台
更多推荐
 0
0 0
0- 0


 已为社区贡献70条内容

所有评论(0)