数据治理平台Apache Atlas搭建与导入hive表
·
一、Atlas2.1.0编译
编译环境:
环境准备,jdk8_151以上,maven3.6.6
下载源码包:
国内下载地址:https://mirrors.tuna.tsinghua.edu.cn/apache/atlas/2.1.0/
官方下载地址:http://atlas.apache.org/Downloads.html
编译:
- 解压源码包,进入解压后源码包的目录。
cd /opt
sudo tar -zxvf apache-atlas-2.1.0-sources.tar.gz
#重命名
mv ./apache-atlas-2.1.0-sources ./atlas
- cd /opt/atlas 进入目录

- 配置堆大小
export MAVEN_OPTS="-Xms2g -Xmx3g"
- 编译、两种方法选其一
1)、编译命令,注意该方式编译不会内嵌HBase和Solr
mvn clean -DskipTests package -Pdist
2)、采用这种编译方式会内嵌HBase和Solr,测试用这种方式,(我选择了这个)
mvn clean -DskipTests package -Pdist,embedded-hbase-solr
下面是编译成功后得截图
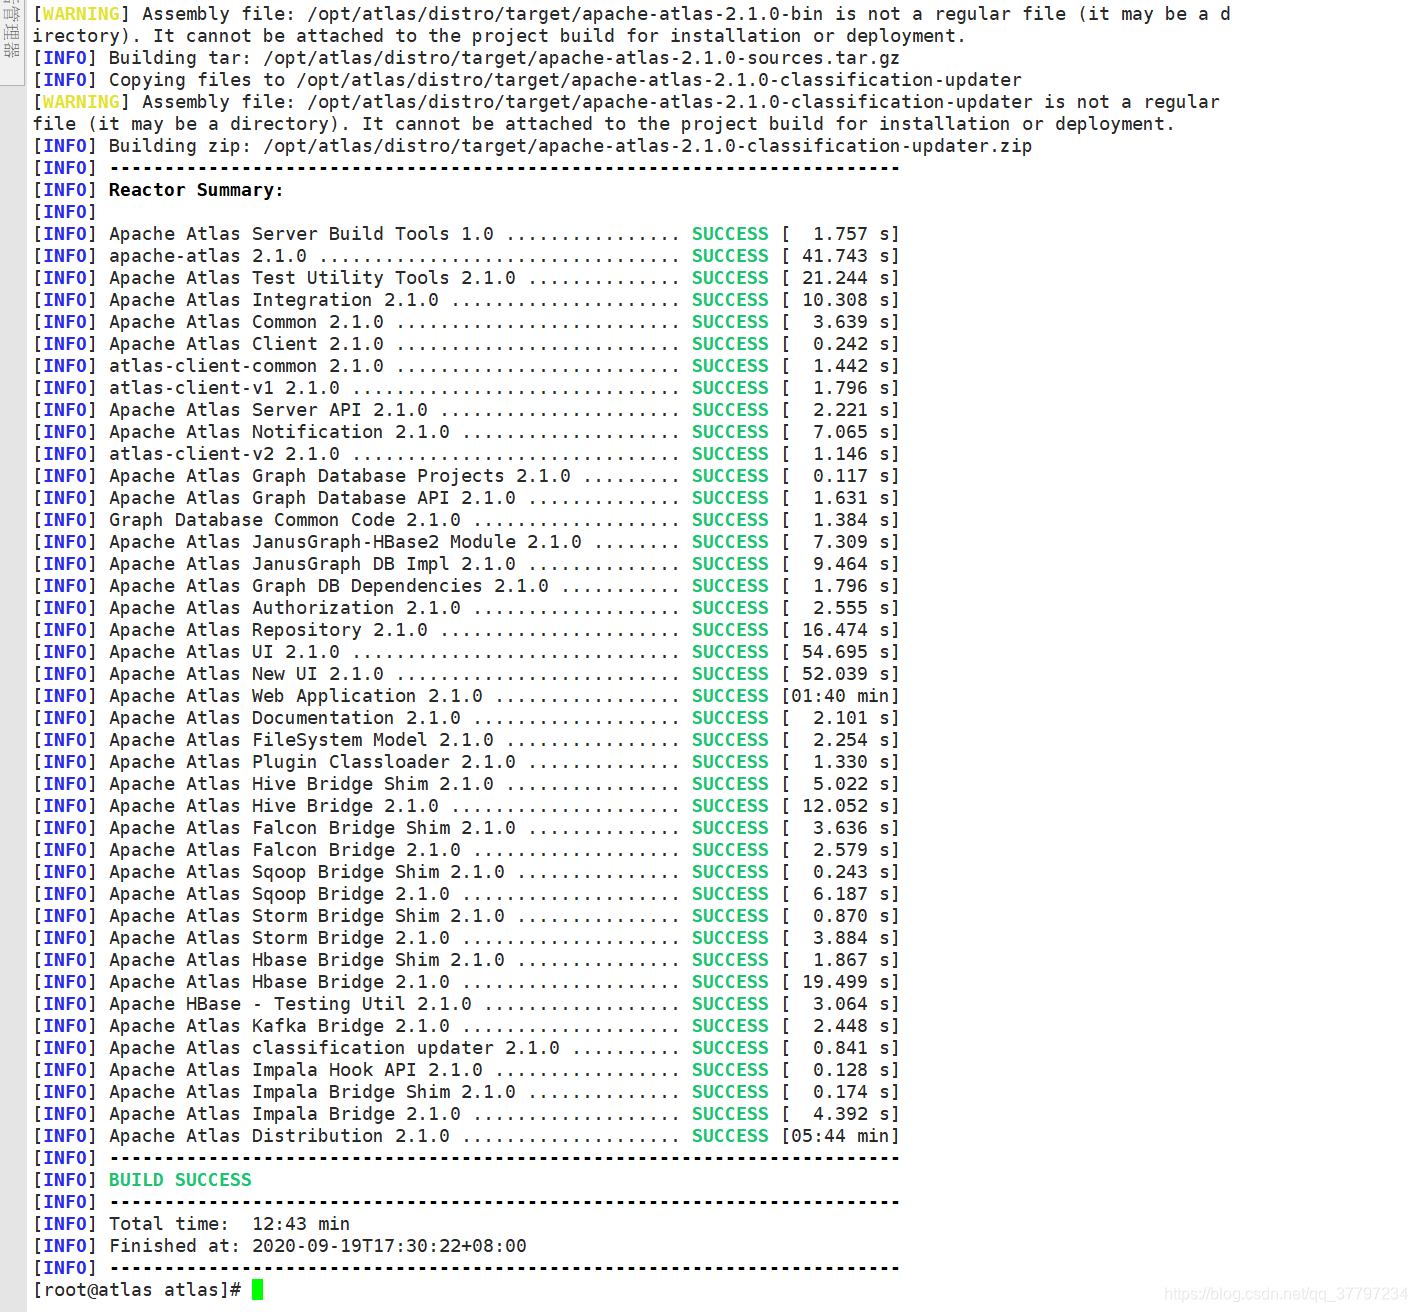
- 查看编译好的文件
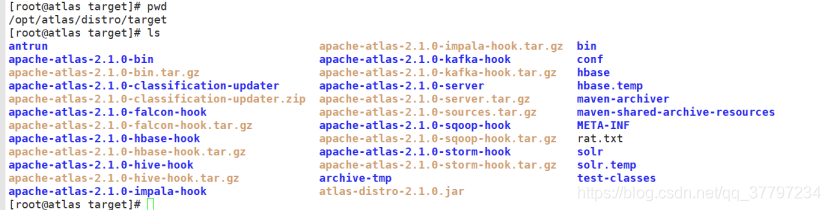
编译完成后的jar包位于目录:/opt/atlas/distro/target 中
二、atlas启动
[root@atlas ~]# cd /opt/atlas/distro/target/apache-atlas-2.1.0-bin/apache-atlas-2.1.0/
[root@atlas apache-atlas-2.1.0]# bin/atlas_start.py
The Server is no longer running with pid 1847
configured for local hbase.
hbase started.
configured for local solr.
solr started.
setting up solr collections...
starting atlas on host localhost
starting atlas on port 21000
...............................................................................
Apache Atlas Server started!!!

[root@atlas apache-atlas-2.1.0]# jps
2305 Jps
1663 HMaster
1823 Atlas
#HMaster是hbase的程序,jar是solr的程序,如果没有则是hbase或者solr没有启动,则手动启动
[root@atlas apache-atlas-2.1.0]# solr/bin/solr start -c -z 192.168.56.42:2181 -p 8983 -force
*** [WARN] *** Your open file limit is currently 1024.
 It should be set to 65000 to avoid operational disruption.
 If you no longer wish to see this warning, set SOLR_ULIMIT_CHECKS to false in your profile or solr.in.sh
*** [WARN] ***  Your Max Processes Limit is currently 15063.
 It should be set to 65000 to avoid operational disruption.
 If you no longer wish to see this warning, set SOLR_ULIMIT_CHECKS to false in your profile or solr.in.sh
NOTE: Please install lsof as this script needs it to determine if Solr is listening on port 8983.

Started Solr server on port 8983 (pid=2367). Happy searching!

[root@atlas apache-atlas-2.1.0]# jps
2453 Jps
1663 HMaster
1823 Atlas
2367 jar
#全部启动完成,

#接下来是创建solr节点,只创建一次就可以了,再次启动不用再创建
[root@atlas apache-atlas-2.1.0]# solr/bin/solr create -c fulltext_index -force -d conf/solr/
[root@atlas apache-atlas-2.1.0]# solr/bin/solr create -c edge_index -force -d conf/solr/
[root@atlas apache-atlas-2.1.0]# solr/bin/solr create -c vertex_index -force -d conf/solr/
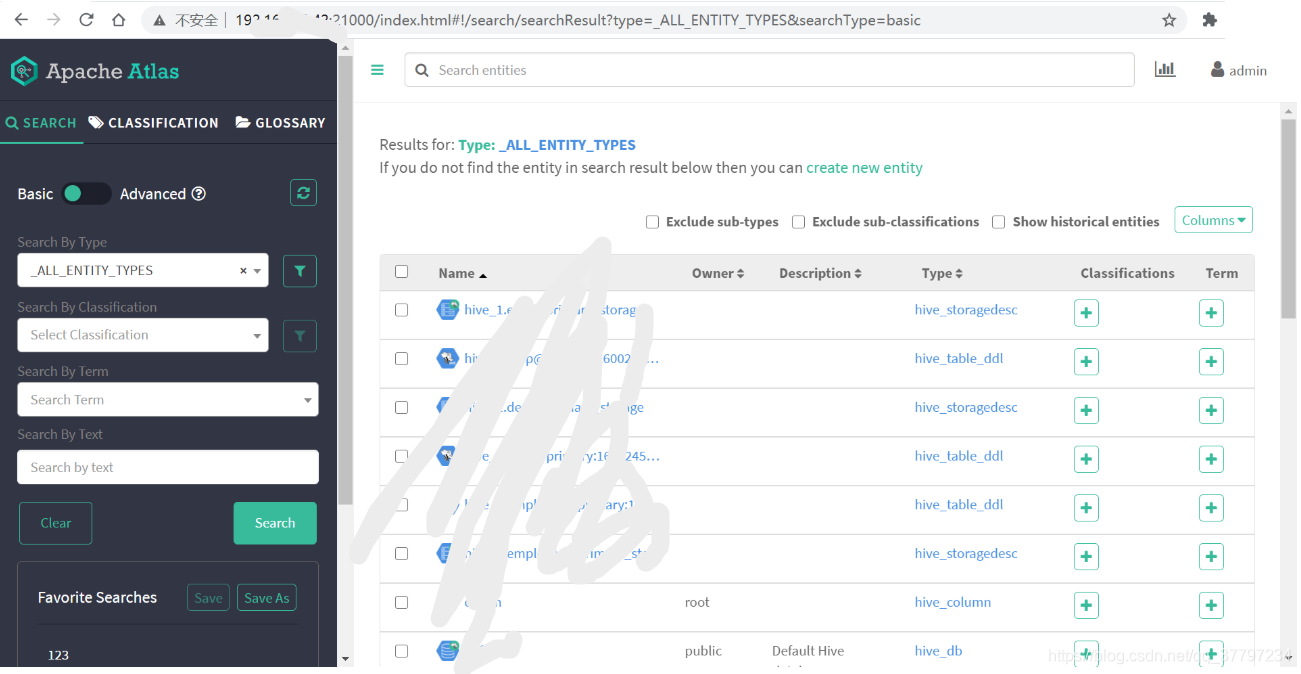
浏览器访问http://ip:21000/
账号:admin
密码:admin
三、atlas导入hive
1.进入/atlas/conf/目录,修改配置文件atlas-application.properties
[root@atlas conf]# vi atlas-application.properties

#添加如下配置

######### Hive Hook Configs #######
atlas.hook.hive.synchronous=false
atlas.hook.hive.numRetries=3
atlas.hook.hive.queueSize=10000
atlas.cluster.name=primary
2.将atlas-application.properties配置文件加入到atlas-plugin-classloader-1.0.0.jar中,将atlas-application.properties配置文件拷贝到hive/conf
[root@atlas apache-atlas-2.1.0]# cd hook/hive

[root@atlas apache-atlas-2.1.0]# yum install zip

[root@atlas hive]# zip -u atlas-plugin-classloader-2.1.0.jar atlas-application.properties

[root@atlas hive]# cp /opt/atlas/distro/target/apache-atlas-2.1.0-bin/apache-atlas-2.1.0/conf/atlas-application.properties /opt/hive/conf/
3.在/hive/conf/hive-site.xml文件中设置Atlas hook
[root@atlas conf]# vi hive-site.xml

<property>
   <name>hive.exec.post.hooks</name>
   <value>org.apache.atlas.hive.hook.HiveHook</value>
</property>
4.追加hive插件相关jar包
[root@atlas conf]# vim hive-env.sh

export HIVE_AUX_JARS_PATH=/opt/atlas/distro/target/apache-atlas-2.1.0-bin/apache-atlas-2.1.0/hook/hive
5.导入Hive元数据
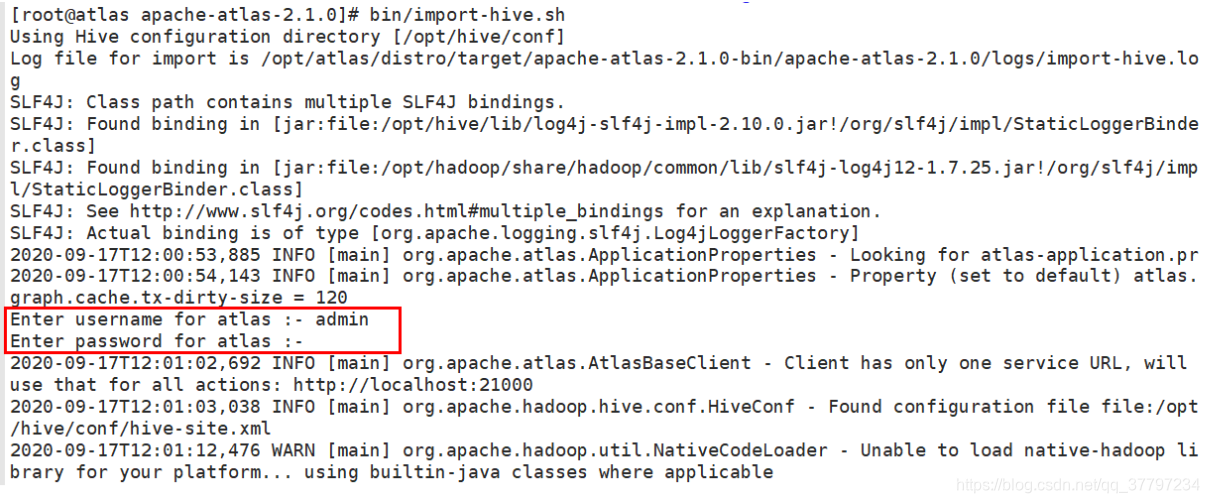
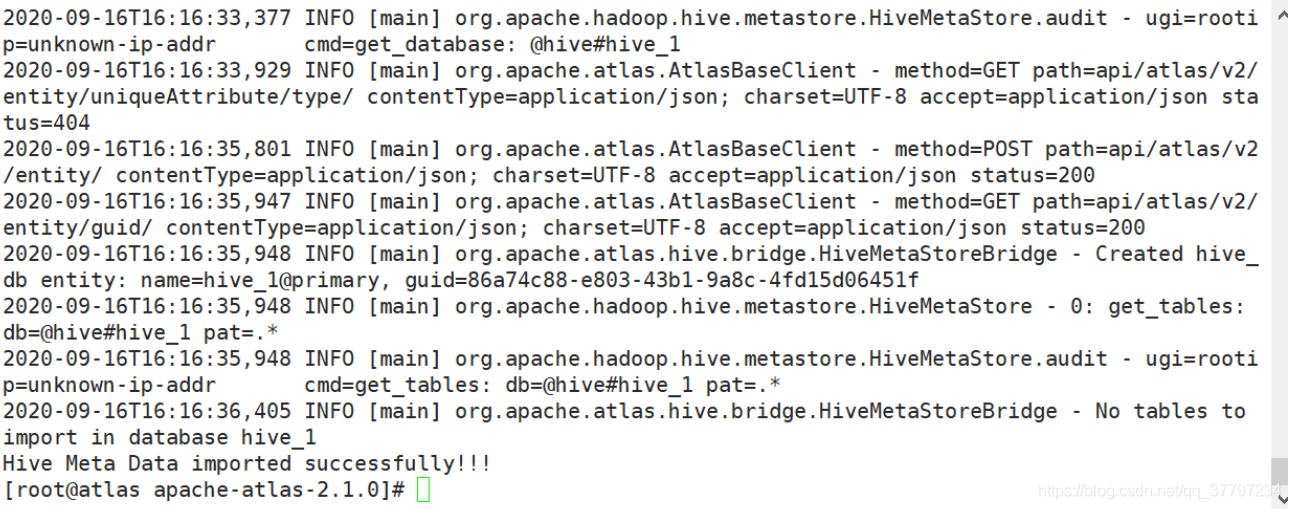
[root@atlas apache-atlas-2.1.0]# bin/import-hive.sh
输入用户admin,密码admin
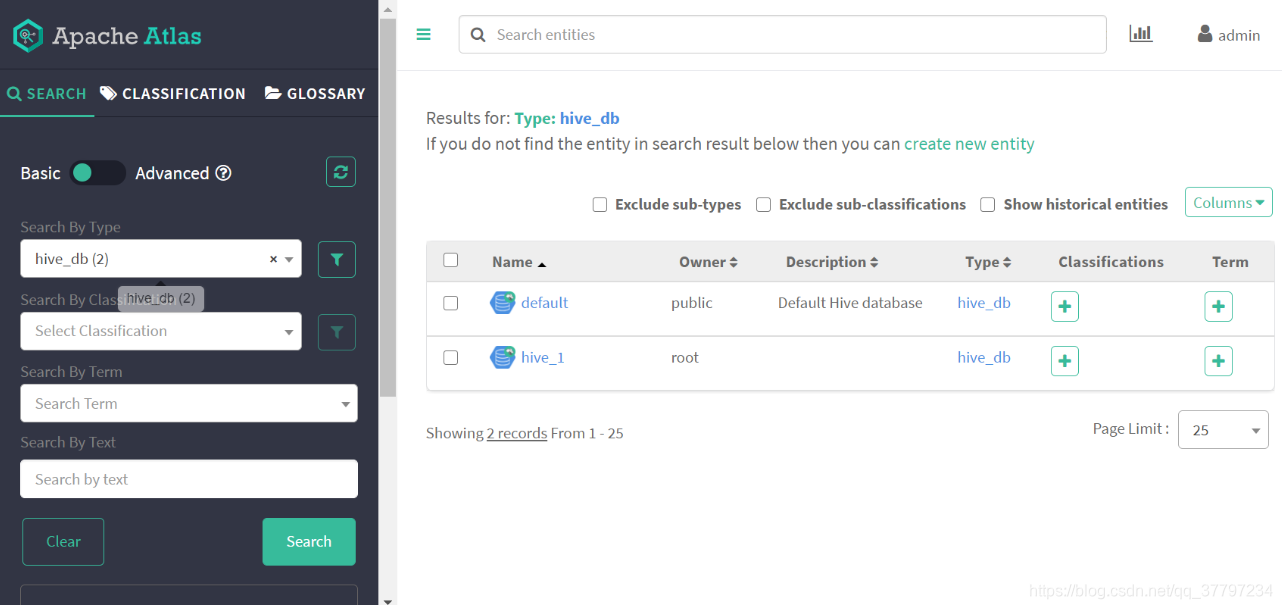
成功展示:

北京人形旗下天工造物具身智能开源社区,聚焦具身天工与慧思开物两大平台
更多推荐
 0
0 0
0- 0


 已为社区贡献2条内容

所有评论(0)