nacos+getaway
·
gateway网关模块,表面现象:配置一个统一的访问入口,给你的感觉就是前后端信息交互时,就是单体项目,实际是由网关断言对路由做了转发。
更直白来讲,你可以把网关理解为拦截器,前端请求的地址都被拦截后,转发到你配置的地址进行访问。
废话不多说,贴代码
1.pom文件创建
<?xml version="1.0" encoding="UTF-8"?>
<project xmlns="http://maven.apache.org/POM/4.0.0"
         xmlns:xsi="http://www.w3.org/2001/XMLSchema-instance"
         xsi:schemaLocation="http://maven.apache.org/POM/4.0.0 http://maven.apache.org/xsd/maven-4.0.0.xsd">
    <parent>
        <artifactId>SpringCloud</artifactId>
        <groupId>com.gbicc</groupId>
        <version>1.0-SNAPSHOT</version>
    </parent>
    <modelVersion>4.0.0</modelVersion>

    <artifactId>poem-gateway</artifactId>

    <dependencies>

        <!-- SpringCloud Gateway -->
        <dependency>
            <groupId>org.springframework.cloud</groupId>
            <artifactId>spring-cloud-starter-gateway</artifactId>
        </dependency>

        <!-- SpringCloud Ailibaba Nacos -->
        <dependency>
            <groupId>com.alibaba.cloud</groupId>
            <artifactId>spring-cloud-starter-alibaba-nacos-discovery</artifactId>
        </dependency>

        <!-- SpringCloud Ailibaba Nacos Config -->
        <dependency>
            <groupId>com.alibaba.cloud</groupId>
            <artifactId>spring-cloud-starter-alibaba-nacos-config</artifactId>
        </dependency>

        <!-- SpringCloud Ailibaba Sentinel -->
        <dependency>
            <groupId>com.alibaba.cloud</groupId>
            <artifactId>spring-cloud-starter-alibaba-sentinel</artifactId>
        </dependency>

        <!-- SpringCloud Ailibaba Sentinel Gateway -->
        <dependency>
            <groupId>com.alibaba.cloud</groupId>
            <artifactId>spring-cloud-alibaba-sentinel-gateway</artifactId>
        </dependency>

        <!-- Sentinel Datasource Nacos -->
        <dependency>
            <groupId>com.alibaba.csp</groupId>
            <artifactId>sentinel-datasource-nacos</artifactId>
        </dependency>

        <!-- SpringBoot Actuator -->
        <dependency>
            <groupId>org.springframework.boot</groupId>
            <artifactId>spring-boot-starter-actuator</artifactId>
        </dependency>

        <dependency>
            <groupId>com.alibaba.csp</groupId>
            <artifactId>sentinel-transport-simple-http</artifactId>
        </dependency>

    </dependencies>

    <build>
        <plugins>
            <plugin>
                <groupId>org.springframework.boot</groupId>
                <artifactId>spring-boot-maven-plugin</artifactId>
                <executions>
                    <execution>
                        <goals>
                            <goal>repackage</goal>
                        </goals>
                    </execution>
                </executions>
            </plugin>
        </plugins>
    </build>

</project>
2.创建项目启动类GatewayApplication
package com.gbicc;

import org.springframework.boot.SpringApplication;
import org.springframework.boot.autoconfigure.SpringBootApplication;
import org.springframework.cloud.client.discovery.EnableDiscoveryClient;

@SpringBootApplication
@EnableDiscoveryClient
public class GatewayApplication {
    public static void main(String[] args) {
        SpringApplication.run(GatewayApplication.class,args);
        System.out.println("网关模块启动成功");
    }
}
创建配置文件,前面已经向注册中心注册了配置中心的配置,所以着我直接用bootstrap.yml
server:
  port: 8089
spring:
  application:
    name: poem-gateway
  profiles:
    active: dev
  cloud:
    nacos:
      discovery:
        server-addr: localhost:8848
      config:
        server-addr: 127.0.0.1:8848
        file-extension: yml
    sentinel:
      eager: true
      transport:
        dashboard: 127.0.0.1:8718
        #这里的配置时sentinel整合网关的时候用到的配置,暂时不用看
      datasource:
        ds1:
          nacos:
            server-addr: localhost:8848
            dataId: sentinel-poem-gateway
            group: DEFAULT_GROUP
            data-type: json
            rule-type: flow
nacos控制台记得创建poem-gateway-dev.yml
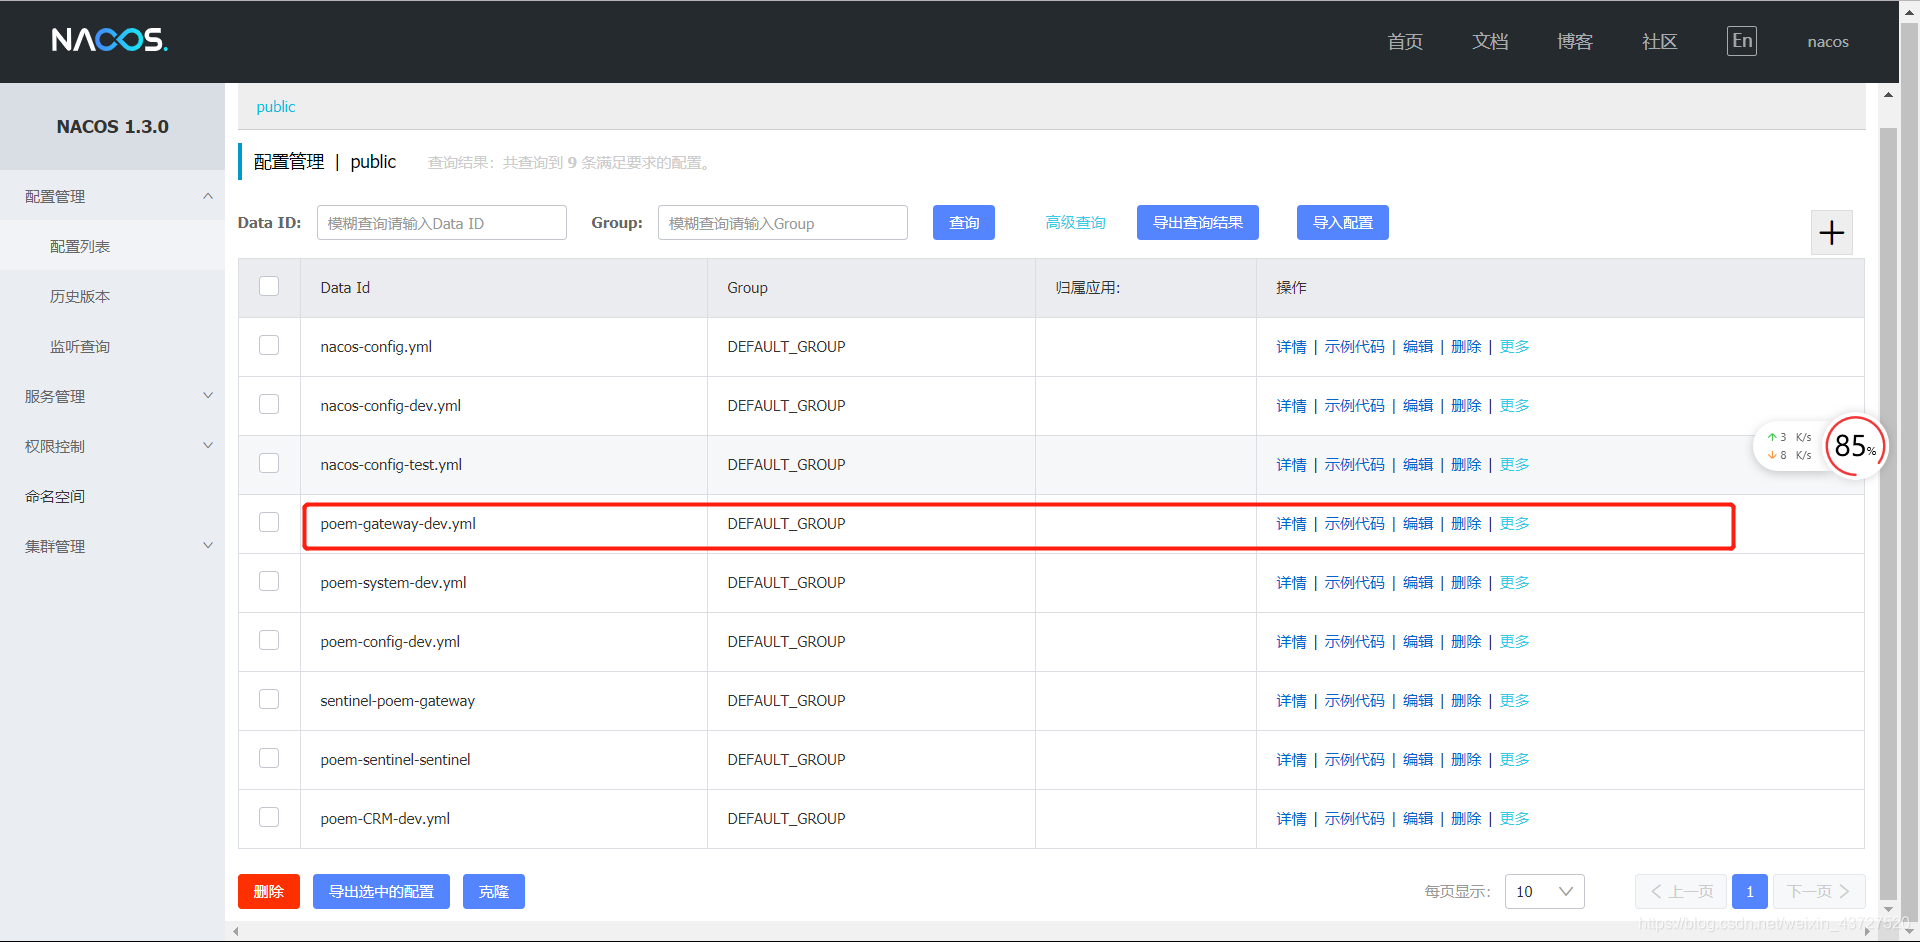
poem-gateway-dev.yml的详细内容
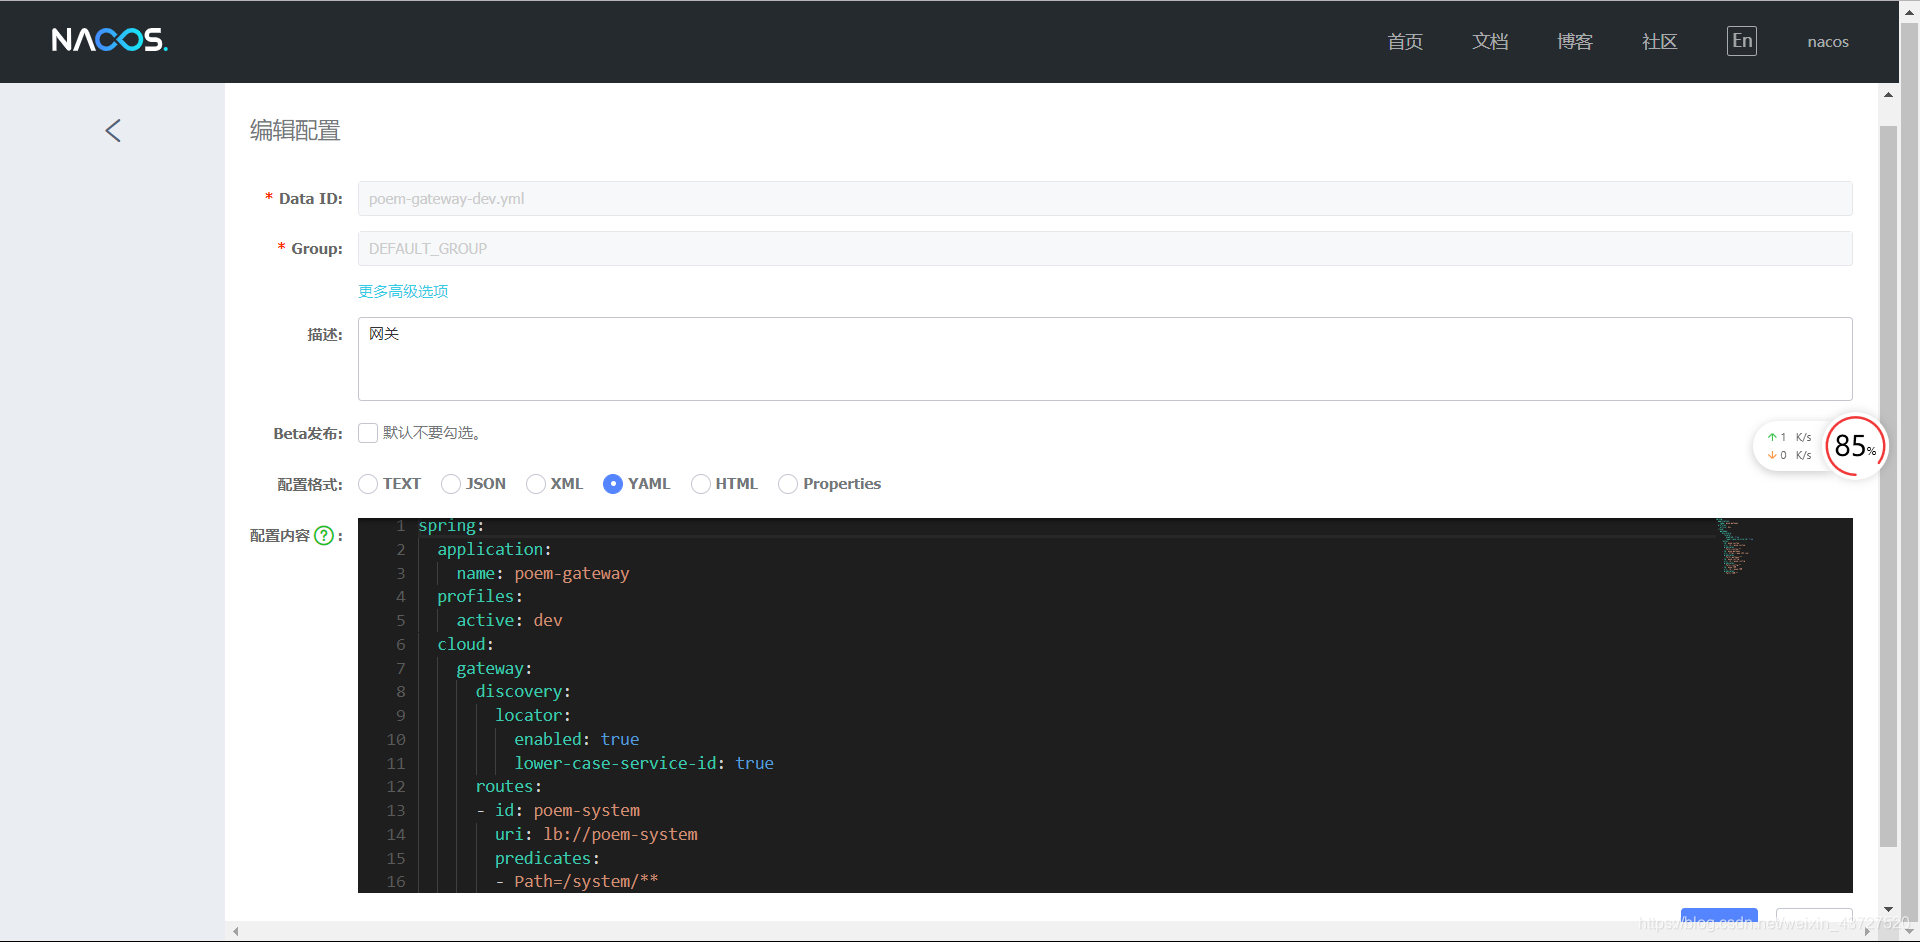
spring:
  application:
    name: poem-gateway
  profiles:
    active: dev
  cloud:
    gateway:
      discovery:
        locator:
          enabled: true
          lower-case-service-id: true
      routes:
      - id: poem-system
        uri: lb://poem-system
        predicates:
        - Path=/system/**
      - id: poem-gateway
        uri: https://www.163.com/
        predicates:
        - Path=/gateway/**
      - id: poem-config
        uri: lb://poem-config
        predicates:
        - Path=/config/**
      - id: poem-CRM
        uri: lb://poem-CRM
        predicates:
        - Path=/CRM/**
启动项目:
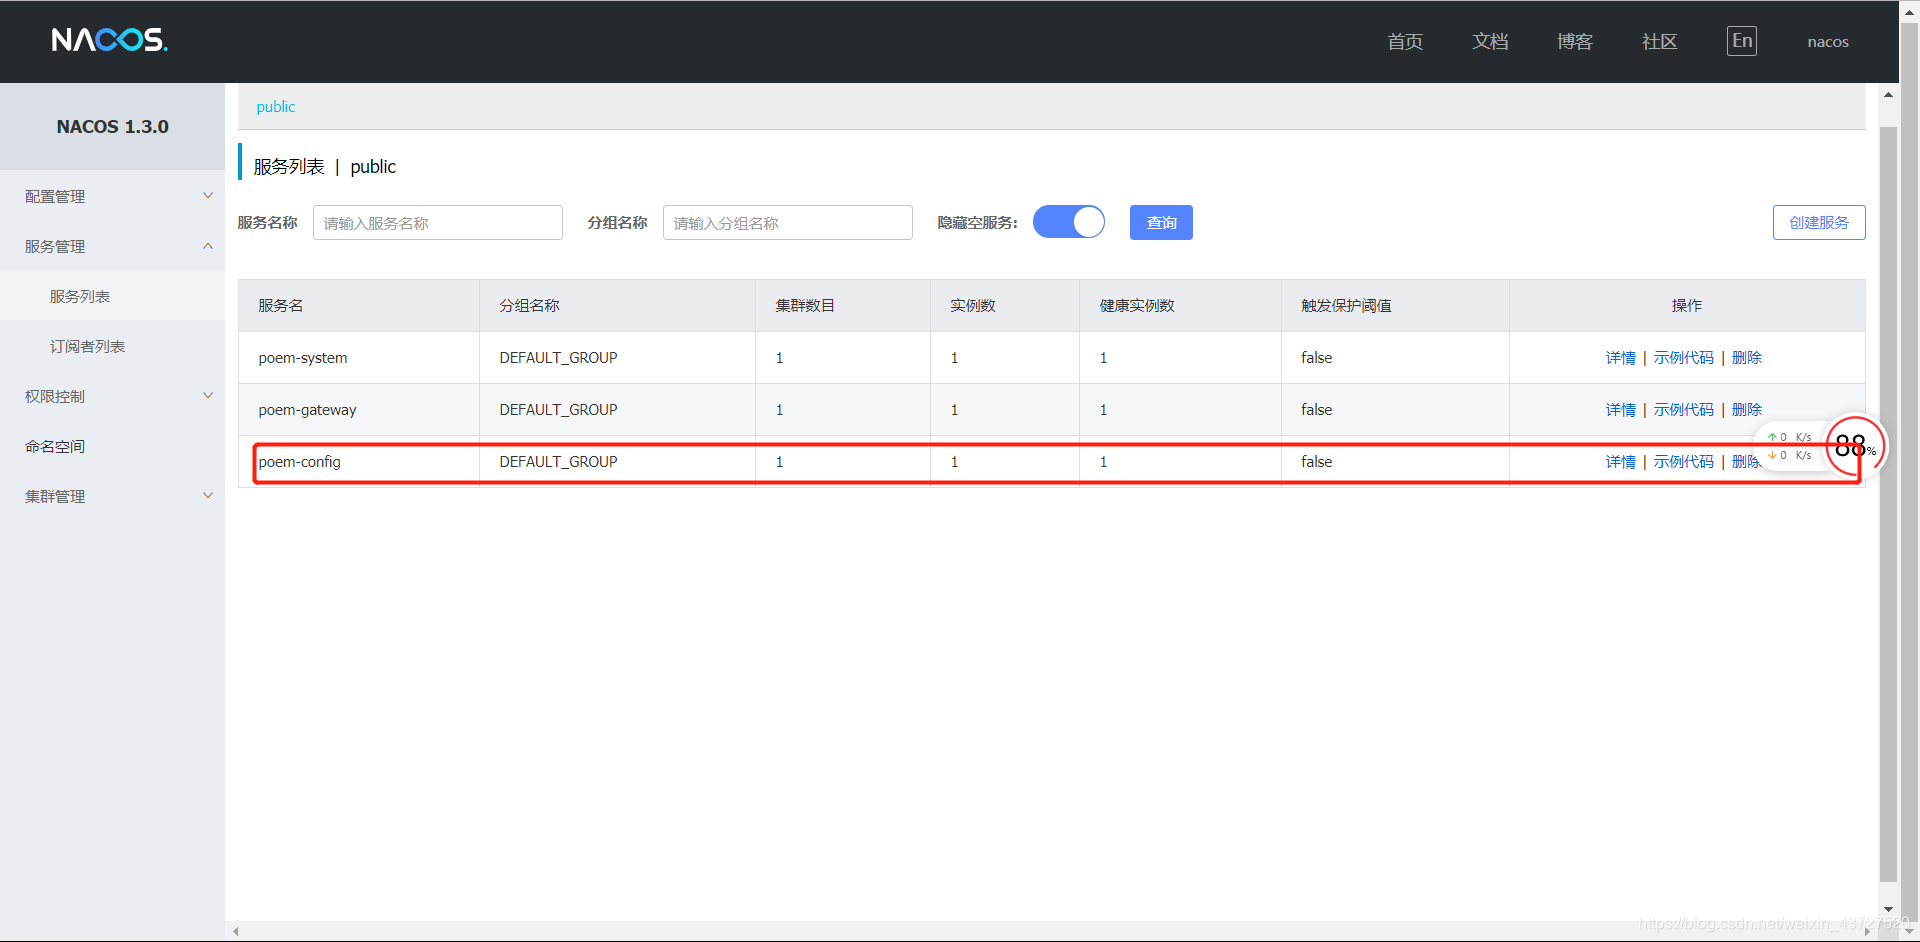
在服务器列表中可以看到已经启动了,这个时候你访问:
http://localhost:8089/gateway/任意路径,网关都会给你转发到https://www.163.com/ 这个网址
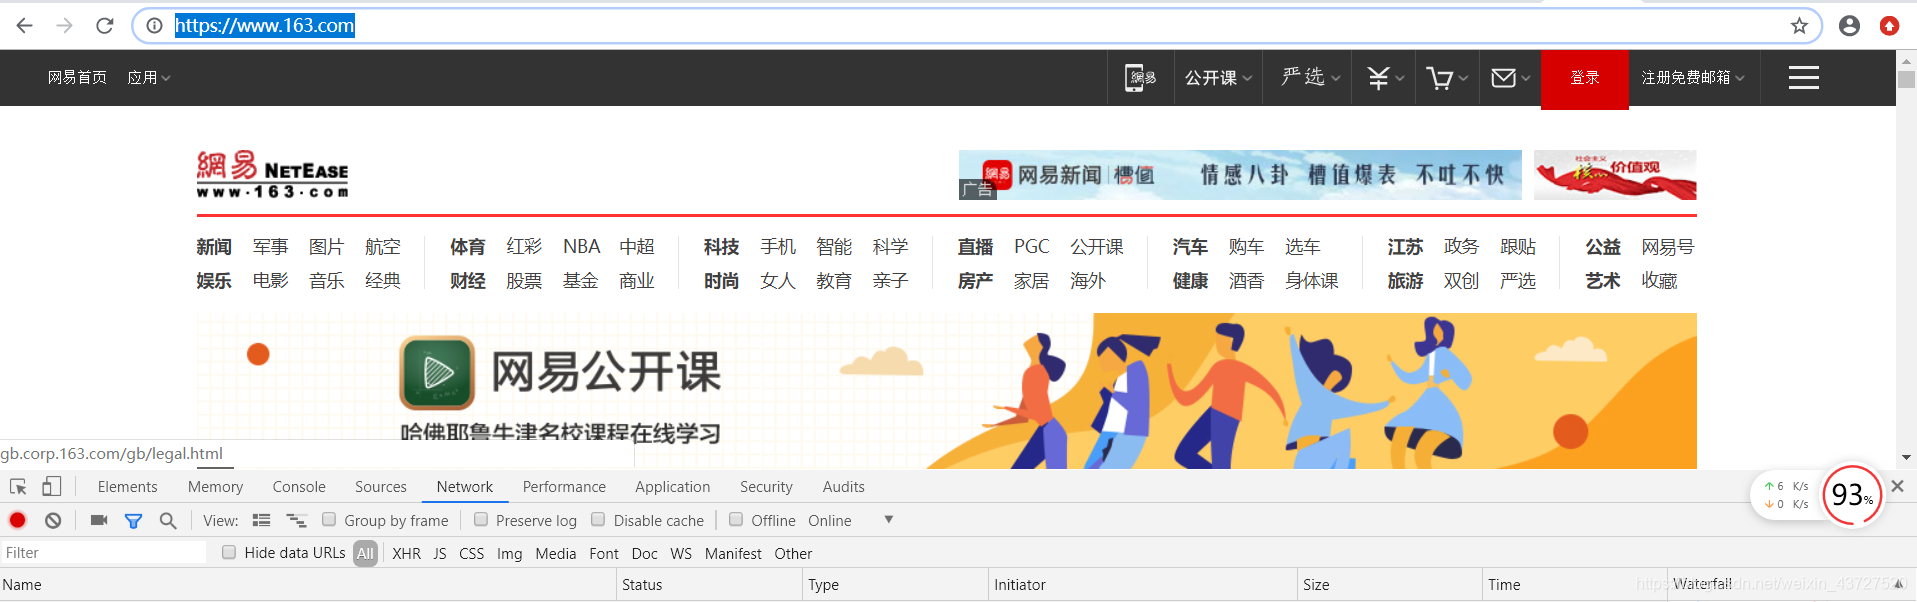
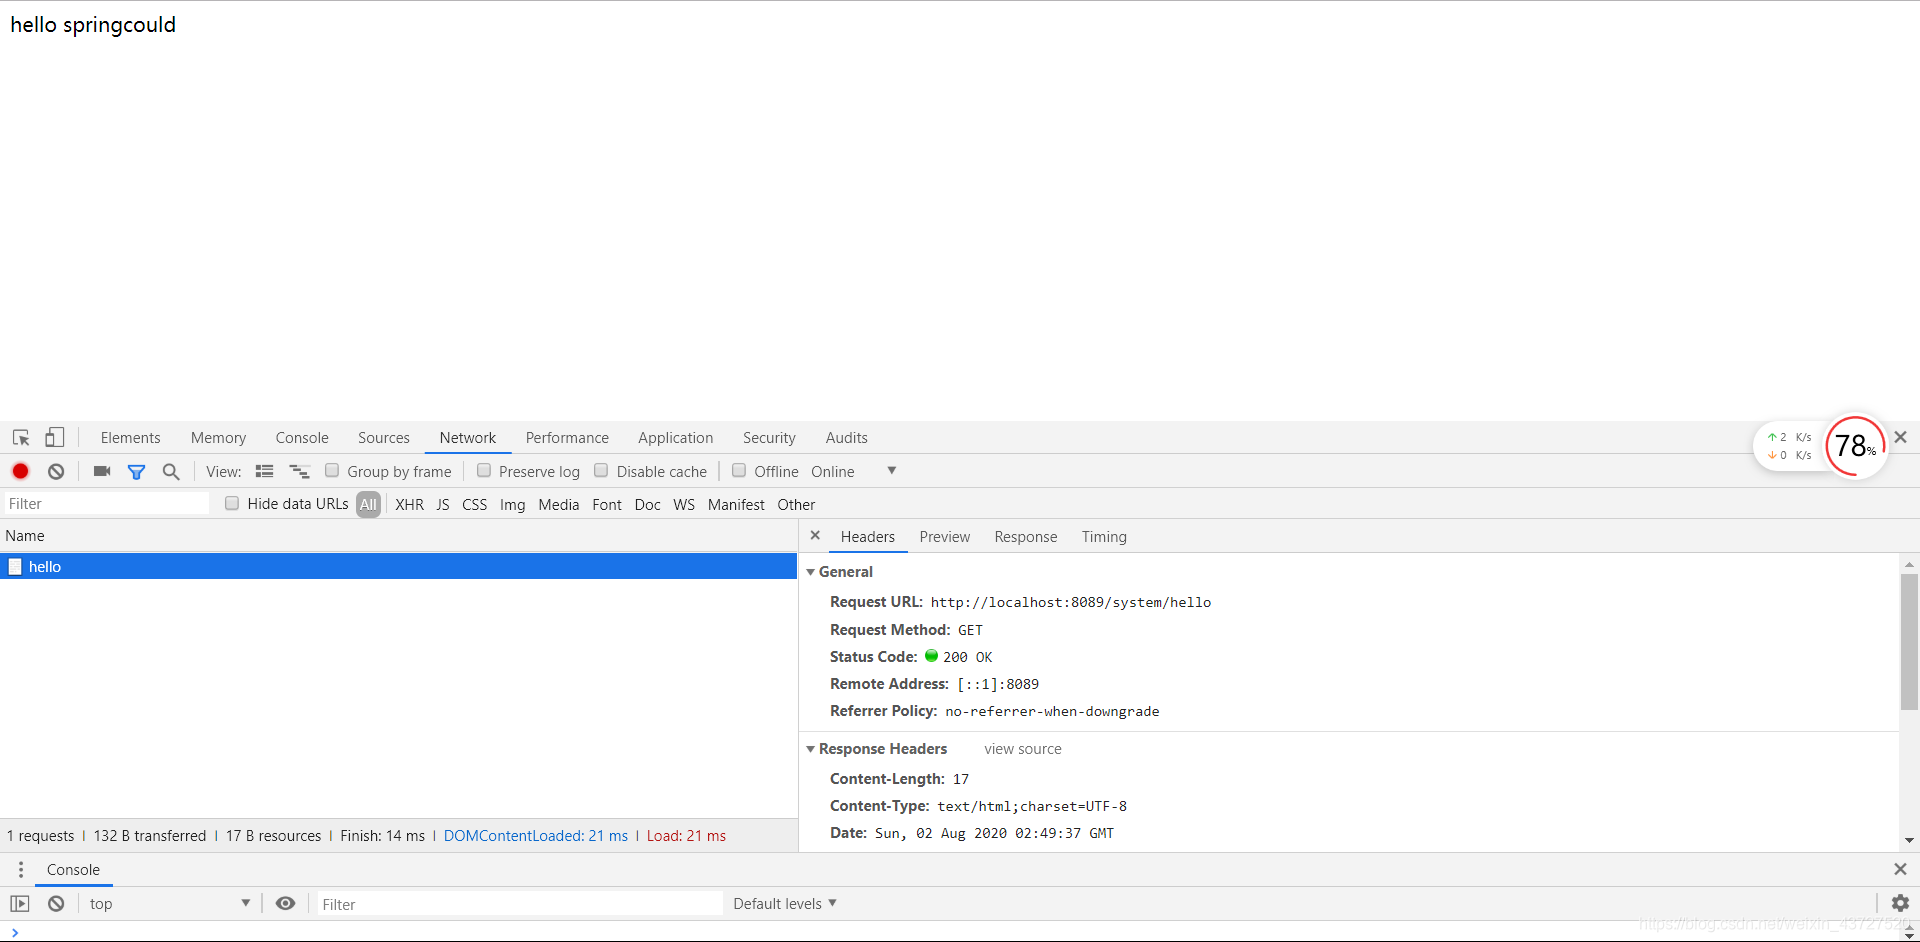
访问http://localhost:8089/system/hello,直接转发到system模块下的查找/system/hello这个路径。 当然你可以直接访问http://localhost:8088/system/hello效果也是一样的。
当然等项目整合了spring security oauth2之后,就只能通过网关进行路由转换了。

北京人形旗下天工造物具身智能开源社区,聚焦具身天工与慧思开物两大平台
更多推荐
 0
0 0
0- 0


 已为社区贡献2条内容

所有评论(0)