windows下vcpkg安装osgearth3.7
目录
首先电脑上要安装好git,以及安装vs2019及以上版本。
一、安装vcpkg
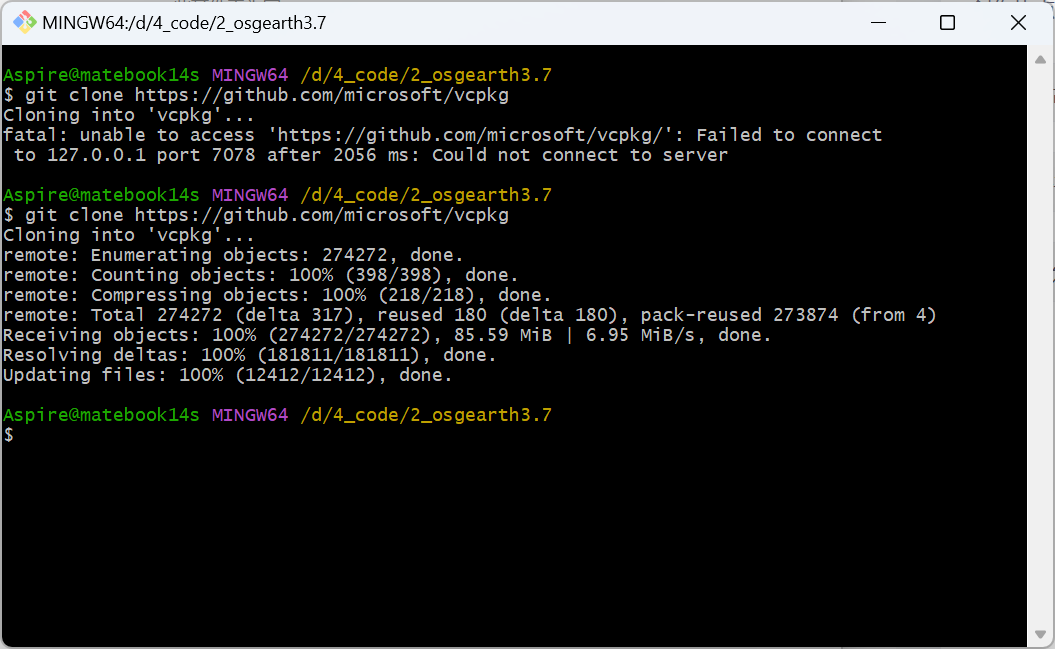
git clone https://github.com/microsoft/vcpkg
如果下载失败,需要科学上网
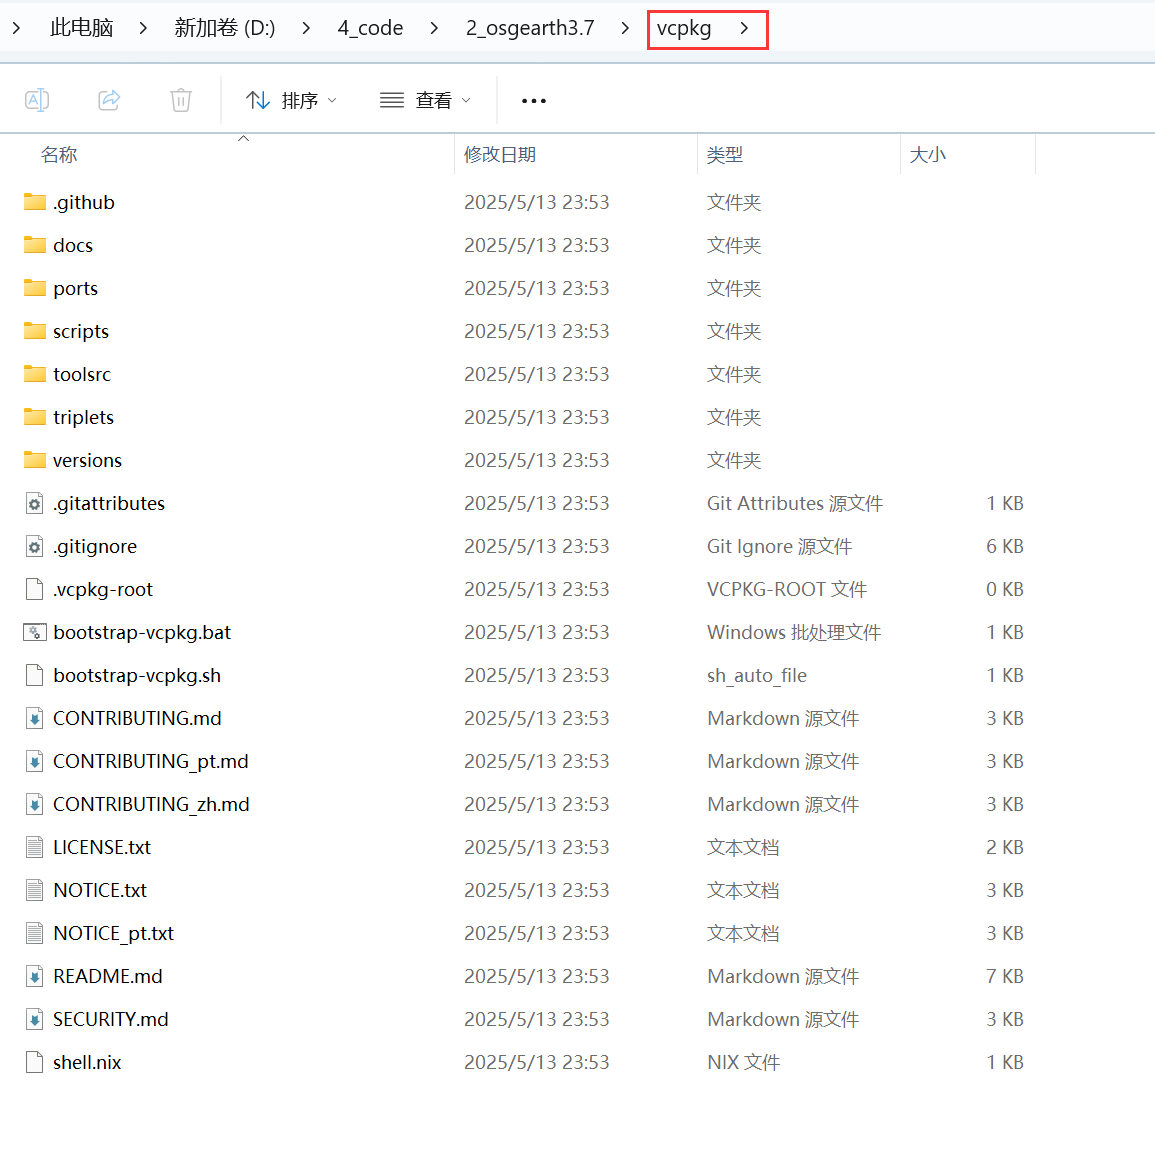
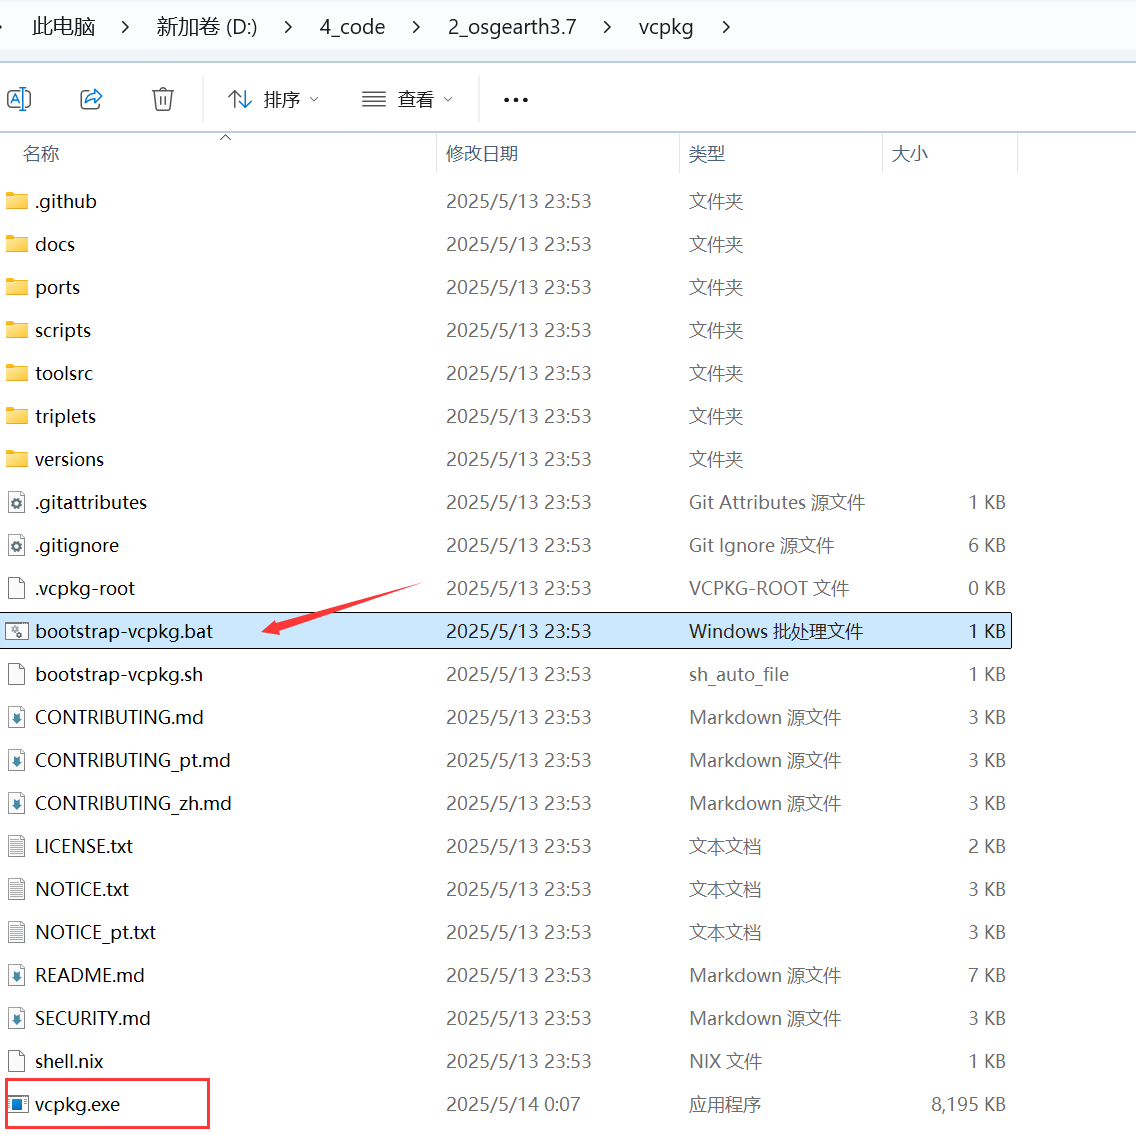
双击运行bootstrap-vcpkg.bat,会出现vcpkg.exe,后面会用到
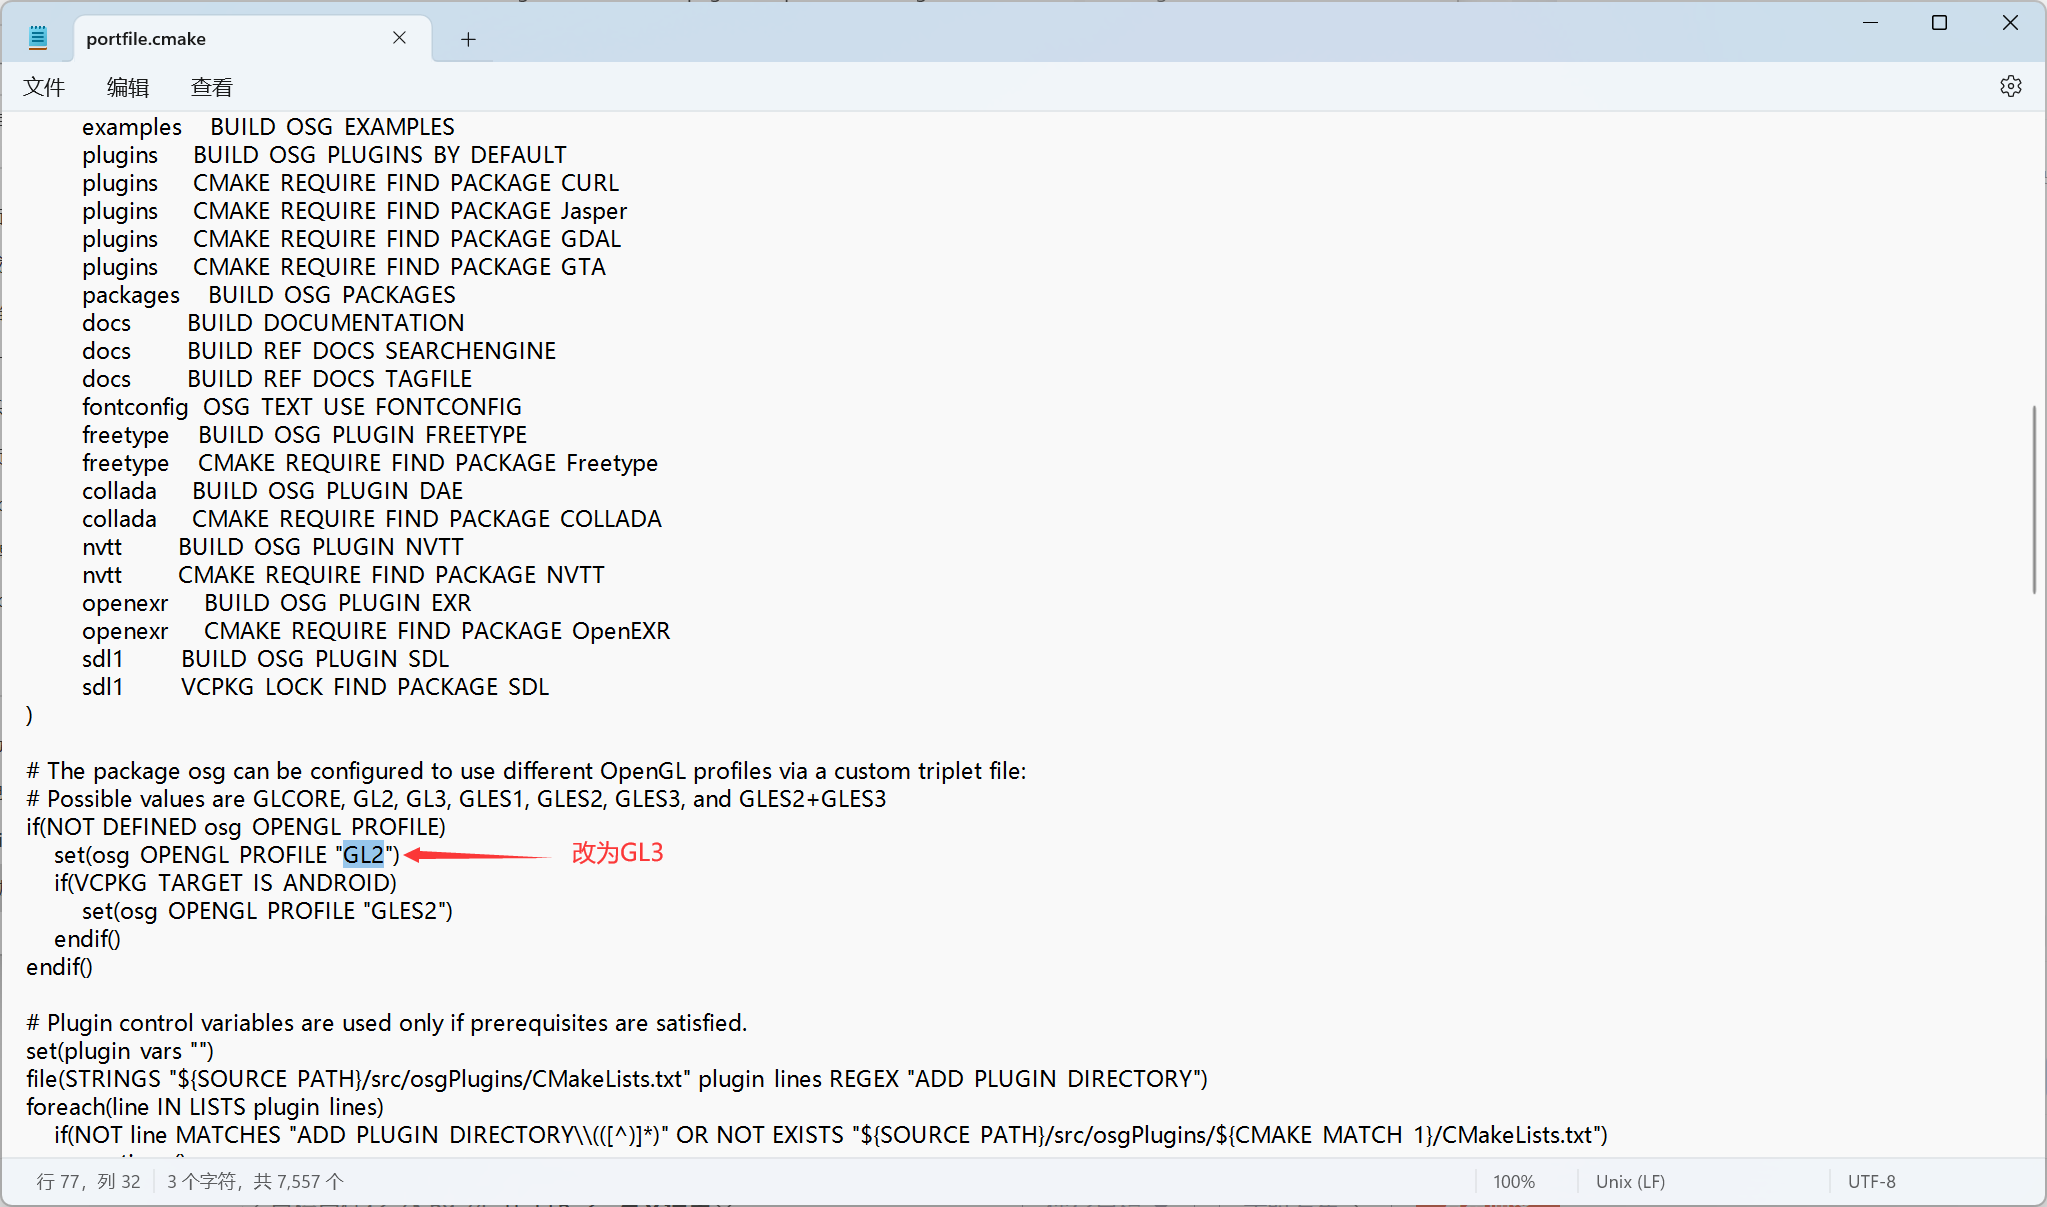
二、修改protfile.cmake文件
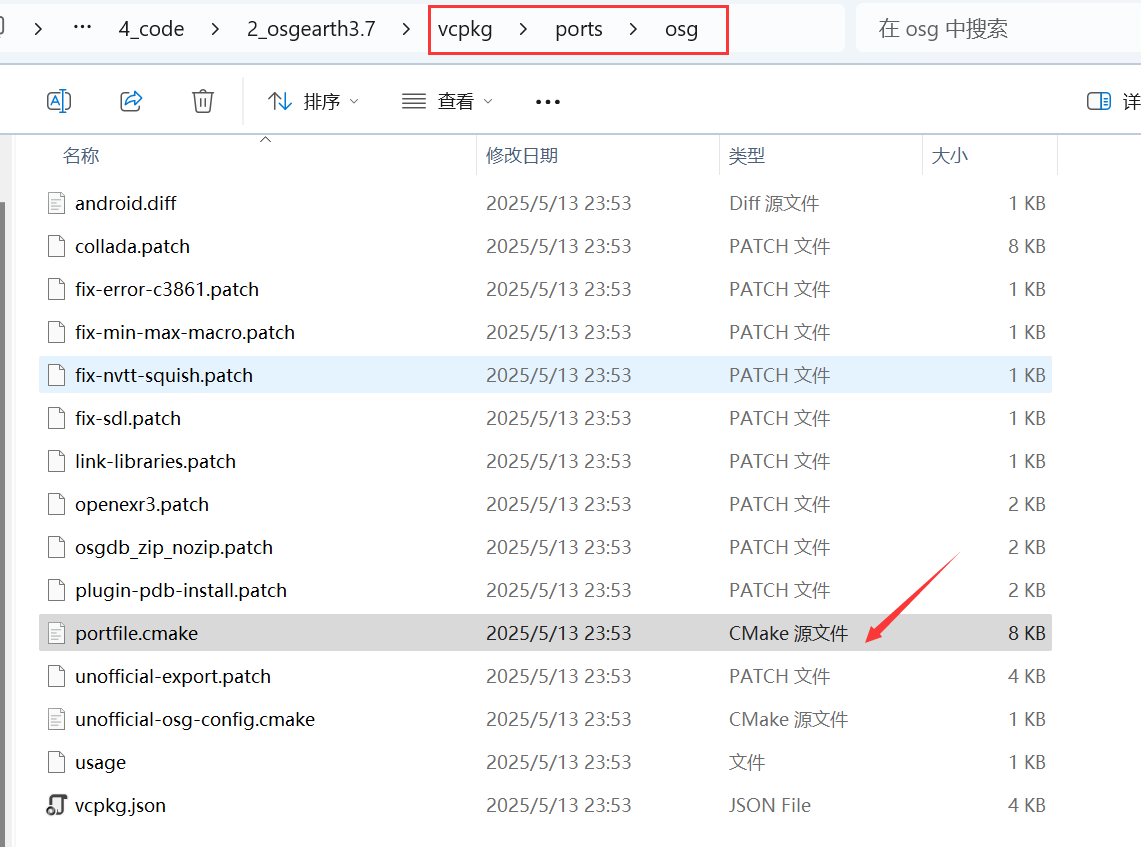
修改protfile.cmake中第77行里的GL2为GL3
 三、安装osgearth
以管理员权限打开power shell终端,进入vcpkg文件夹下,执行如下命令
.\vcpkg install osgearth:x64-windows
执行如上命令,会默认安装合适版本的第三方依赖库、osg库
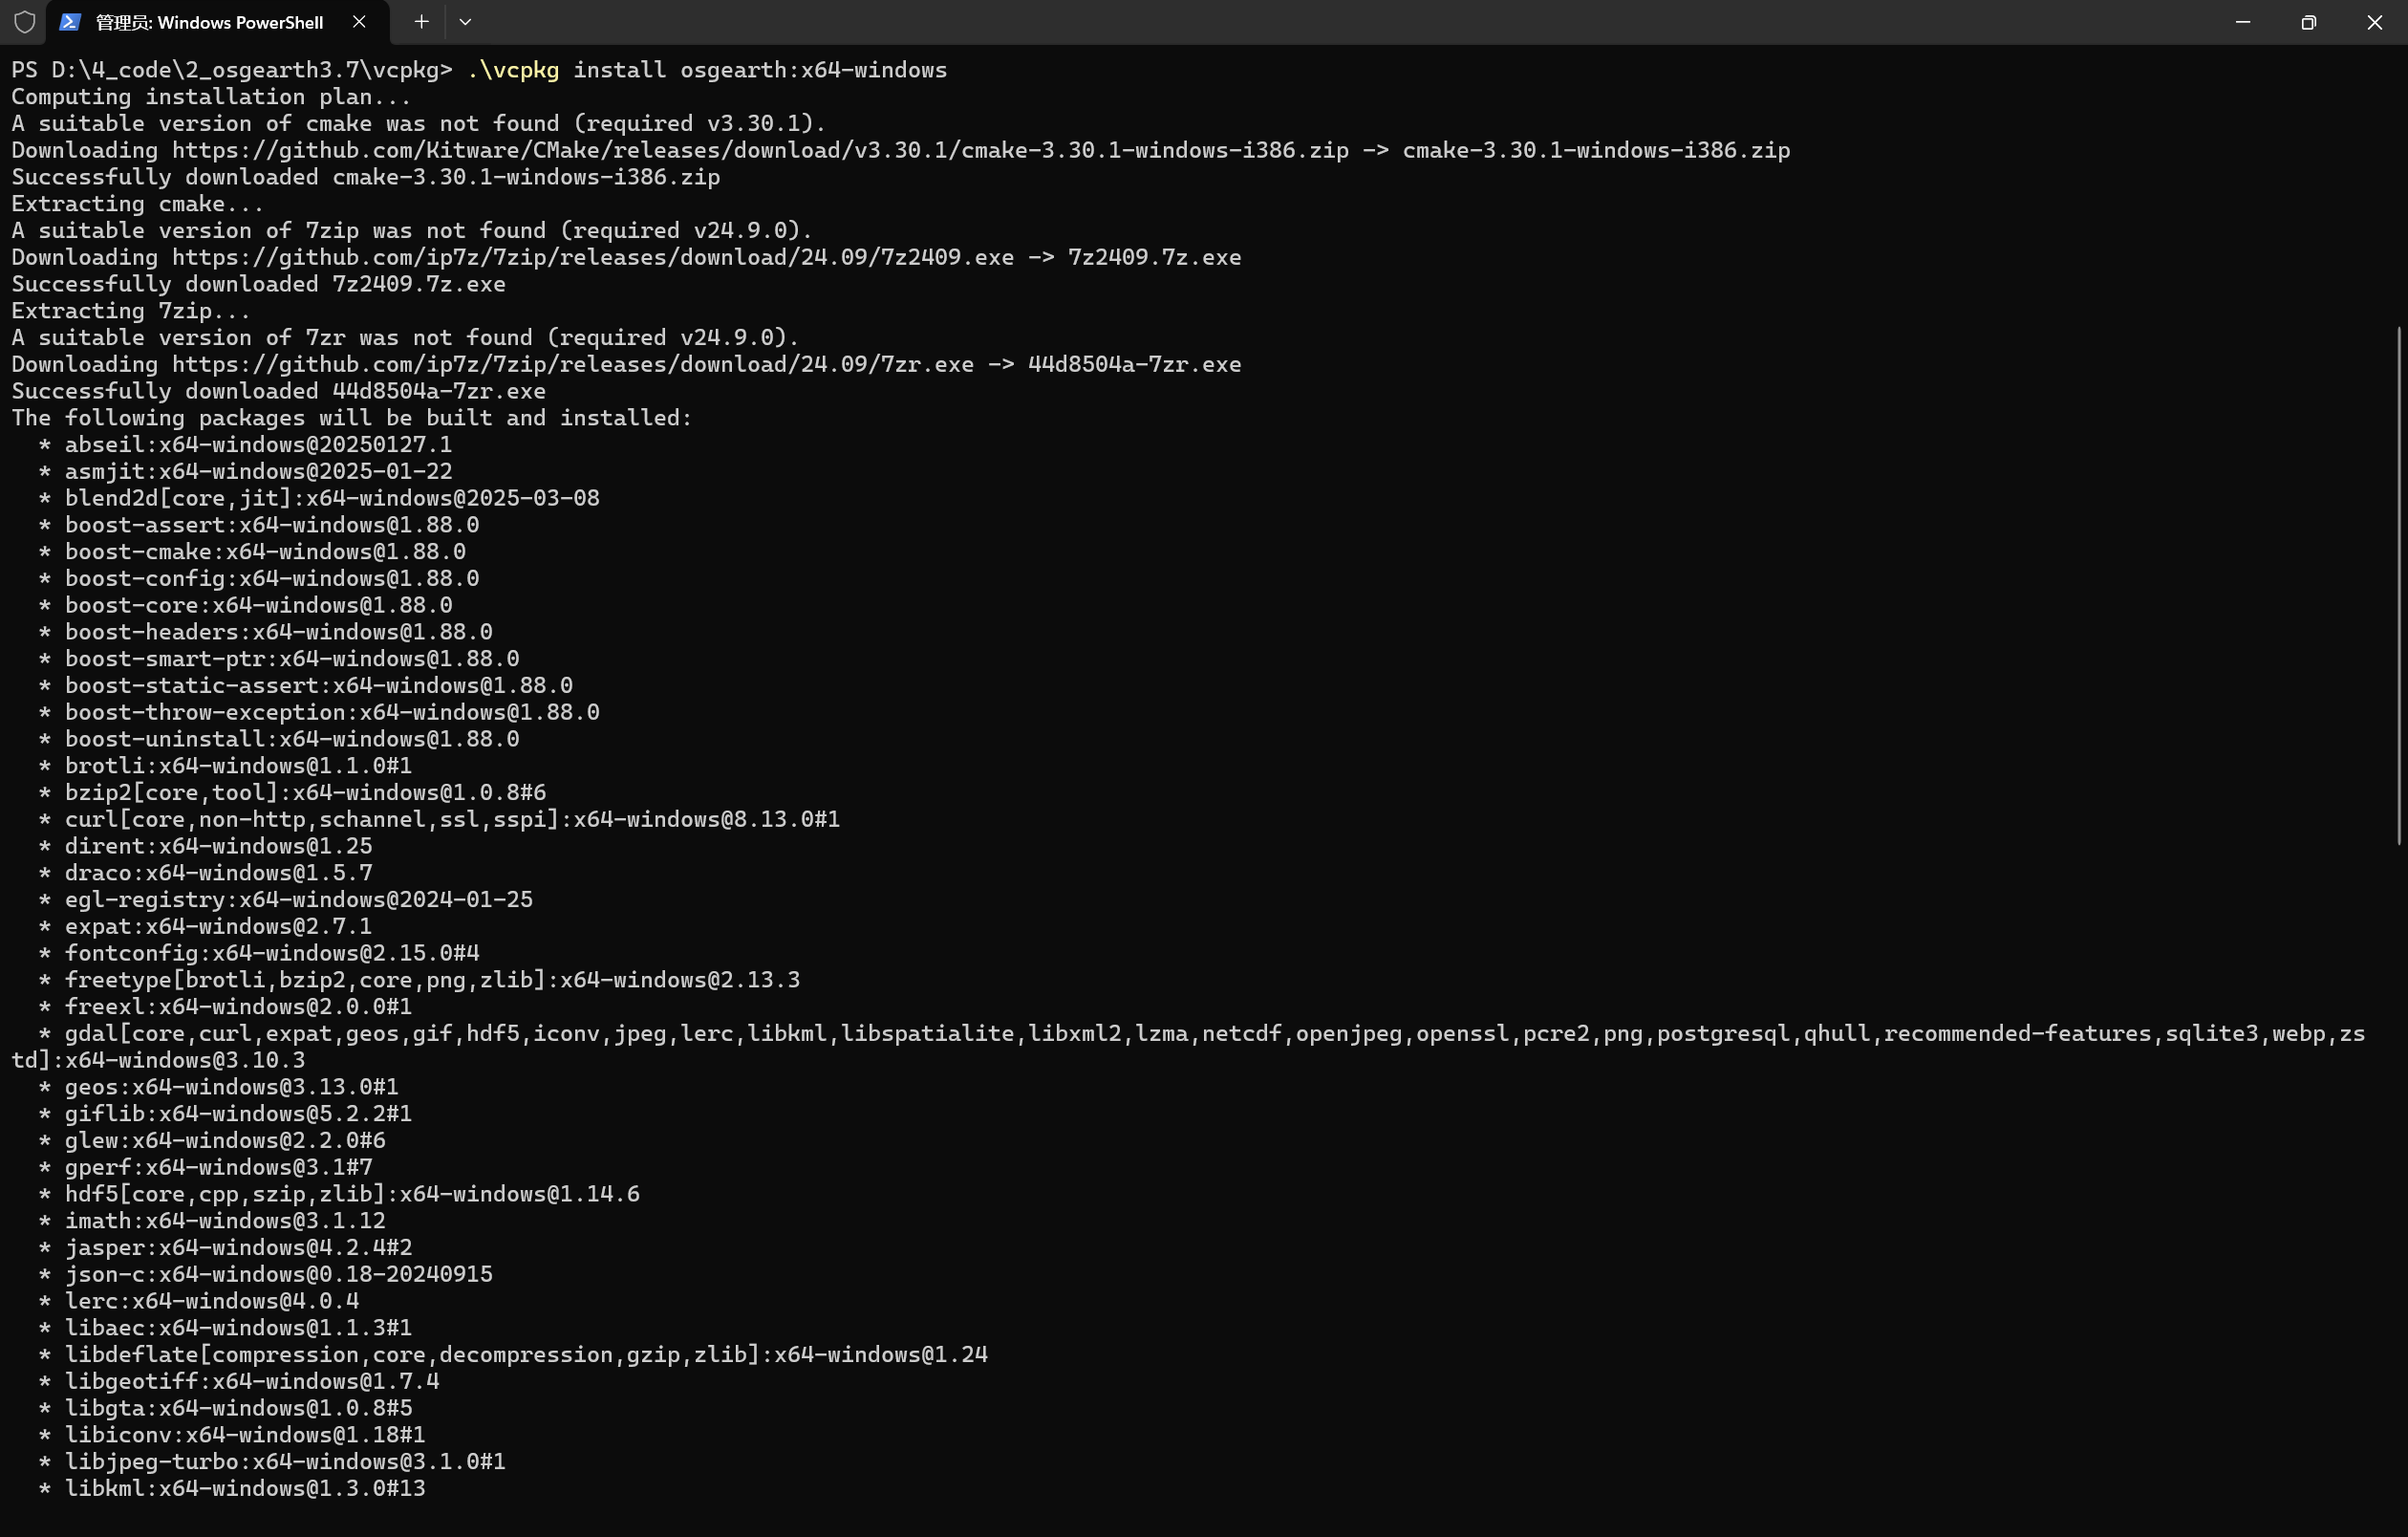
如果下载编译过程中报错,可能有2个原因
1)vs版本需要大于2019
2)没有科学上网
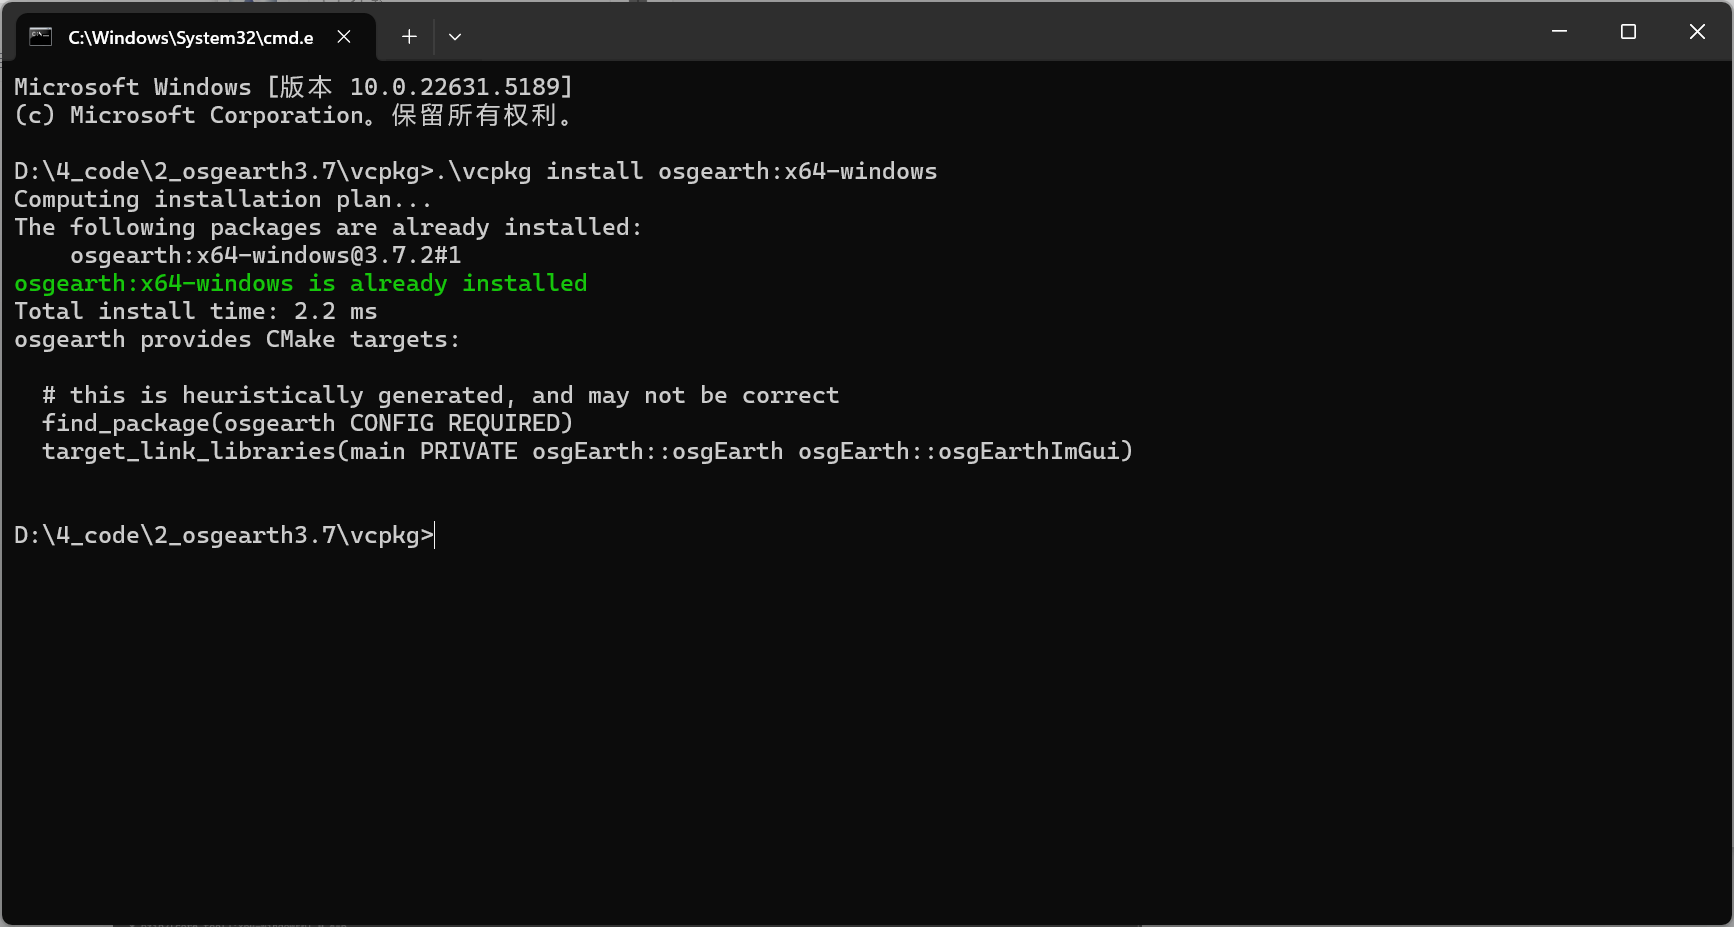
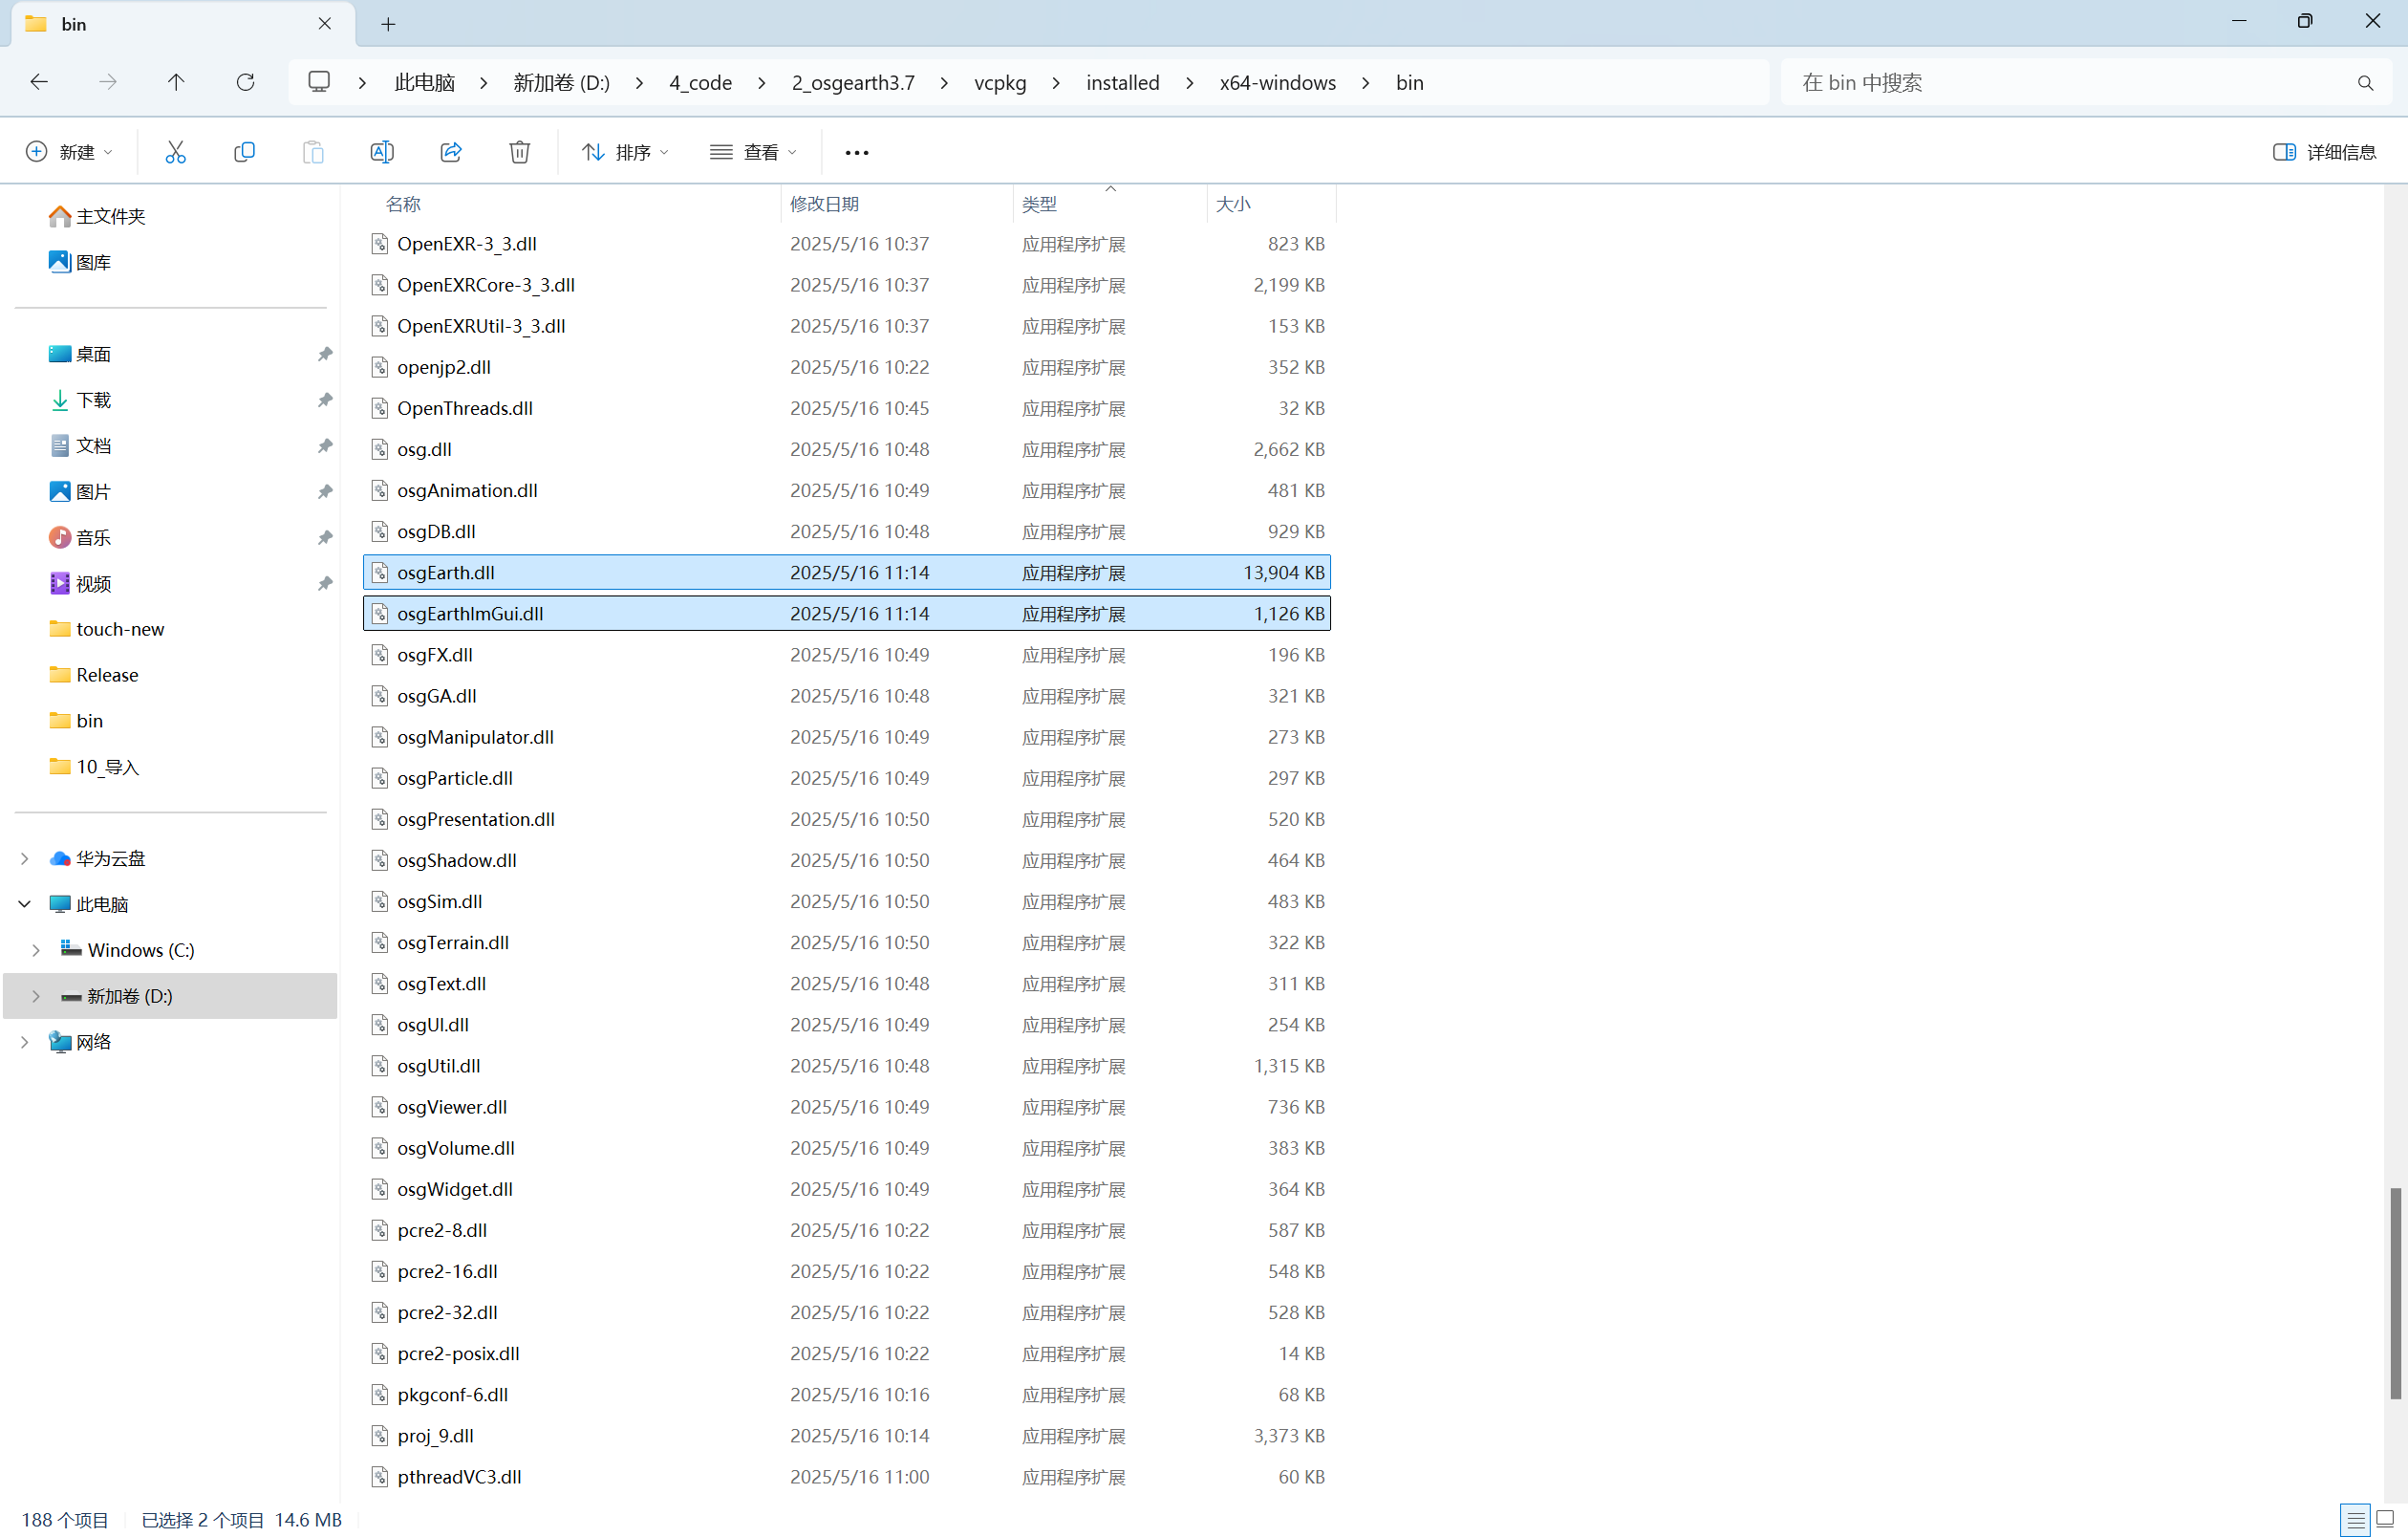
上图是我已经安装完毕,此时D:\4_code\2_osgearth3.7\vcpkg\installed\x64-windows\bin路径下,会有vcpkg编译安装后的dll库,包含第三方依赖库、osg库、osgearth库,其中osgearth的dll只有2个,如下图所示。
四、将vcpkg环境集成到vs中
.\vcpkg integrate install
执行如上命令后,重新打开vs,新建项目的时候,无需再配置osg、osgearth的bin、include、lib路径,可以直接写代码,然后运行即可,非常方便。但如果需要多个不同版本的osg、osgearth,就需要手动修改了。
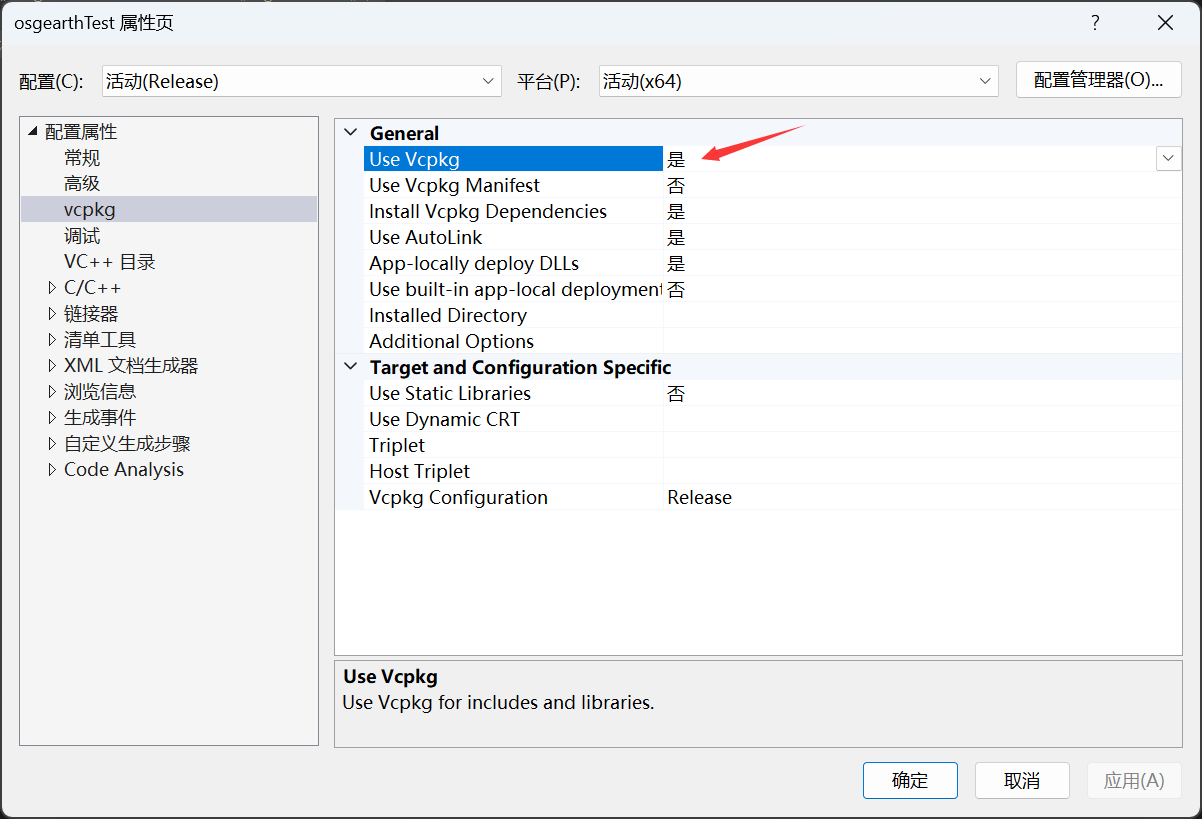
五、测试
vcpkg安装的库中,没有可执行的例子,因此需要在vs里新建项目,然后运行,由于不需要配置,因此十分简单。
/* osgEarth
* Copyright 2025 Pelican Mapping
* MIT License
*/

#include <osgViewer/Viewer>
#include <osgEarth/EarthManipulator>
#include <osgEarth/ExampleResources>
#include <osgEarth/MapNode>
#include <osgEarth/PhongLightingEffect>
#include <osgGA/TrackballManipulator>
#include <iostream>

#include <osgEarth/Metrics>

#define LC "[viewer] "

using namespace osgEarth;
using namespace osgEarth::Util;

int
usage(const char* name)
{
    std::cout
        << "View an earth file: " << name << " file.earth" << std::endl
        << "View an OSG model: " << name << " [modelfile.ext] [--light]" << std::endl
        << Util::MapNodeHelper().usage() << std::endl;

    return 0;
}


int
main(int argc, char** argv)
{
    osg::ArgumentParser arguments(&argc, argv);
    if (arguments.read("--help"))
        return usage(argv[0]);

    // start up osgEarth
    osgEarth::initialize(arguments);

    // create a simple view
    osgViewer::Viewer viewer(arguments);

    // install our default manipulator (do this before calling load)
    viewer.setCameraManipulator(new EarthManipulator(arguments));

    // disable the small-feature culling; necessary for some feature rendering
    viewer.getCamera()->setSmallFeatureCullingPixelSize(-1.0f);

    // load an earth file, and support all or our example command-line options
    auto node = MapNodeHelper().load(arguments, &viewer);
    if (node.valid())
    {
        if (MapNode::get(node))
        {
            viewer.setSceneData(node);
            return viewer.run();
        }
        else
        {
            // not an earth file? Just view as a normal OSG node or image with basic lighting
            viewer.setCameraManipulator(new osgGA::TrackballManipulator);

            if (arguments.read("--light"))
            {
                osg::LightSource* lightSource = new osg::LightSource();
                lightSource->getLight()->setAmbient(osg::Vec4(0.75f, 0.75f, 0.75f, 1.0f));

                auto group = new PhongLightingGroup();
                group->addChild(lightSource);
                group->addChild(node);

                ShaderGenerator gen;
                gen.run(group);

                viewer.setSceneData(group);

                while (!viewer.done())
                {
                    auto cam = viewer.getCamera()->getInverseViewMatrix().getTrans();
                    cam.normalize();
                    lightSource->getLight()->setPosition(osg::Vec4d(cam.x(), cam.y(), cam.z(), 0));
                    viewer.frame();
                }
                return 0;
            }
            else
            {
                ShaderGenerator gen;
                gen.run(node);
                viewer.setSceneData(node);
                return viewer.run();
            }
        }
    }

    return usage(argv[0]);
}
读取官方tests路径下提供的earth文件即可。
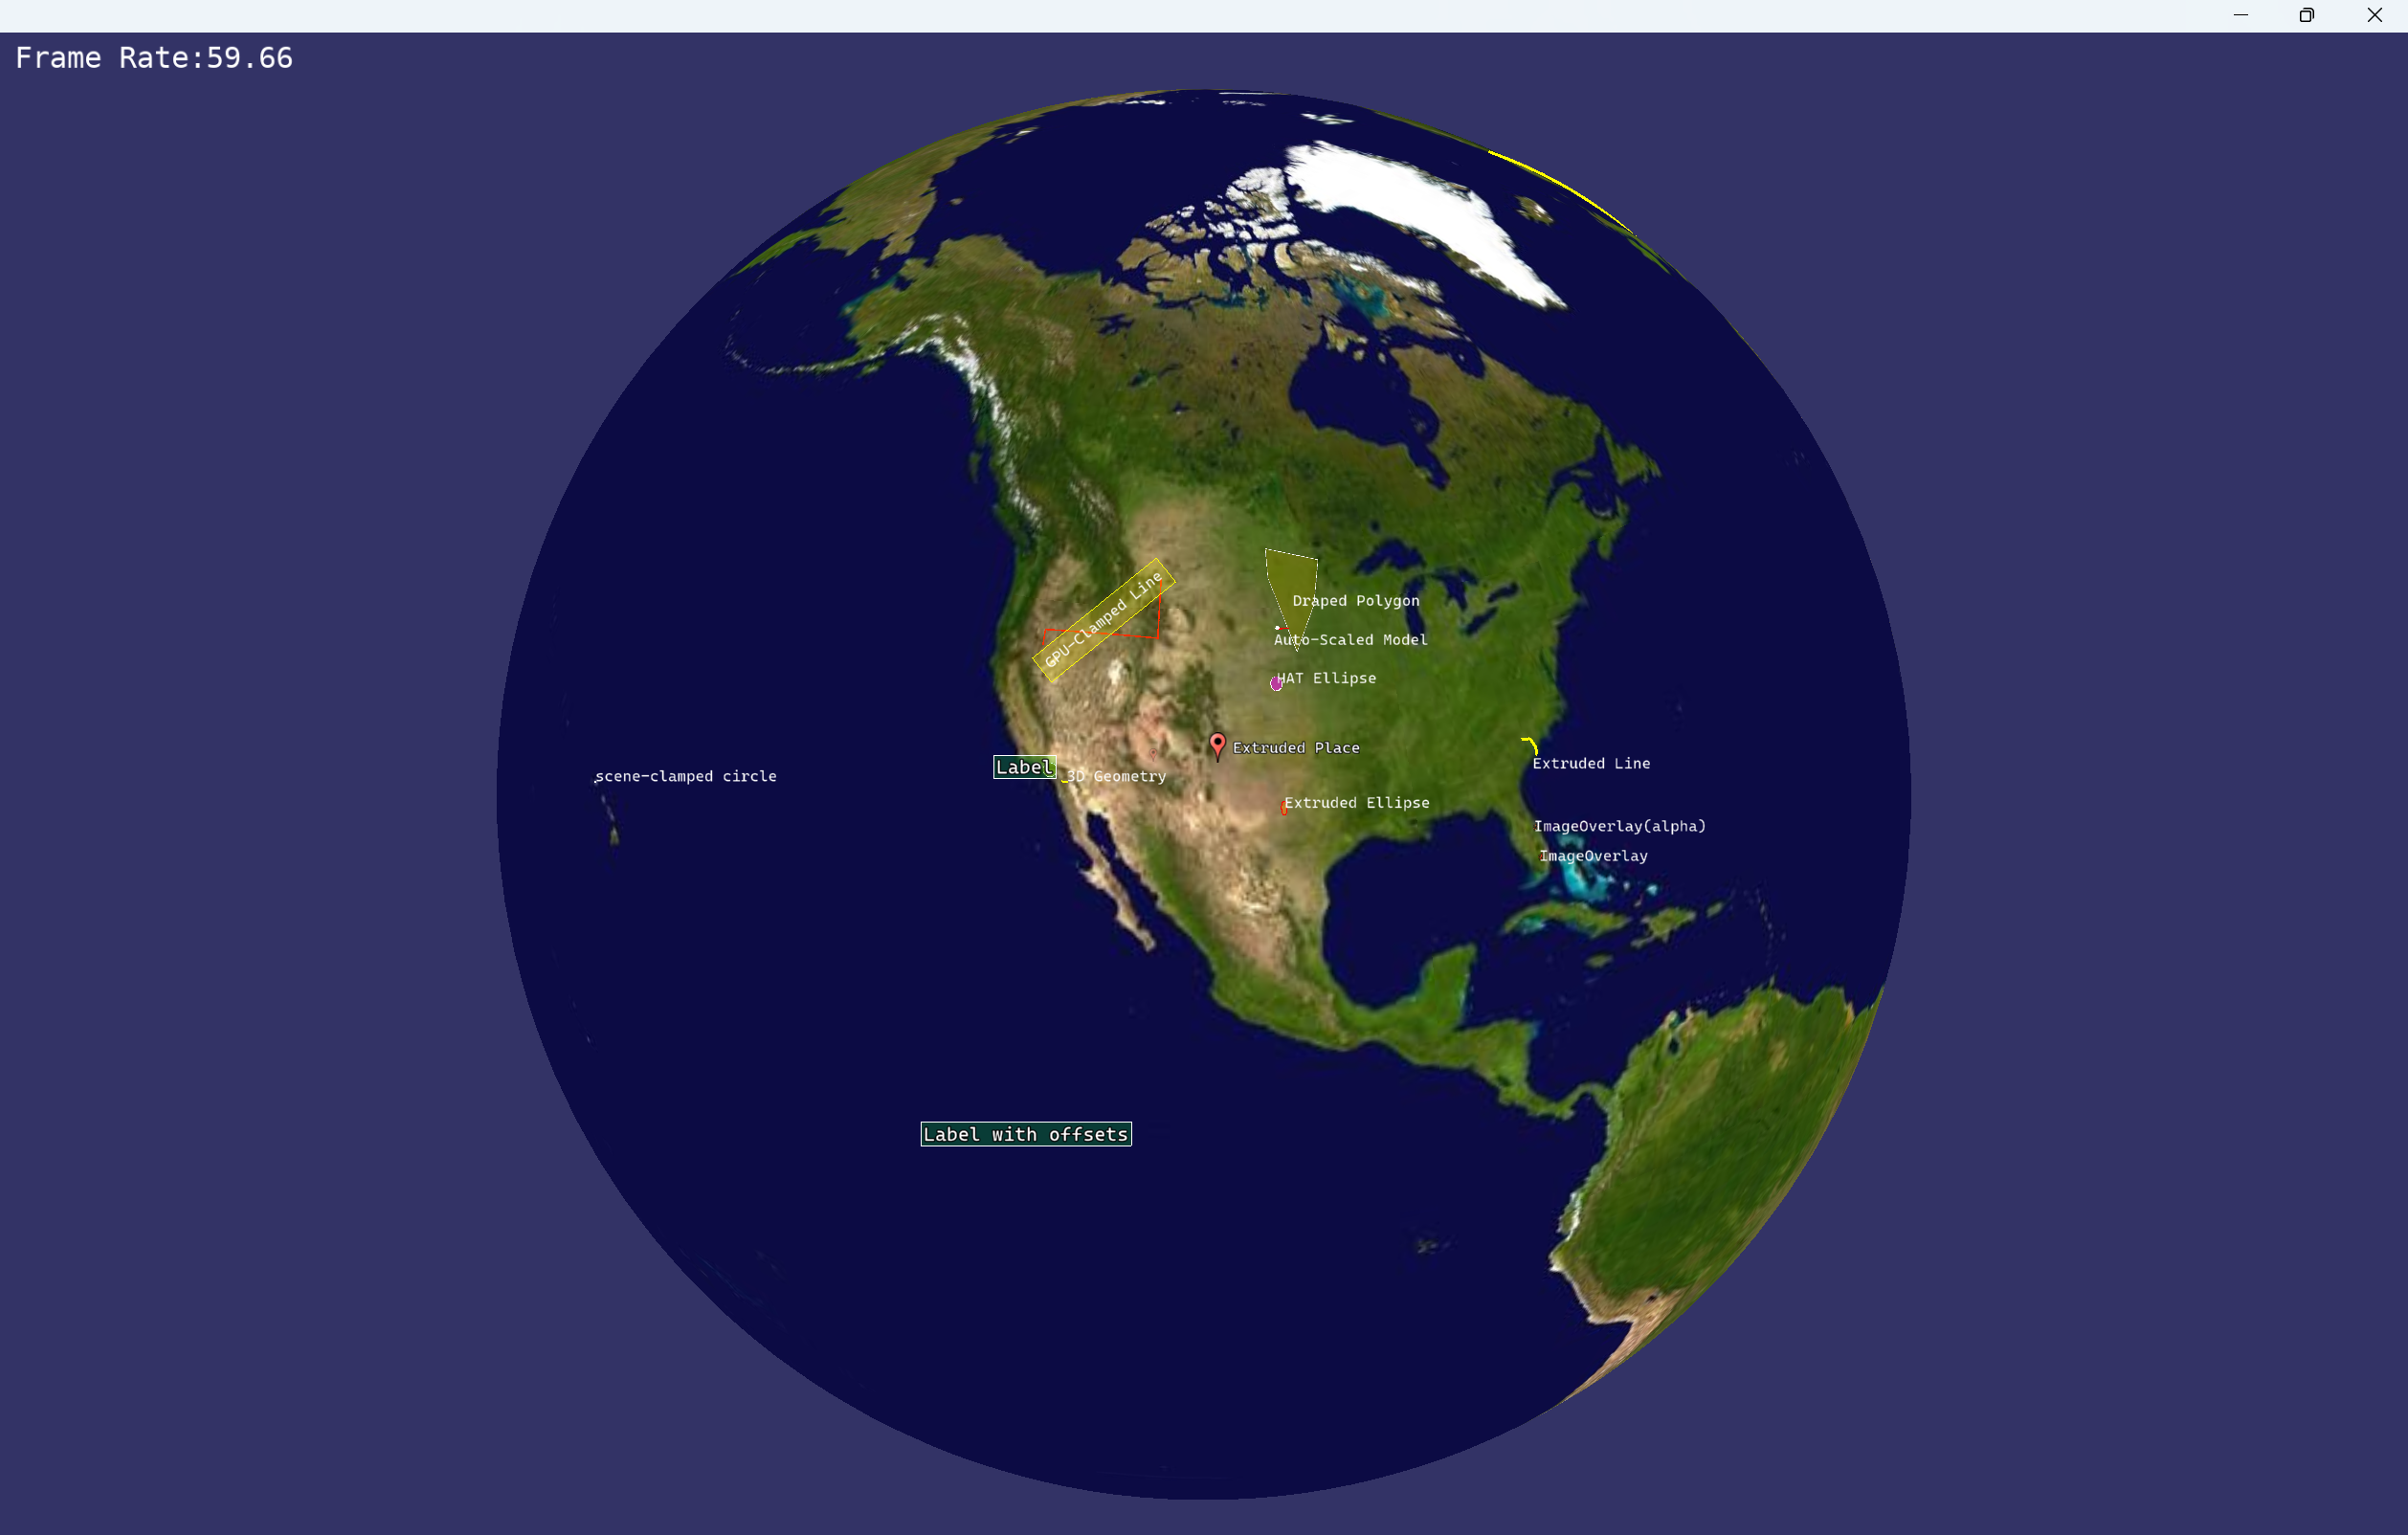
如果运行代码提示无法打开earth文件,但是earth文件已经指定了,并且路径正确,这个时候,可以将osgPlugins-3.6.5文件夹,拷贝到程序所在目录。

北京人形旗下天工造物具身智能开源社区,聚焦具身天工与慧思开物两大平台
更多推荐
 3
3 0
0- 0


 已为社区贡献18条内容

所有评论(0)