vscode配latex,用于latex排版,花了几个小时终于研究明白了(已总结)(Windows/macOS均可用)
掉坑里了,切记texlive必须要安装,不然就是下面这样子

步骤一:
Windows看这里
texlive安装链接:
https://mirrors.tuna.tsinghua.edu.cn/CTAN/systems/texlive/Images/

下载完后双击ISO文件,再双击install-tl-windows.bat

双击install-tl-windows.bat之后会自动跳转1-2个页面到下面这个页面


安装过程很久,我的花了1小时大概

出现下面这个界面之后再在总端查看版本,有总端类似版本出现texlive即安装成功


macOS看这里
MacTeX下载链接:
https://tug.org/mactex/mactex-download.html
点击下载
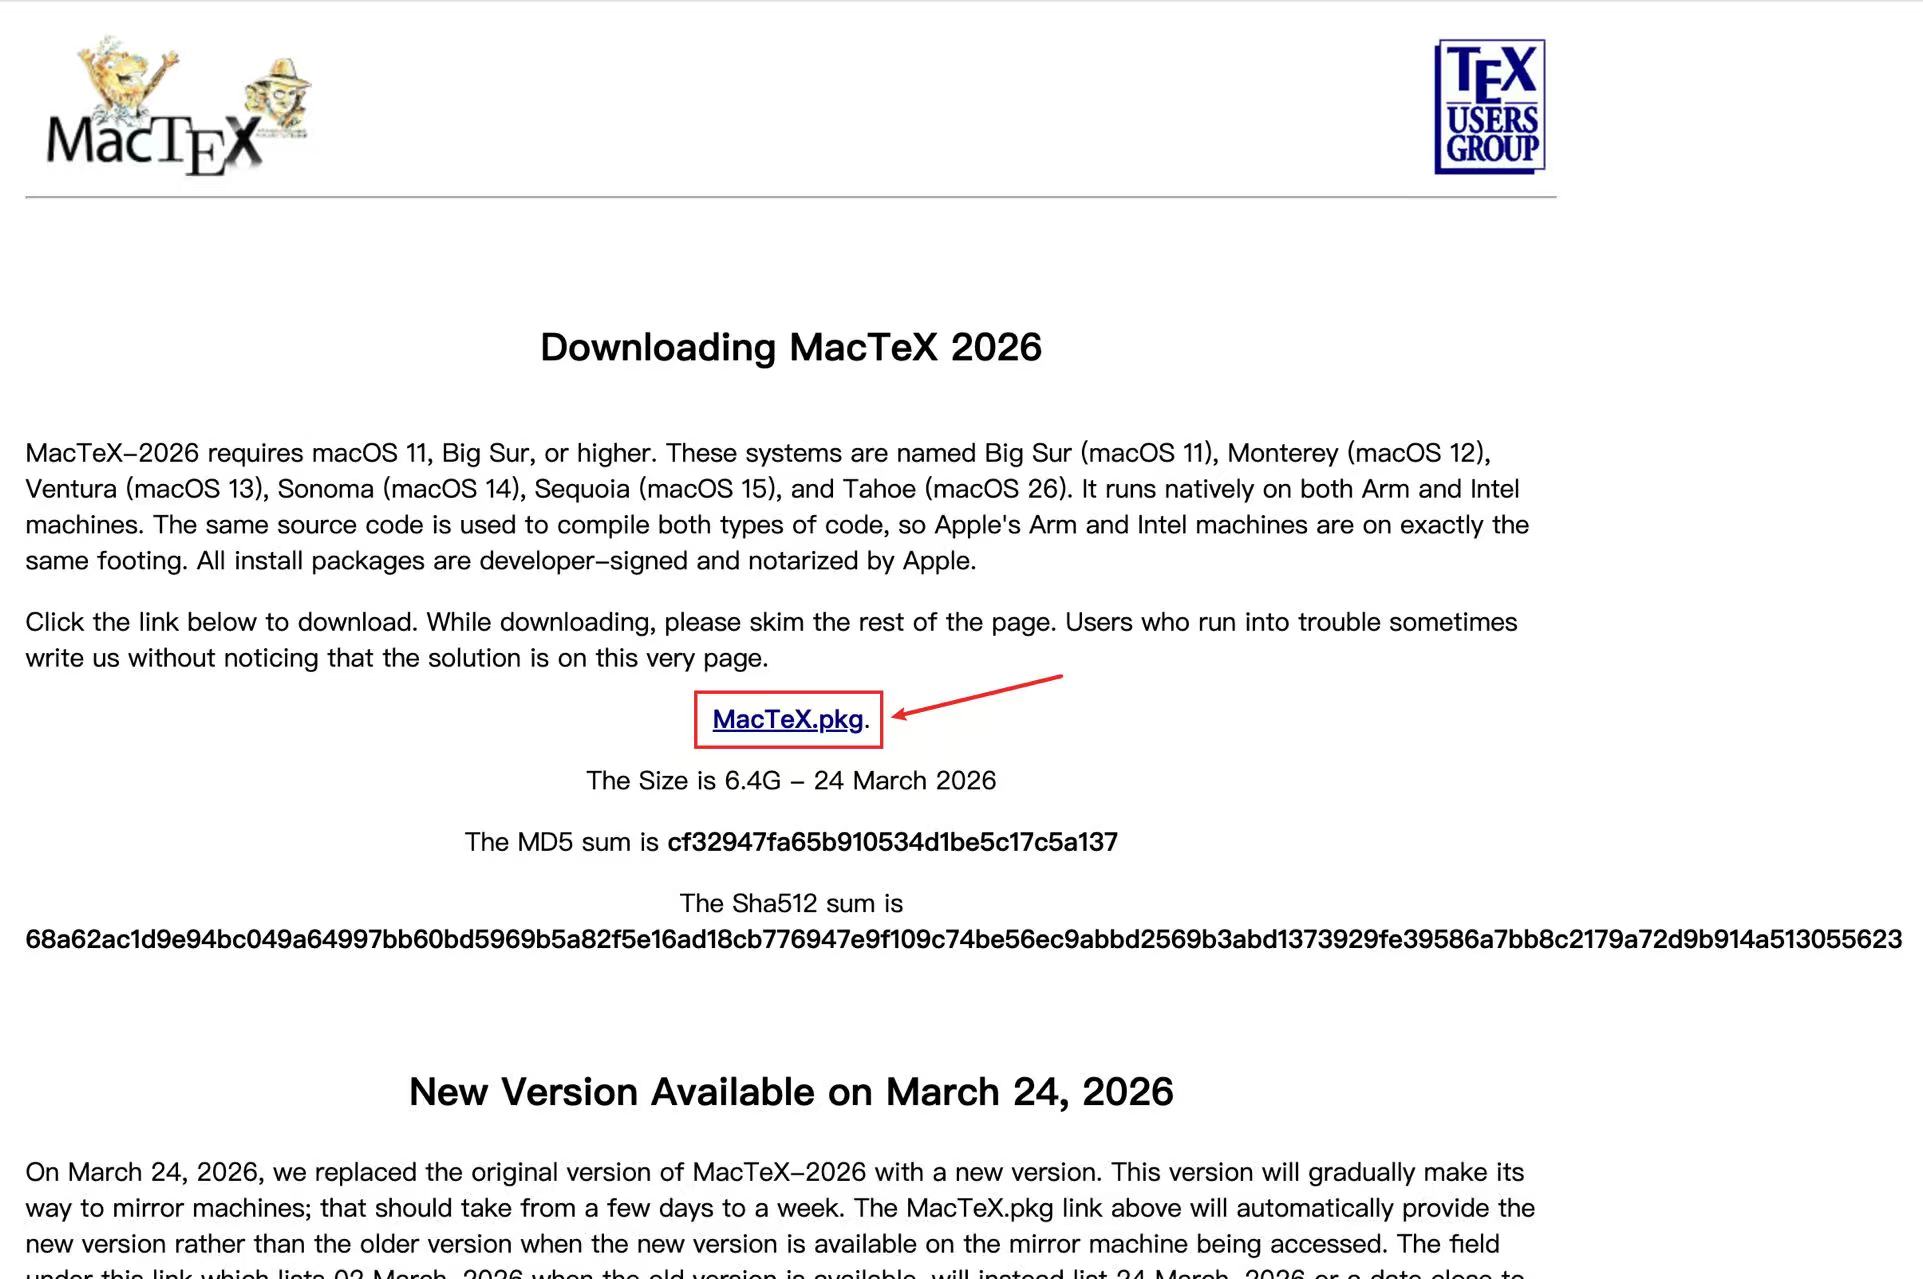
下载完成后双击pkg安装,一路点确定
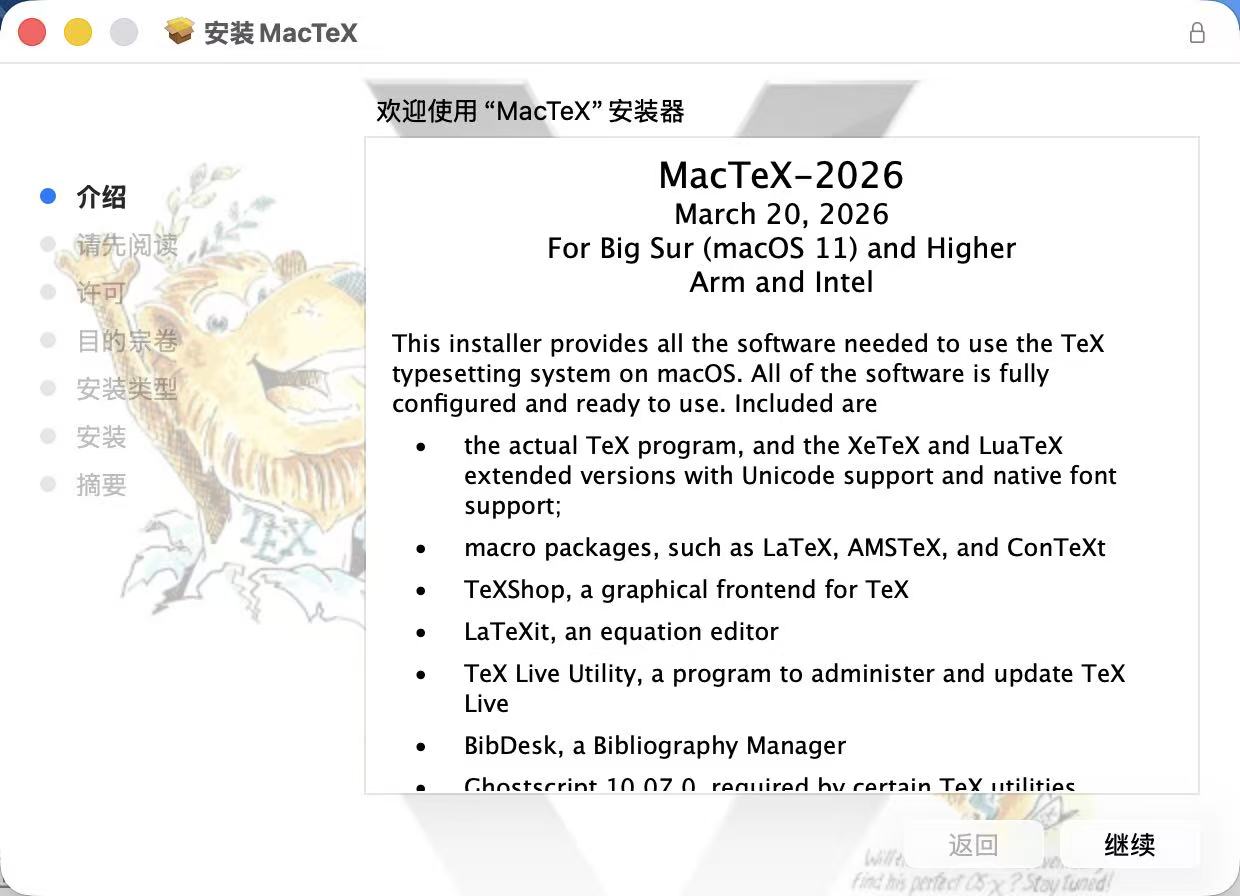
安装完成后,打开macOS的终端,输入:
which xelatex
xelatex --version

which pdflatex
pdflatex --version

which bibtex
bibtex --version

which latexmk
latexmk -v
正常情况下,which xelatex 之类会指向类似:
/Library/TeX/texbin/xelatex
只要能看到版本号,就说明 LaTeX 编译环境已经装好了。
步骤二:下载vscode直接下载安装就完事,Windows和macOS都一样
https://code.visualstudio.com/

步骤三:
Windows看这里
1、不使用SumatraPDF的情况
按下面快捷键之后,输入json
Windows:
CTRL+shift+p
macOS:
Cmd+shift+p

输入json打开open user settings就出来下面的settings.json配置文件,我打开的时候只有一个{},接下来所有配置都输入到{}中

{
    "latex-workshop.latex.tools": [
    {
    "name": "pdflatex",
    "command": "pdflatex",
    "args": [
    "-synctex=1",
    "-interaction=nonstopmode",
    "-file-line-error",
    "%DOC%"
    ]
    },
    {
    "name": "xelatex",
    "command": "xelatex",
    "args": [
    "-synctex=1",
    "-interaction=nonstopmode",
    "-file-line-error",
    "%DOC%"
    ]
    },
    {
    "name": "bibtex",
    "command": "bibtex",
    "args": [
    "%DOCFILE%"
    ]
    }
    ],


    "latex-workshop.latex.recipes": [
    {
    "name": "pdflatex",
    "tools": [
    "pdflatex"
    ]
    },
    {
    "name": "xelatex",
    "tools": [
    "xelatex"
    ]
    },
    {
    "name": "xe->bib->xe->xe",
    "tools": [
    "xelatex",
    "bibtex",
    "xelatex",
    "xelatex"
    ]
    },
    {
    "name": "pdflatex -> bibtex -> pdflatex*2",
    "tools": [
    "pdflatex",
    "bibtex",
    "pdflatex",
    "pdflatex"
    ]
    }
    ],

    }
配置并保存好之后,创建一个tex文件或者导入一个tex文件,运行文件

文件运行成功,就会出现下面类似图(使用的是内置的pdf)成功!!!!!

2、使用SumatraPDF的情况
(不同的是配置文件不一样,json文件如下配置)
{
    "latex-workshop.latex.tools": [
    {
    "name": "pdflatex",
    "command": "pdflatex",
    "args": [
    "-synctex=1",
    "-interaction=nonstopmode",
    "-file-line-error",
    "%DOC%"
    ]
    },
    {
    "name": "xelatex",
    "command": "xelatex",
    "args": [
    "-synctex=1",
    "-interaction=nonstopmode",
    "-file-line-error",
    "%DOC%"
    ]
    },
    {
    "name": "bibtex",
    "command": "bibtex",
    "args": [
    "%DOCFILE%"
    ]
    }
    ],


    "latex-workshop.latex.recipes": [
    {
    "name": "pdflatex",
    "tools": [
    "pdflatex"
    ]
    },
    {
    "name": "xelatex",
    "tools": [
    "xelatex"
    ]
    },
    {
    "name": "xe->bib->xe->xe",
    "tools": [
    "xelatex",
    "bibtex",
    "xelatex",
    "xelatex"
    ]
    },
    {
    "name": "pdflatex -> bibtex -> pdflatex*2",
    "tools": [
    "pdflatex",
    "bibtex",
    "pdflatex",
    "pdflatex"
    ]
    }
    ],
  "latex-workshop.view.pdf.viewer": "external",
  "latex-workshop.view.pdf.external.viewer.command": "D:\\ps\\SumatraPDF\\SumatraPDF.exe",
  "latex-workshop.view.pdf.external.viewer.args": ["%PDF%"],
  "latex-workshop.view.pdf.external.synctex.command": "D:\\ps\\SumatraPDF\\SumatraPDF.exe", // 注意修改路径
  "latex-workshop.view.pdf.external.synctex.args": [
    "-forward-search",
    "%TEX%",
    "%LINE%",
    "-reuse-instance",
    "-inverse-search",
    "code \"D:\\ps\\Microsoft VS Code\\resources\\app\\out\\cli.js\" -r -g \"%f:%l\"", // 注意修改路径
    "%PDF%"
  ],
  "latex-workshop.latex.recipe.default": "lastUsed",
}
前面代码都一样,加了下面这些代码,然后红框部分修改成你自己的路径

之后配置一下SumatraPDF,点击选项
"D:\ps\Microsoft VS Code\Code.exe" "D:\ps\Microsoft VS Code\resources\app\out\cli.js" --ms-enable-electron-run-as-node -r -g "%f:%l"


然后打开高级选项跳转到SumatraPDF.settings.txt加入两行代码,第一行代码和前面的设置选项里的命令行是一样的


InverseSearchCmdLine = "D:/ps/Microsoft VS Code/Code.exe" "D:/ps/Microsoft VS Code/resources/app/out/cli.js" --ms-enable-electron-run-as-node -r -g "%f:%l"
EnableTeXEnhancements = true
保存配置之后运行tex文件,运行后点击查看就是最后一张图的样子,成功!!!!


macOS看这里
vscode先安装插件
安装 LaTeX Workshop 插件。
在 VS Code 左侧扩展栏搜索:
LaTeX Workshop
安装作者为 James Yu 的那个插件。
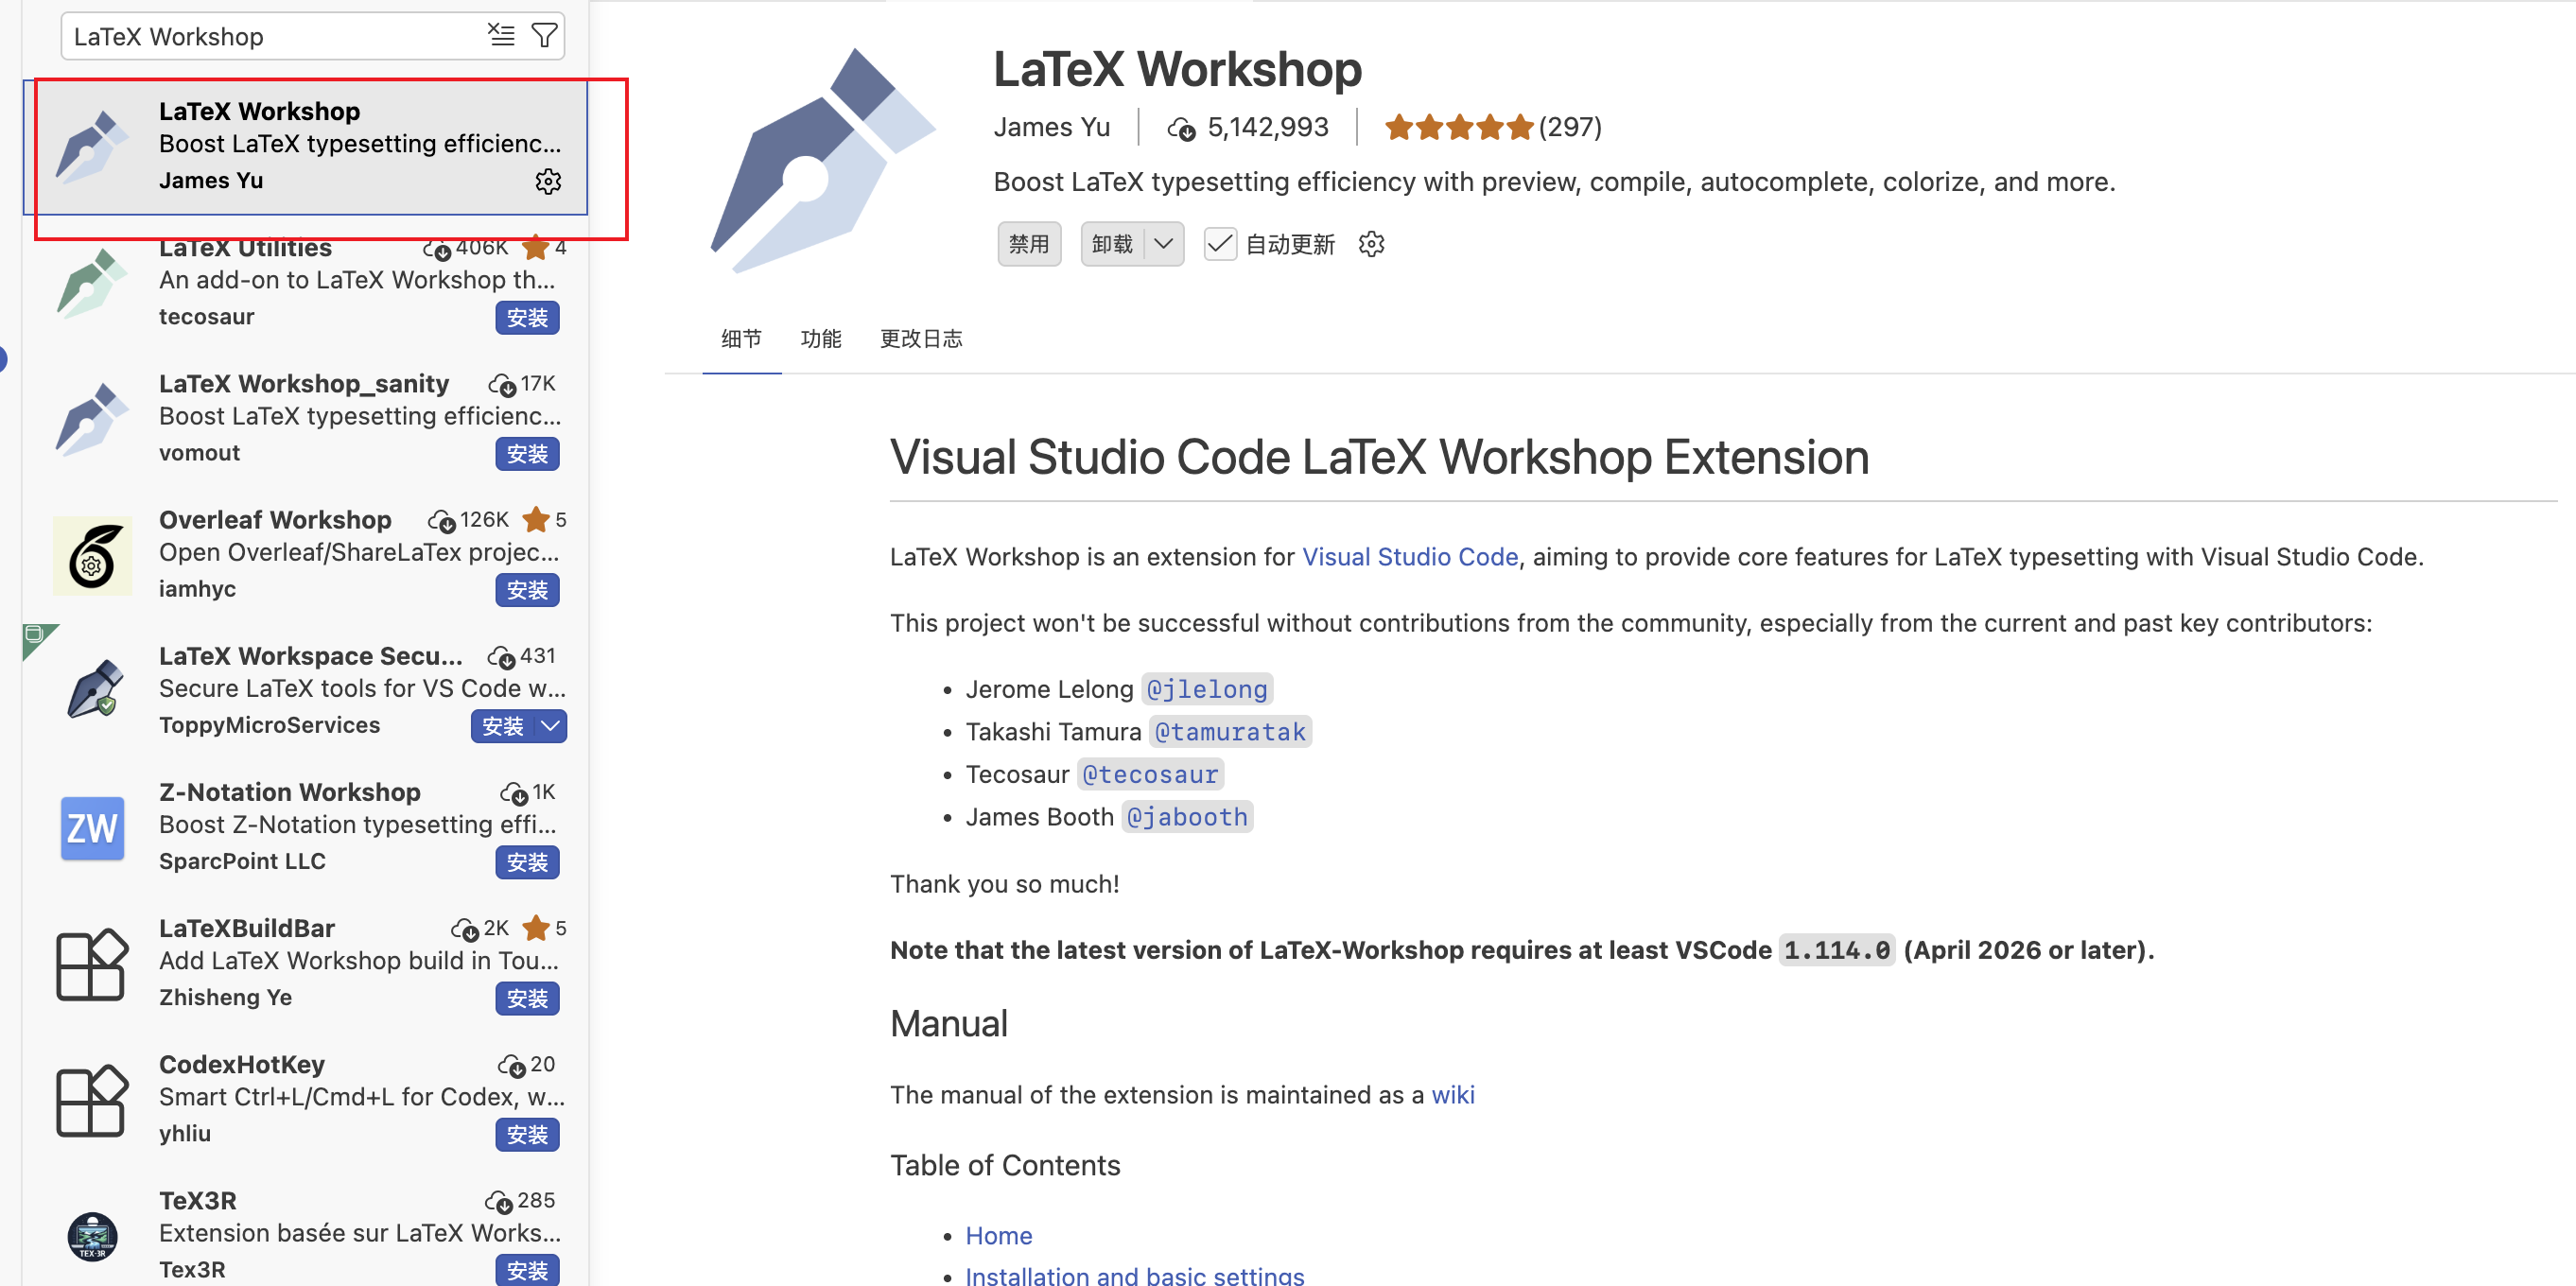
打开 settings.json
macOS 上在VS Code上运行快捷键:
Cmd + Shift + P
然后输入:
Preferences: Open User Settings (JSON)
打开后,如果里面原来只有:
{}
就把下面这一整段复制进去。
{
  "latex-workshop.latex.tools": [
    {
      "name": "xelatex",
      "command": "/Library/TeX/texbin/xelatex",
      "args": [
        "-synctex=1",
        "-interaction=nonstopmode",
        "-file-line-error",
        "%DOC%"
      ]
    },
    {
      "name": "pdflatex",
      "command": "/Library/TeX/texbin/pdflatex",
      "args": [
        "-synctex=1",
        "-interaction=nonstopmode",
        "-file-line-error",
        "%DOC%"
      ]
    },
    {
      "name": "bibtex",
      "command": "/Library/TeX/texbin/bibtex",
      "args": [
        "%DOCFILE%"
      ]
    },
    {
      "name": "latexmk-xelatex",
      "command": "/Library/TeX/texbin/latexmk",
      "args": [
        "-synctex=1",
        "-interaction=nonstopmode",
        "-file-line-error",
        "-xelatex",
        "%DOC%"
      ]
    }
  ],

  "latex-workshop.latex.recipes": [
    {
      "name": "latexmk (xelatex)",
      "tools": [
        "latexmk-xelatex"
      ]
    },
    {
      "name": "xelatex",
      "tools": [
        "xelatex"
      ]
    },
    {
      "name": "xe -> bib -> xe -> xe",
      "tools": [
        "xelatex",
        "bibtex",
        "xelatex",
        "xelatex"
      ]
    },
    {
      "name": "pdflatex",
      "tools": [
        "pdflatex"
      ]
    },
    {
      "name": "pdf -> bib -> pdf -> pdf",
      "tools": [
        "pdflatex",
        "bibtex",
        "pdflatex",
        "pdflatex"
      ]
    }
  ],

  "latex-workshop.latex.recipe.default": "lastUsed",
  "latex-workshop.view.pdf.viewer": "tab",
  "latex-workshop.latex.autoBuild.run": "onSave"
}
这里特意用了 /Library/TeX/texbin/xelatex 这种绝对路径,而不是只写 xelatex。原因是 macOS 上有时 VS Code 识别不到终端里的 PATH,导致报错:
spawn xelatex ENOENT
用绝对路径可以避开这个坑。
新建测试文件
在 VS Code 里新建一个文件夹,比如:
latex-test
然后新建:
test.tex
写入:
\documentclass{article}

\usepackage{fontspec}
\usepackage{xeCJK}
\setCJKmainfont{PingFang SC}

\begin{document}

Hello, LaTeX on macOS.

VS Code + LaTeX 配置成功。

\end{document}
然后保存。因为这里用到了中文,推荐用 xelatex 或 latexmk (xelatex) 编译。不要用 pdflatex 编译这个中文测试文件,否则容易遇到字体或中文宏包问题。
编译
在 VS Code 里按:
Cmd + Shift + P
输入:
LaTeX Workshop: Build with recipe
第一次建议选择:
latexmk (xelatex)
如果没有复杂参考文献,也可以选:
xelatex
编译成功后,左侧或右上角会出现 PDF 预览按钮,也可以在命令面板里运行:
LaTeX Workshop: View LaTeX PDF
用的是 VS Code 内置 PDF 预览,不使用 SumatraPDF。macOS 上这样用最省事。
如果有参考文献
如果你的论文有 .bib 文件,比如 ACL、IEEE、RAL 模板里常见的 BibTeX 流程,那就不要只跑一次 xelatex。应该选择这个 recipe:
xe -> bib -> xe -> xe
这对应的实际流程是:
xelatex
bibtex
xelatex
xelatex
特别的,关于 SumatraPDF:macOS 不用它
macOS 上如果你只是写论文,直接用 LaTeX Workshop 内置 PDF 预览就够了。

北京人形旗下天工造物具身智能开源社区,聚焦具身天工与慧思开物两大平台
更多推荐
 13
13 0
0- 0


 已为社区贡献4条内容

所有评论(0)