windows下flume的安装与配置教程
一、首先要下载好jdk和hadoop,这里笔者用的是hadoop-2.7.1和jdk-1.8。
关于hadoop-2.7.1可以看一下这个博客:Windows安装hadoop2.7.1_window11配置hadoop2.7.1-CSDN博客
环境配置要注意配置好:JAVA_HOME, HADOOP_HOME, HADOOP_CONF_DIR, 
hadoop-2.7.1的下载地址如下:hadoop-2.7.1
选择名称最短的那个tar包:
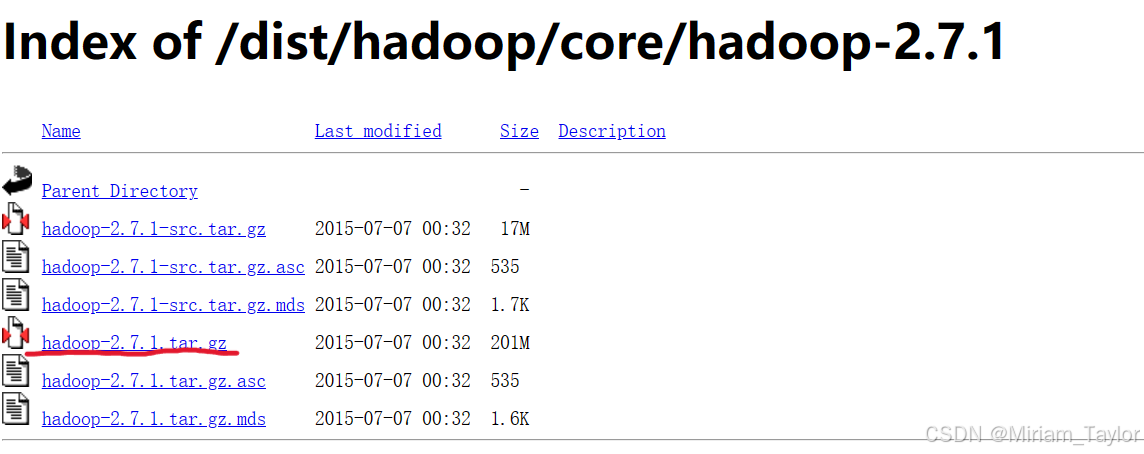
然后把安装包解压后记住路径:(我的是:"E:\hadoop-2.7.1")
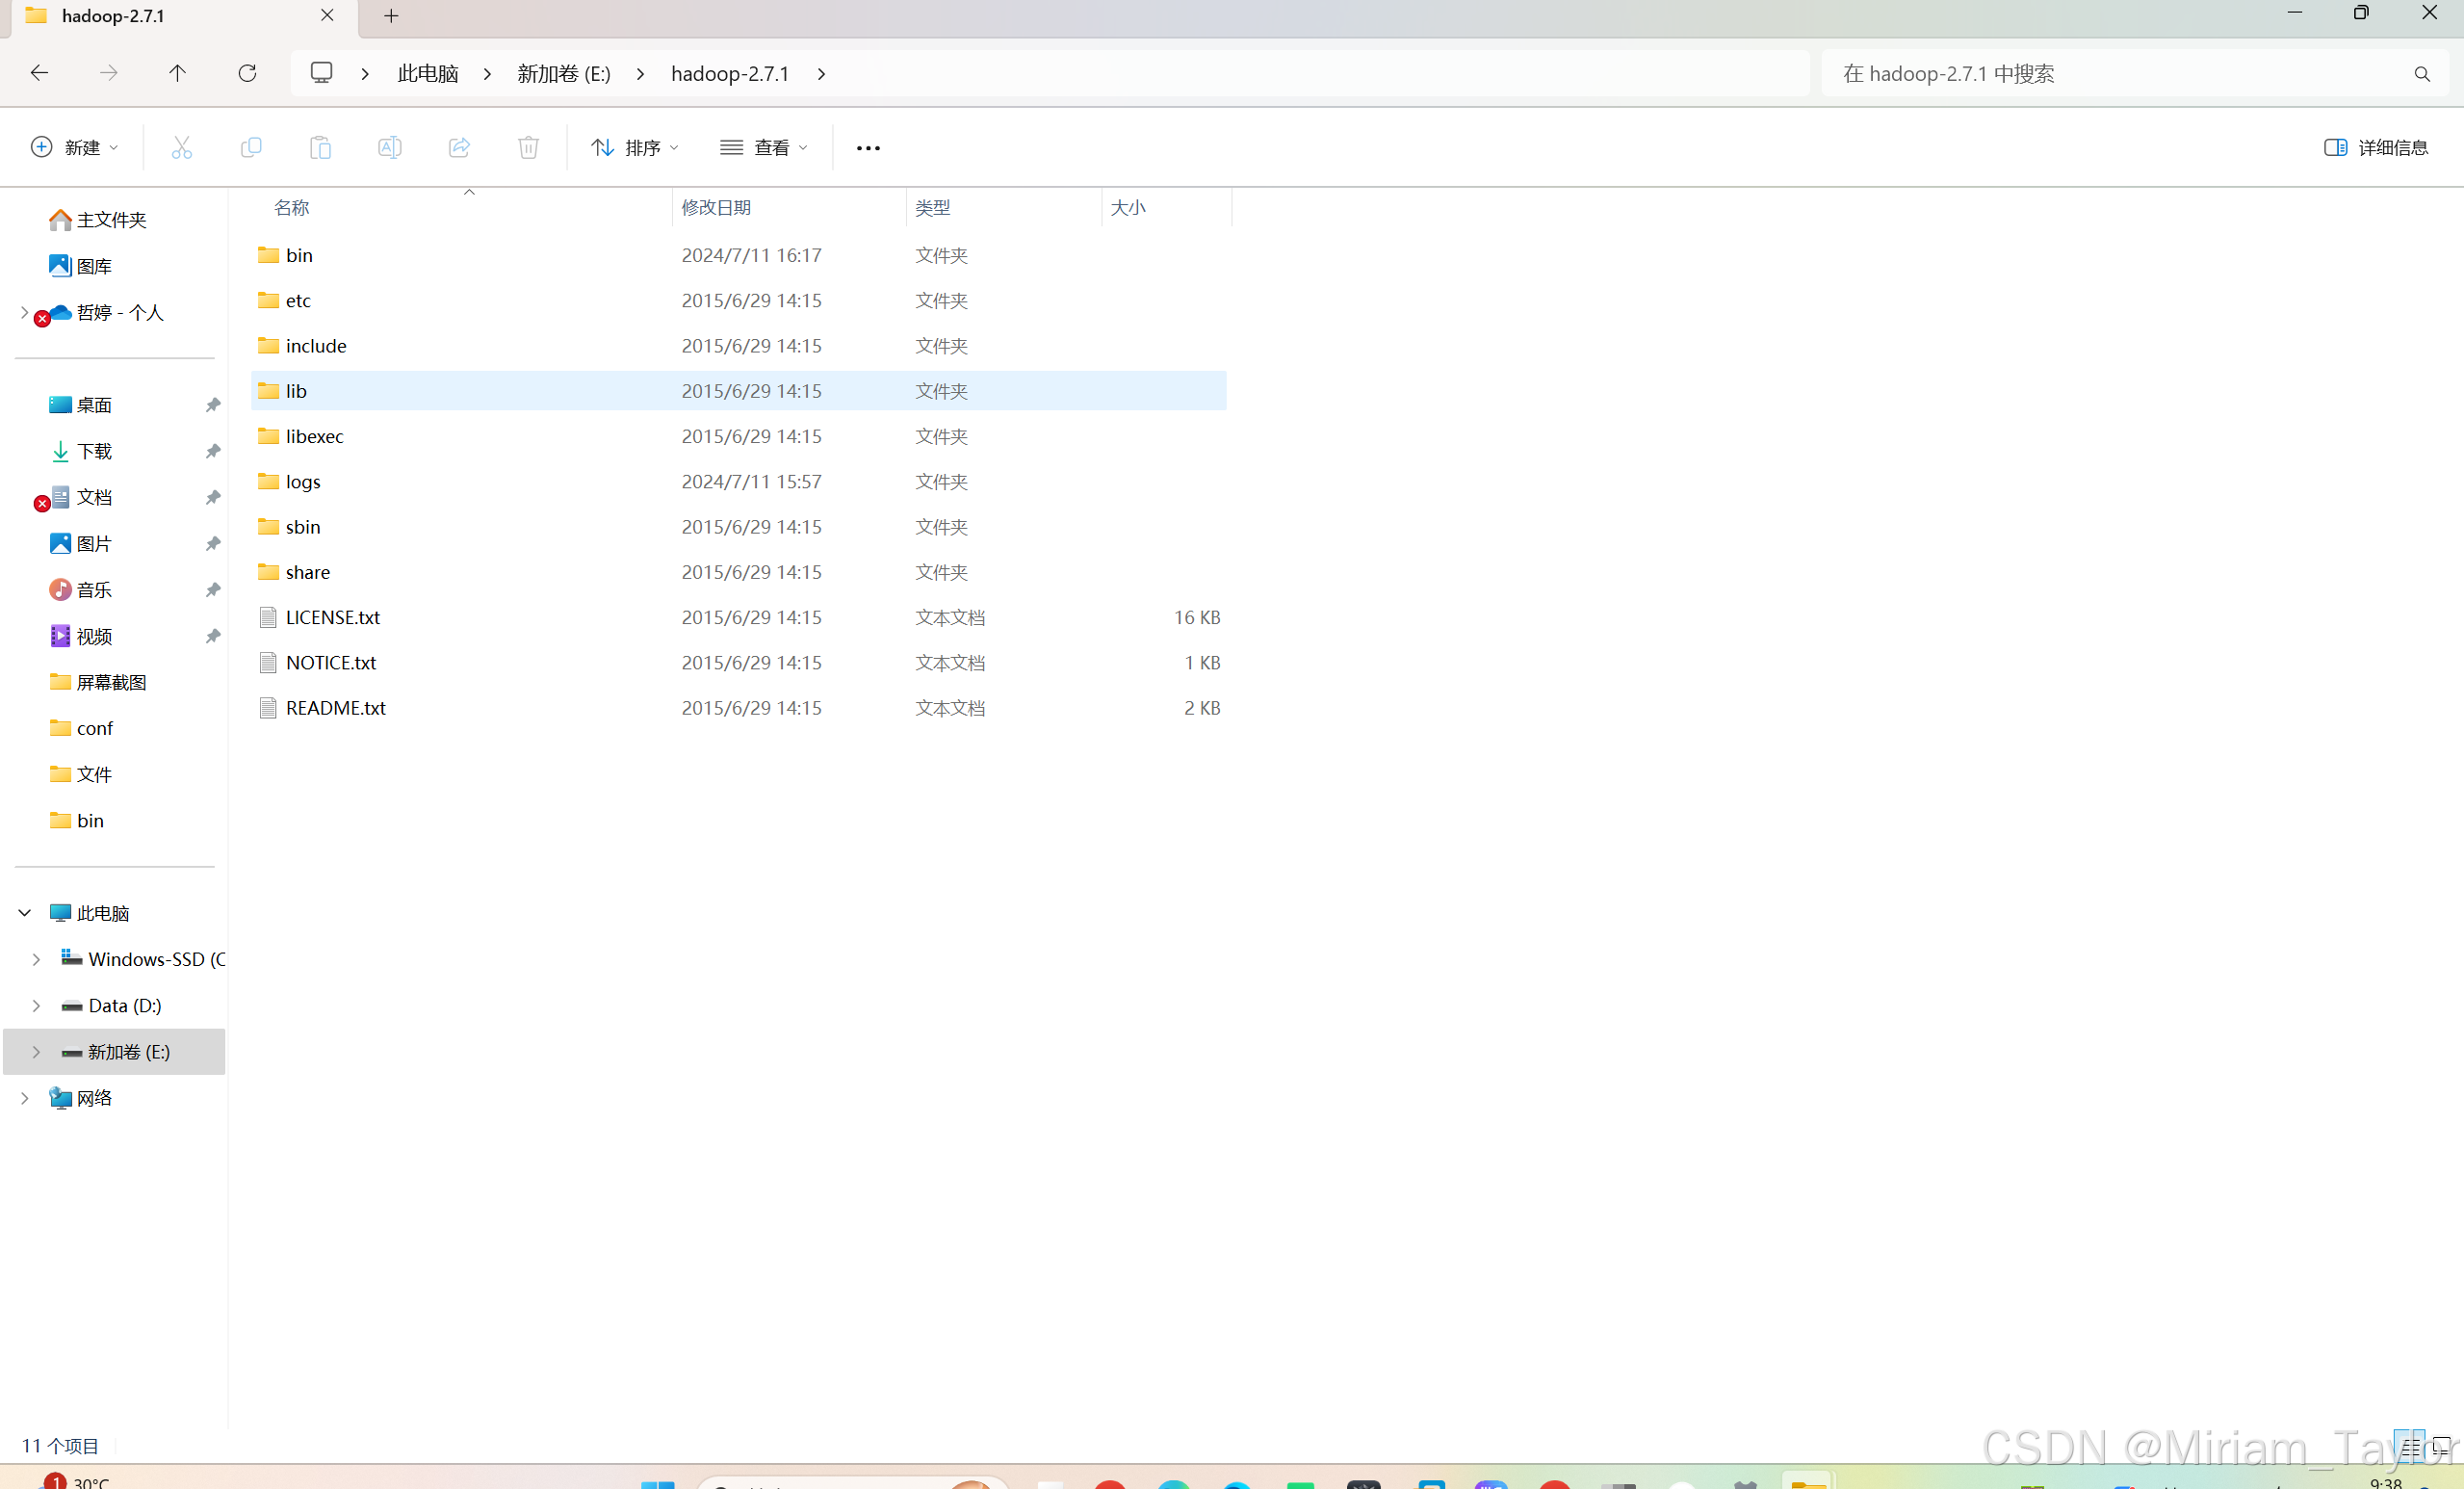
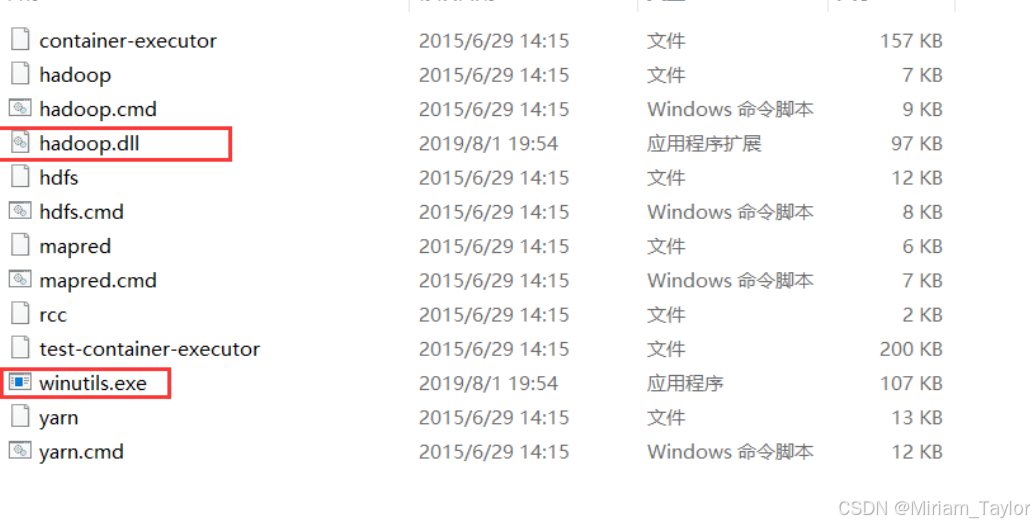
最后还要添加hadoop.dll和winutils.exe文件到你hadoop的bin目录下
点击此处下载winutils的hadoop配置文件:Miriam1Taylor/winutils (github.com)。 将hadoop.dll和winutils.exe文件复制粘贴一下即可。
在系统变量的Path路径里添加hadoop的bin目录:
%HADOOP_HOME%\bin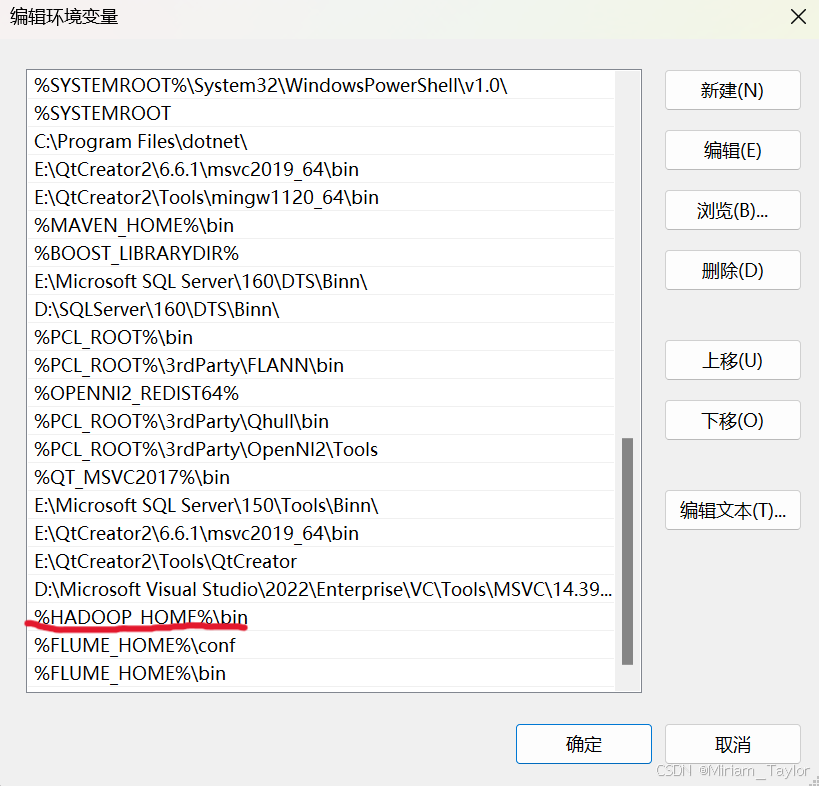
二、flume的下载与配置
官网下载地址:Download — Apache Flume
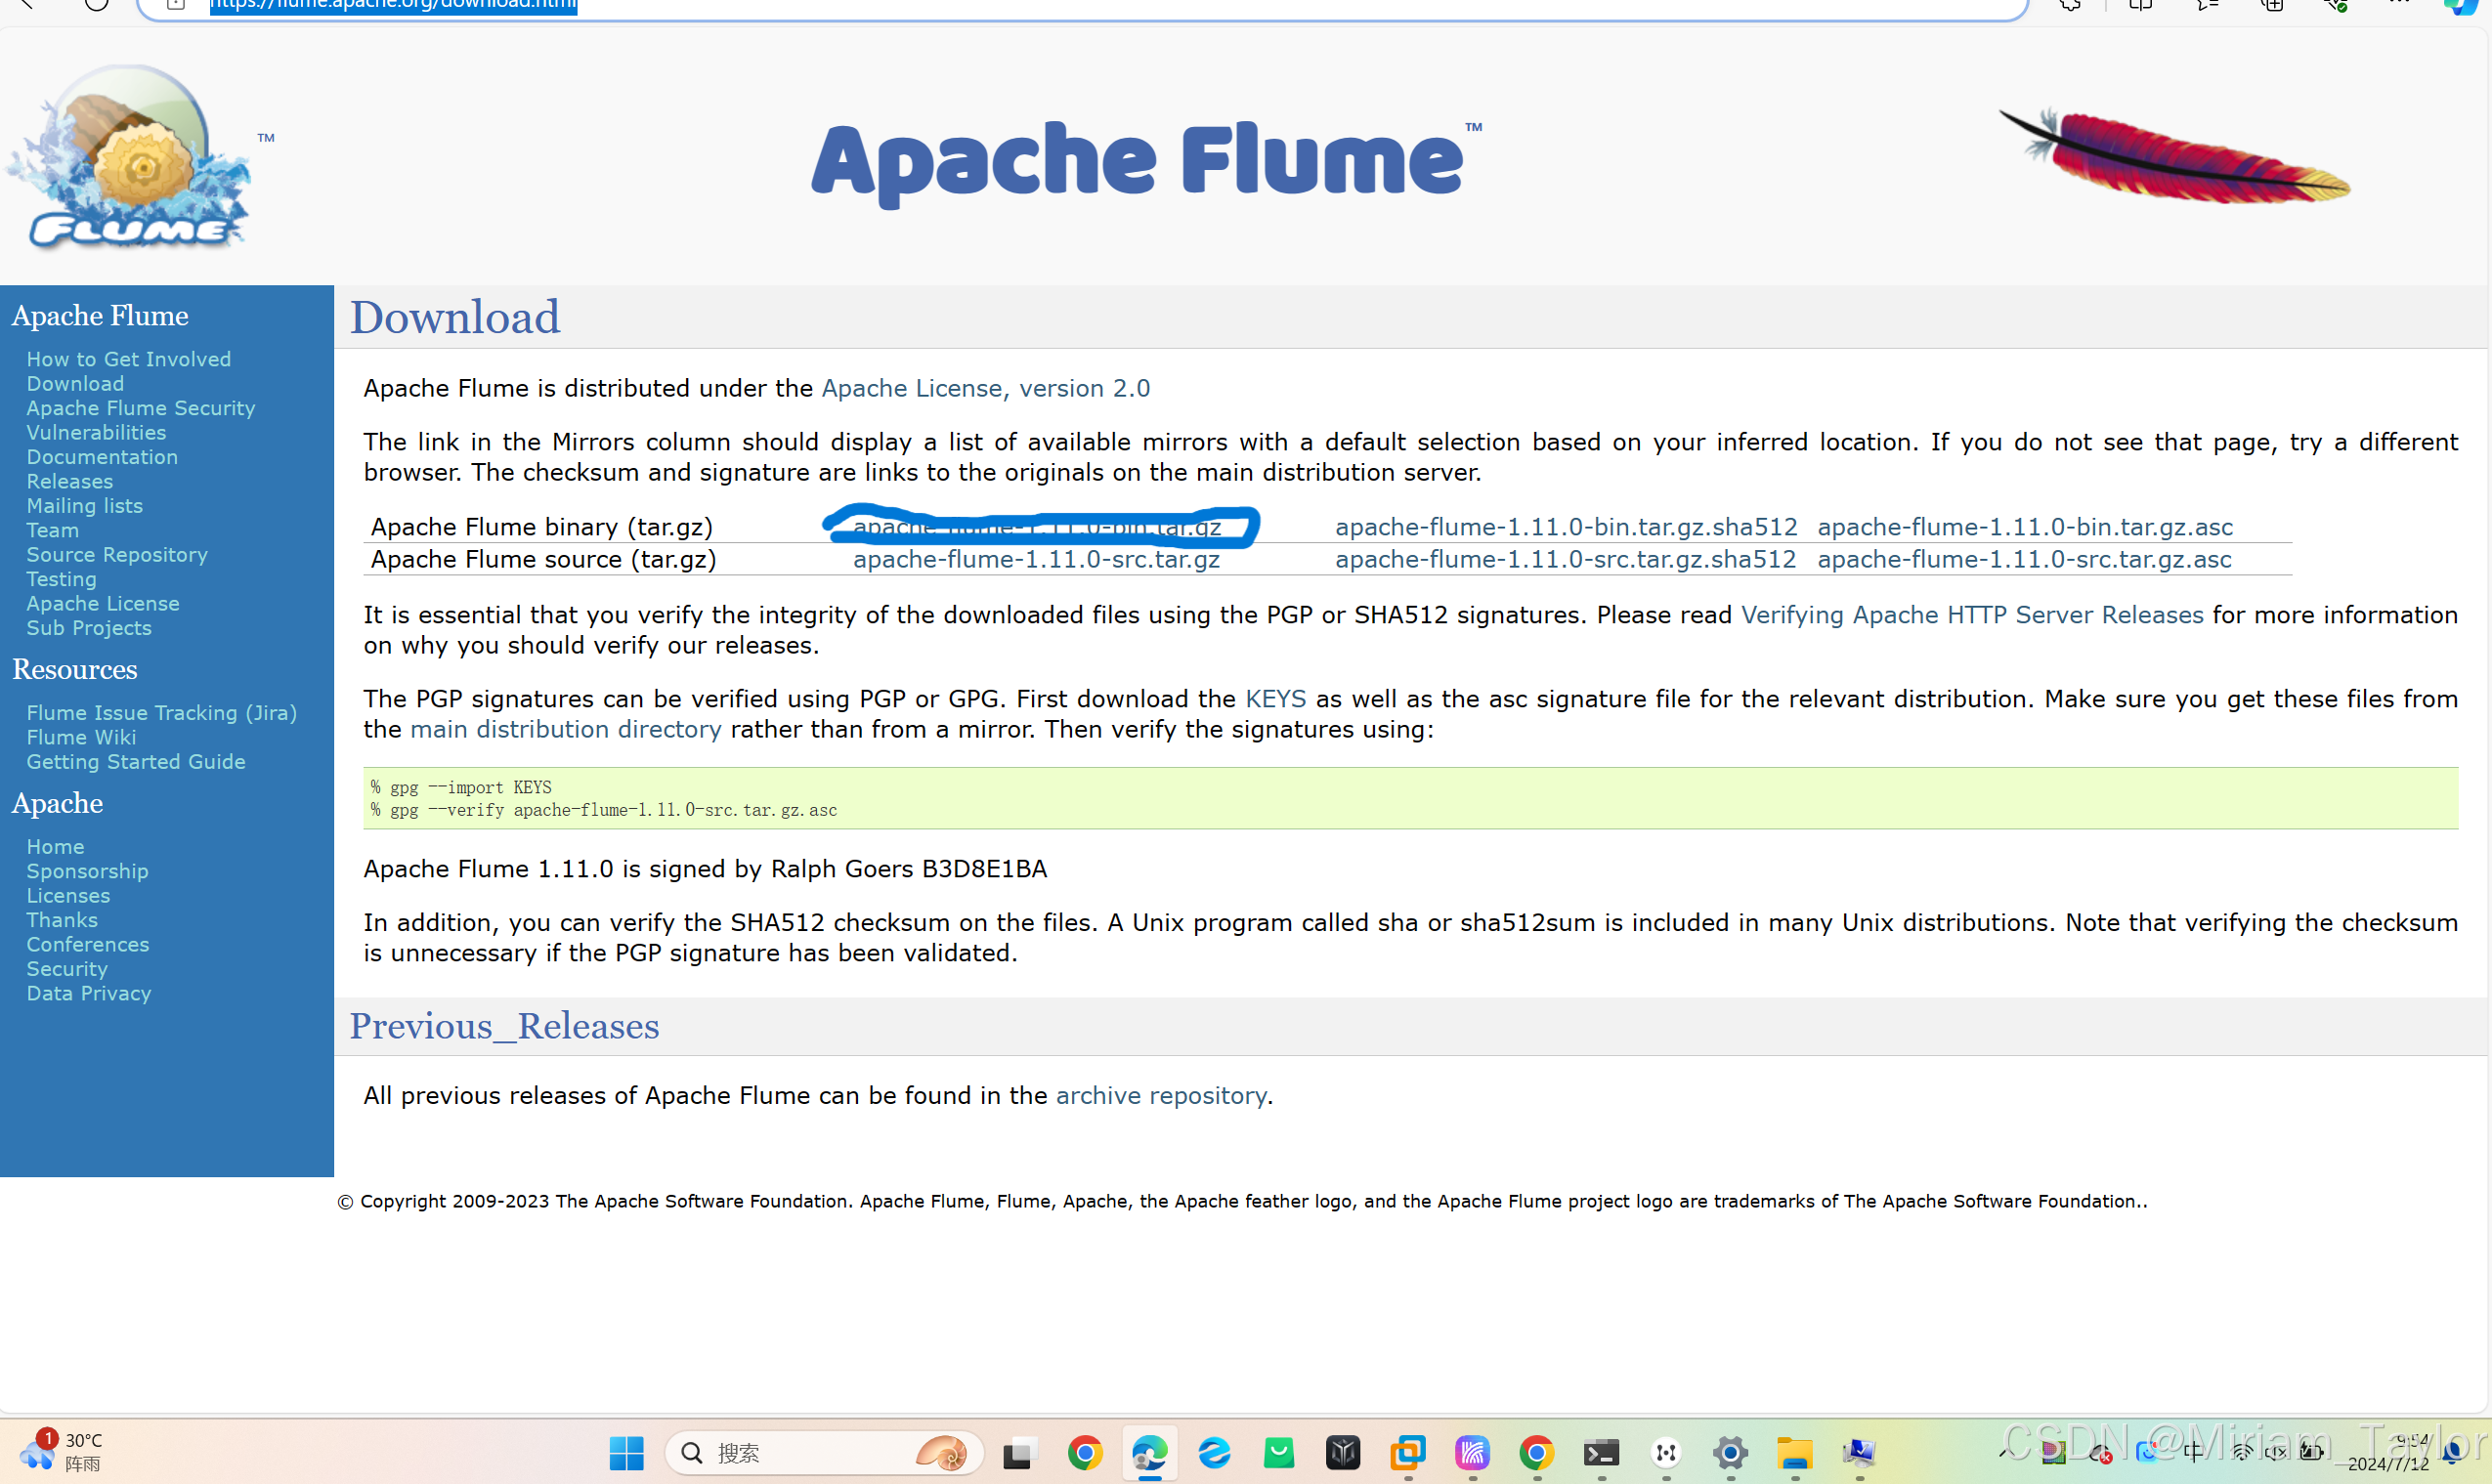
下载好之后记住解压好的路径,配置环境变量:

然后配置系统变量里的Path路径:
%FLUME_HOME%\conf
%FLUME_HOME%\bin
一路点确定退出来,然后修改flume的conf配置文件,图中所示的三个被选中的文件复制粘贴一下,把 ”.template“ 的后缀去掉。”.template“文件保留不保留都无所谓,笔者保留了。
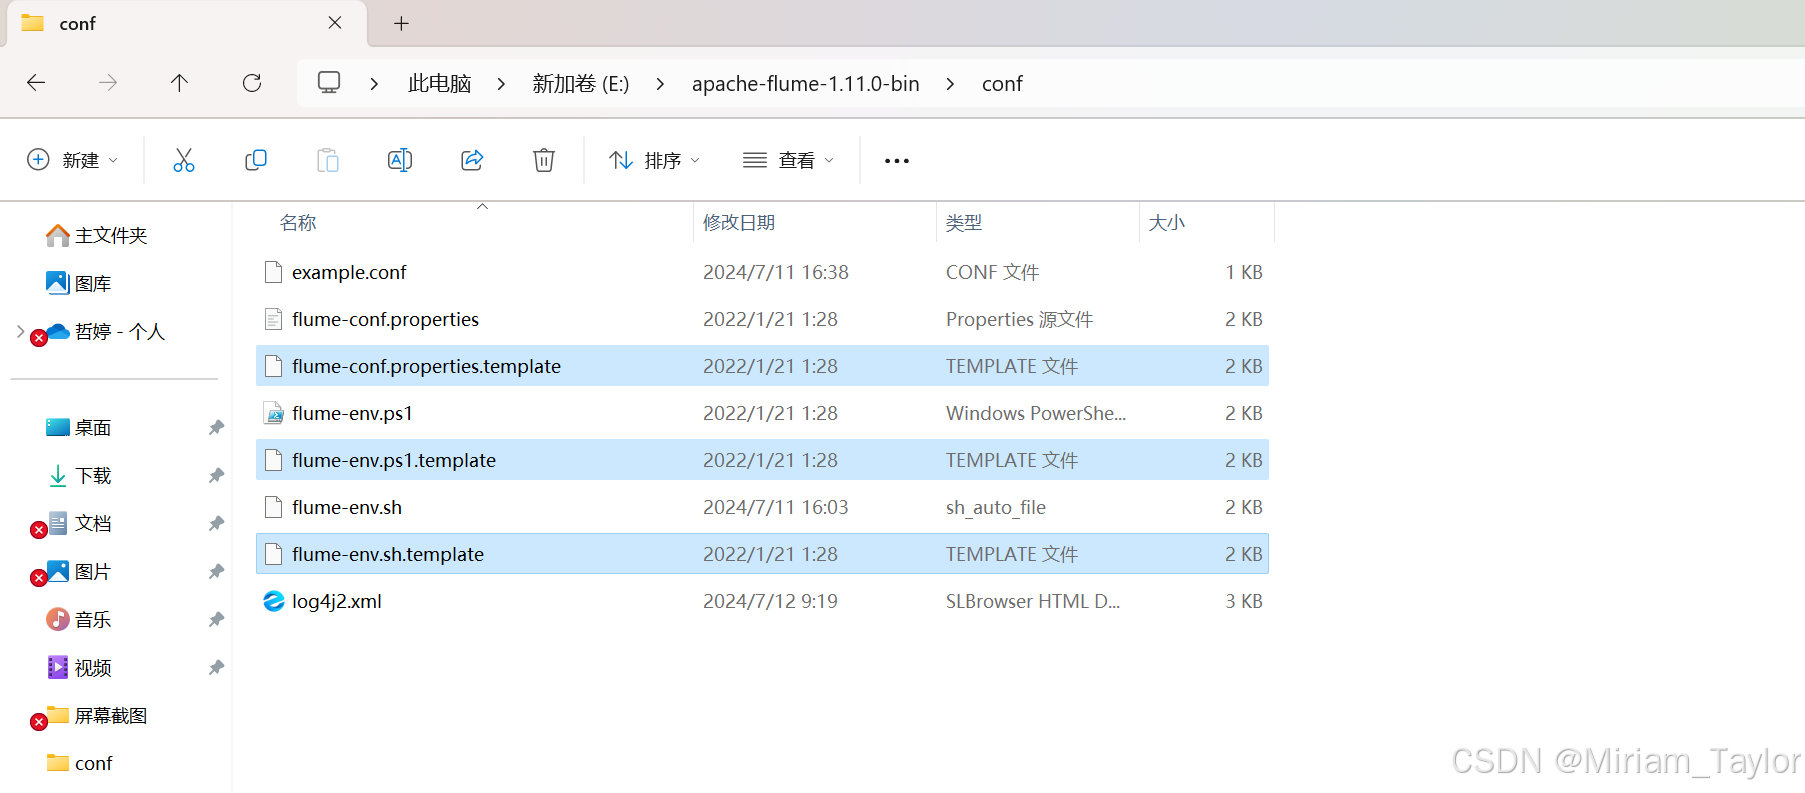
然后修改log4j.xml文件,使得其可以把bin文件下面的 flume.log 文件里的日志内容,显示在控制台:
<?xml version="1.0" encoding="UTF-8"?>
<!--
 Licensed to the Apache Software Foundation (ASF) under one or more
 contributor license agreements.  See the NOTICE file distributed with
 this work for additional information regarding copyright ownership.
 The ASF licenses this file to You under the Apache License, Version 2.0
 (the "License"); you may not use this file except in compliance with
 the License.  You may obtain a copy of the License at

      http://www.apache.org/licenses/LICENSE-2.0

 Unless required by applicable law or agreed to in writing, software
 distributed under the License is distributed on an "AS IS" BASIS,
 WITHOUT WARRANTIES OR CONDITIONS OF ANY KIND, either express or implied.
 See the License for the specific language governing permissions and
 limitations under the License.

-->
<Configuration status="ERROR">
  <Properties>
    <Property name="LOG_DIR">.</Property>
  </Properties>
  <Appenders>
    <Console name="Console" target="SYSTEM_OUT">
      <PatternLayout pattern="%d (%t) [%p - %l] %m%n" />
    </Console>
    <RollingFile name="LogFile" fileName="${LOG_DIR}/flume.log" filePattern="${LOG_DIR}/archive/flume.log.%d{yyyyMMdd}-%i">
      <PatternLayout pattern="%d{dd MMM yyyy HH:mm:ss,SSS} %-5p [%t] (%C.%M:%L) %equals{%x}{[]}{} - %m%n" />
      <Policies>
        <!-- Roll every night at midnight or when the file reaches 100MB -->
        <SizeBasedTriggeringPolicy size="100 MB"/>
        <CronTriggeringPolicy schedule="0 0 0 * * ?"/>
      </Policies>
      <DefaultRolloverStrategy min="1" max="20">
        <Delete basePath="${LOG_DIR}/archive">
          <!-- Nested conditions: the inner condition is only evaluated on files for which the outer conditions are true. -->
          <IfFileName glob="flume.log.*">
            <!-- Only allow 1 GB of files to accumulate -->
            <IfAccumulatedFileSize exceeds="1 GB"/>
          </IfFileName>
        </Delete>
      </DefaultRolloverStrategy>
    </RollingFile>
  </Appenders>

  <Loggers>
    <Logger name="org.apache.flume.lifecycle" level="info"/>
    <Logger name="org.jboss" level="WARN"/>
    <Logger name="org.apache.avro.ipc.netty.NettyTransceiver" level="WARN"/>
    <Logger name="org.apache.hadoop" level="INFO"/>
    <Logger name="org.apache.hadoop.hive" level="ERROR"/>
    <Root level="INFO">
      <AppenderRef ref="LogFile" />
      <AppenderRef ref="Console" />
    </Root>
  </Loggers>
</Configuration>
然后我们创建一个example..conf文件作为示例运行:
# example.conf: A single-node Flume configuration

# Name the components on this agent
a1.sources = r1
a1.sinks = k1
a1.channels = c1

# Describe/configure the source
a1.sources.r1.type = netcat
a1.sources.r1.bind = localhost
a1.sources.r1.port = 44444

# Describe the sink
a1.sinks.k1.type = logger

# Use a channel which buffers events in memory
a1.channels.c1.type = memory
a1.channels.c1.capacity = 1000
a1.channels.c1.transactionCapacity = 100

# Bind the source and sink to the channel
a1.sources.r1.channels = c1
a1.sinks.k1.channel = c1
三、控制台测试
这边省略了hadoop、jdk和flume的成功安装的测试,笔者这边补充一下:
win+r,输入cmd,回车打开控制台。
hadoop:
hadoop version
jdk:
java -version
flume:
flume-ng version
然后我们启动flume(启动的时候要定位到bin文件目录下):
cd E:\apache-flume-1.11.0-bin\bin

powershell.exe -NoProfile -InputFormat none -ExecutionPolicy unrestricted -File E:\apache-flume-1.11.0-bin\bin\flume-ng.ps1 agent -conf ../conf -conf-file ../conf/example.conf -name a1
启动成功如下所示:
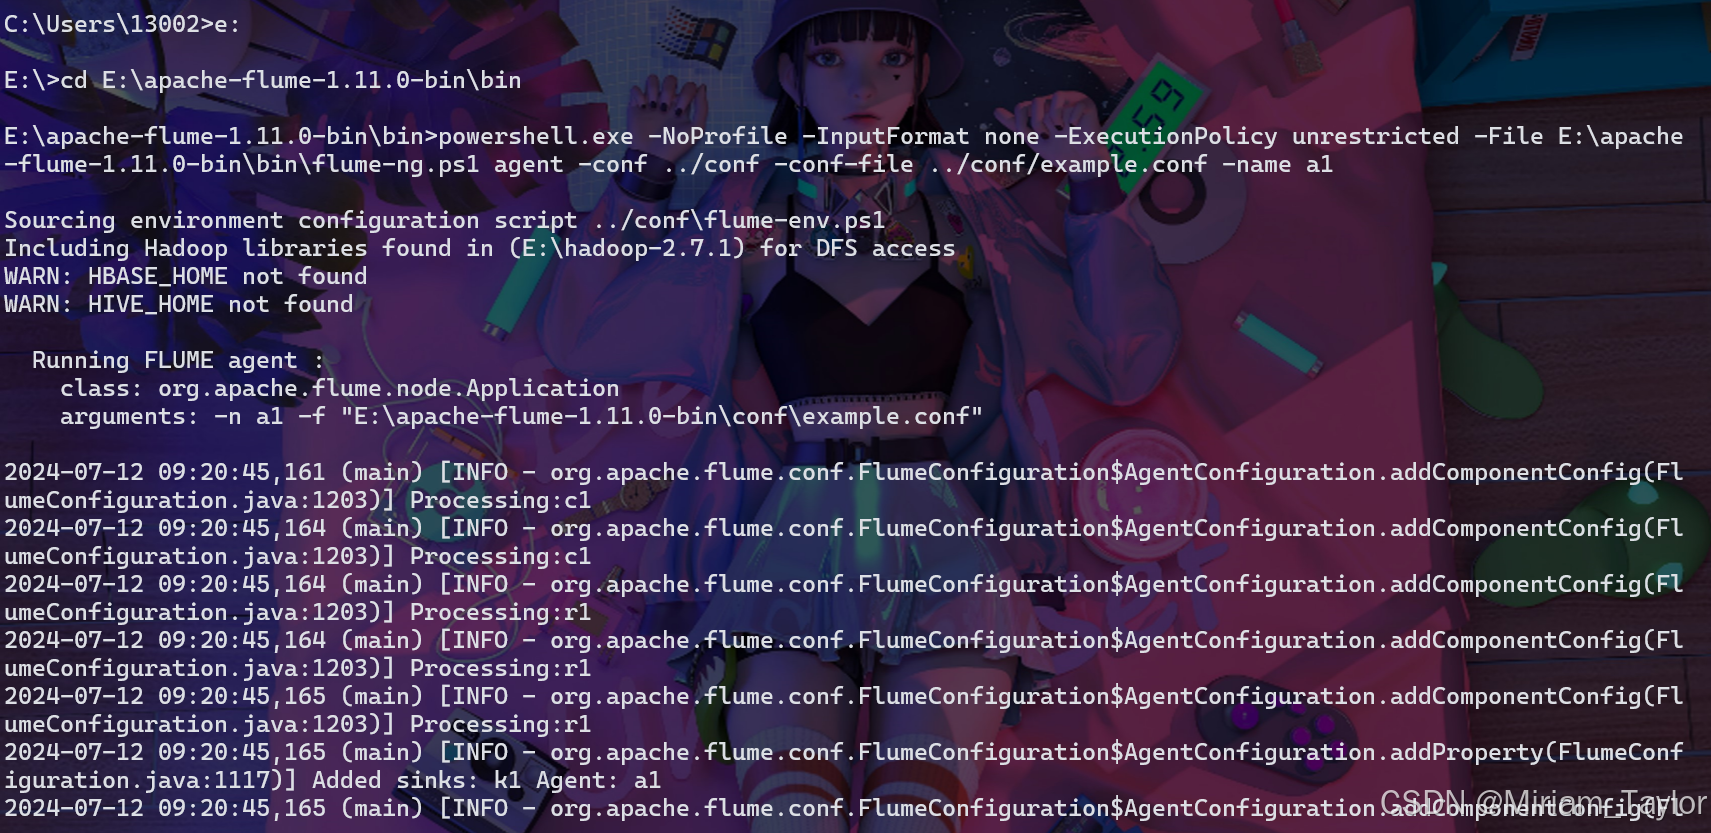
然后我们这个窗口不要动~
打开一个新的控制台,输入:
telnet localhost 44444随意输入内容,like:
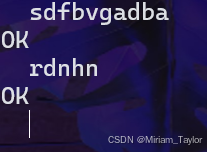
在旧的控制台窗口监听,发现日志输出为:

配置成功!!!!
四、补充
在初次配置的时候会有log4j的warning出现,没有关系,介意的话可以把hadoop里面的一个叫log4j的jar包删除掉,是日志配置冲突产生的问题。

北京人形旗下天工造物具身智能开源社区,聚焦具身天工与慧思开物两大平台
更多推荐
 31
31 0
0- 0


 已为社区贡献1条内容

所有评论(0)