windows 11运行RF-DETR Seg
·
github地址:https://github.com/roboflow/rf-detr(develop分支,f108f85)
1、创建环境
打开Anaconda Prompt创建(python>=3.9)
conda create --name rfdetr python==3.11
conda activate rfdetr
安装依赖
pip install rfdetr inference==0.50.0 -i https://mirrors.aliyun.com/pypi/simple/
2、安装rf-detr
1)使用命令行
pip install git+https://github.com/roboflow/rf-detr.git
2)下载源码安装
cd E:\Development\python
E:
git clone https://github.com/roboflow/rf-detr.git
(若提示Could not connect to server,打开电脑 设置-网络和Internet-代理-手动设置代理 点击编辑查看端口,比如7897,命令行执行
git config --global http.proxy http://127.0.0.1:7897
git config --global https.proxy http://127.0.0.1:7897
查看是否添加成功:git config --global -l
再重新clone.
(下载完后清理,否则可能影响本地代码推送:git config --global --unset http.proxy
git config --global --unset https.proxy)
)
cd rf-detr
pip install -e .
3、demo测试
1)执行以下语句:
pip uninstall numpy
pip install "numpy<2"
pip install tokenizers==0.22.0
2)权重文件下载
地址:https://storage.googleapis.com/rfdetr/rf-detr-seg-preview.pt
将rf-detr-seg-preview.pt放到根目录
3)查看rfdetr\detr.py 文件 318行
是否为以下内容,否则修改(如果不修改推理结果没有mask掩码):
            if isinstance(predictions, tuple):
                if len(predictions) == 3:
                    predictions = {
                    "pred_logits": predictions[1],
                    "pred_boxes": predictions[0],
                    "pred_masks": predictions[2]}
                else:
                    predictions = {
                    "pred_logits": predictions[1],
                    "pred_boxes": predictions[0],
                    }
4)执行demo.py
import os
import supervision as sv
from inference import get_model
from PIL import Image
from io import BytesIO
from rfdetr import RFDETRSegPreview
from rfdetr.util.coco_classes import COCO_CLASSES
import requests

# Initialize RF-DETR Segmentation model
model = RFDETRSegPreview()
# # Optimize for faster inference
model.optimize_for_inference()
def demo(img):
    # Predict with segmentation masks
    detections = model.predict(img, threshold=0.25)

    # Create labels with class names and confidence
    labels = [
        f"{COCO_CLASSES[class_id]} {confidence:.2f}"
        for class_id, confidence
        in zip(detections.class_id, detections.confidence)
    ]

    # Annotate frame with masks and labels
    annotated_img = img.copy()
    annotated_img = sv.MaskAnnotator().annotate(annotated_img, detections)
    annotated_img = sv.BoxAnnotator().annotate(annotated_img, detections)
    annotated_img = sv.LabelAnnotator().annotate(annotated_img, detections, labels)

    return annotated_img


url = "https://media.roboflow.com/dog.jpeg"
image = Image.open(BytesIO(requests.get(url).content))

if __name__=="__main__":
    annotated_img=demo(image)
    sv.plot_image(annotated_img)
    annotated_img.save("test.jpg")
结果如下:
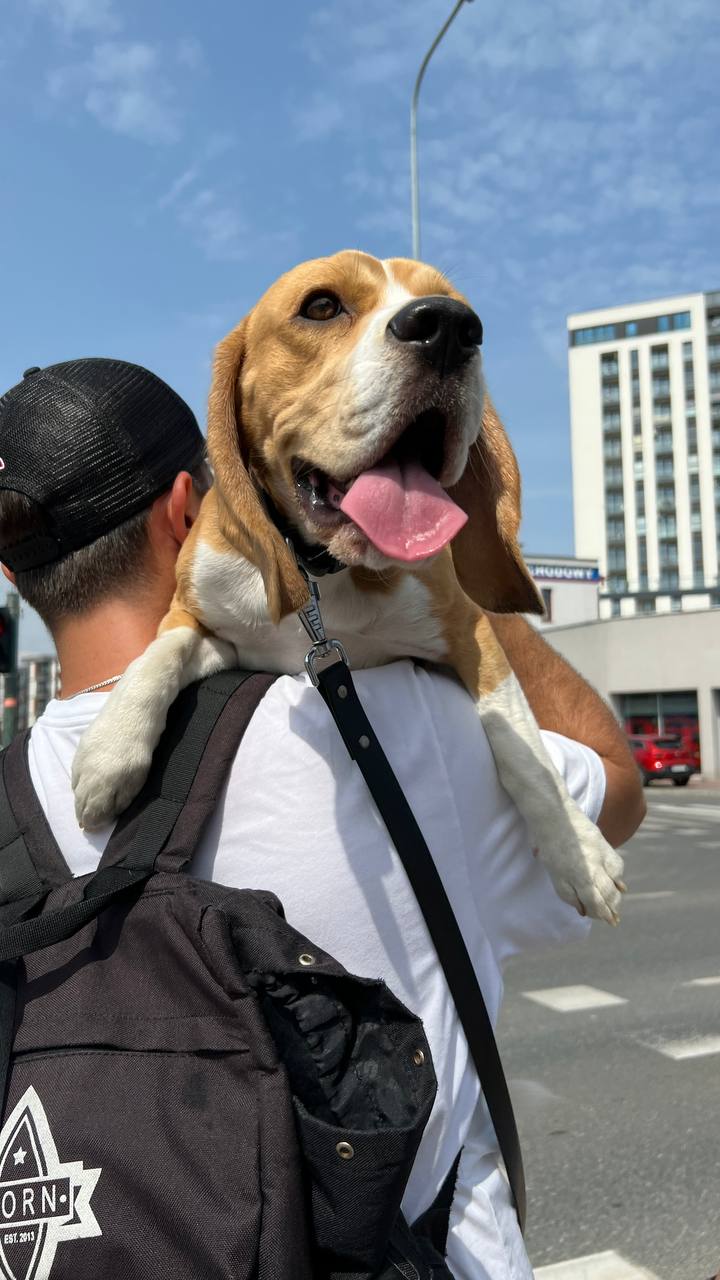
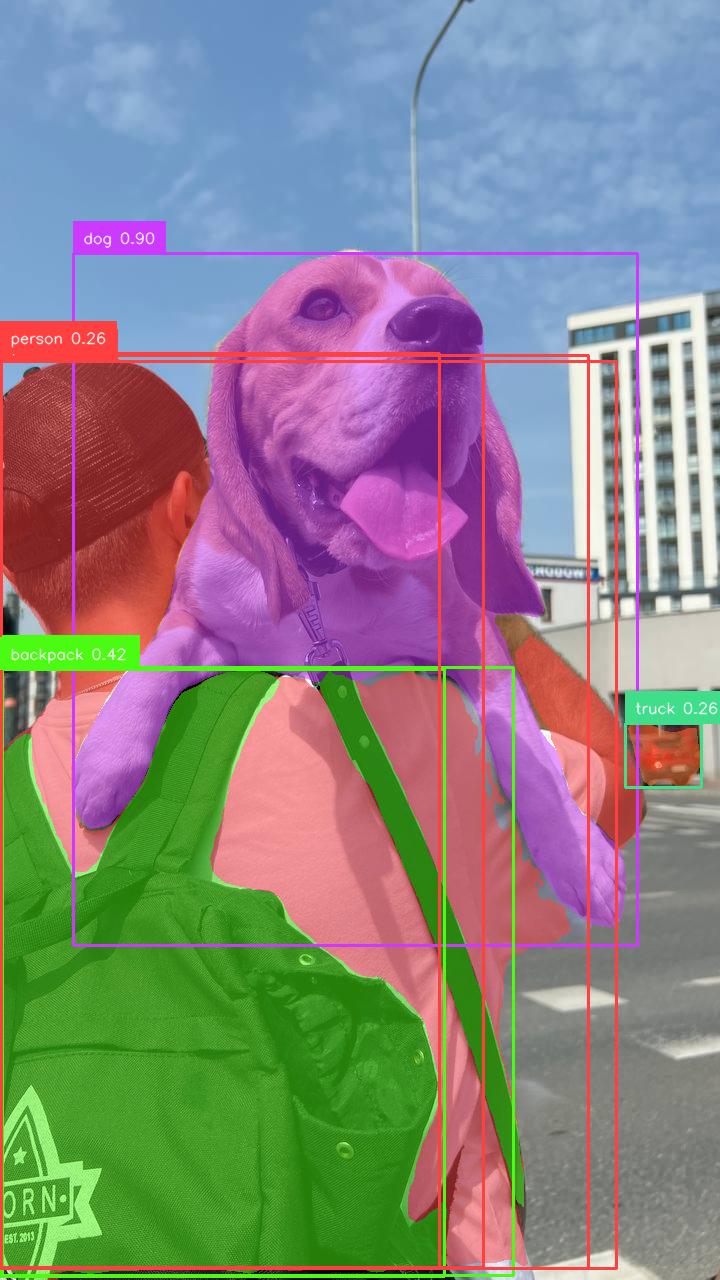
这里结果有重复

北京人形旗下天工造物具身智能开源社区,聚焦具身天工与慧思开物两大平台
更多推荐
 8
8 0
0- 0


 已为社区贡献2条内容

所有评论(0)