Node.js爬虫入门指南:解析HTML方式爬取Wallhaven图片(二)
首先给出目标网站: https://wallhaven.cc/
1.欣赏网站
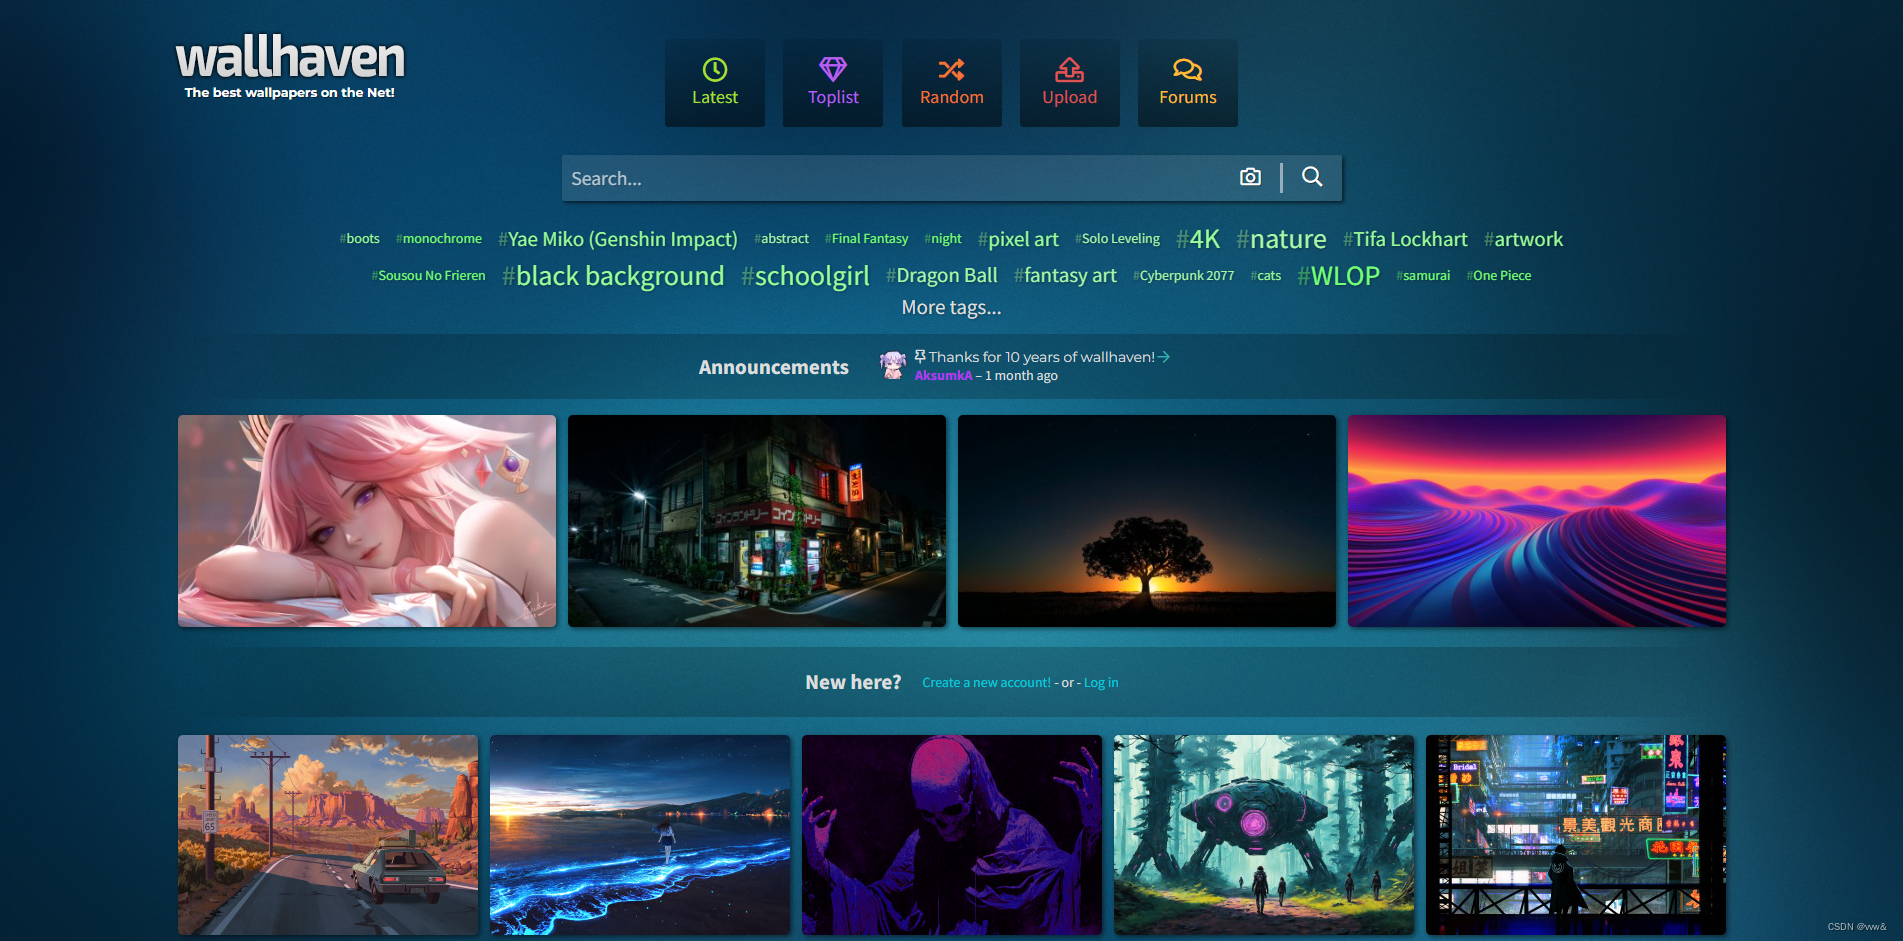
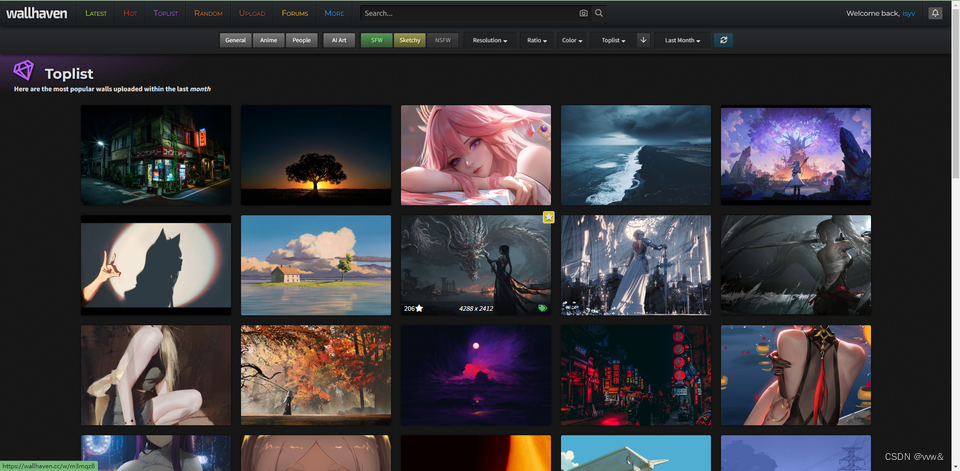
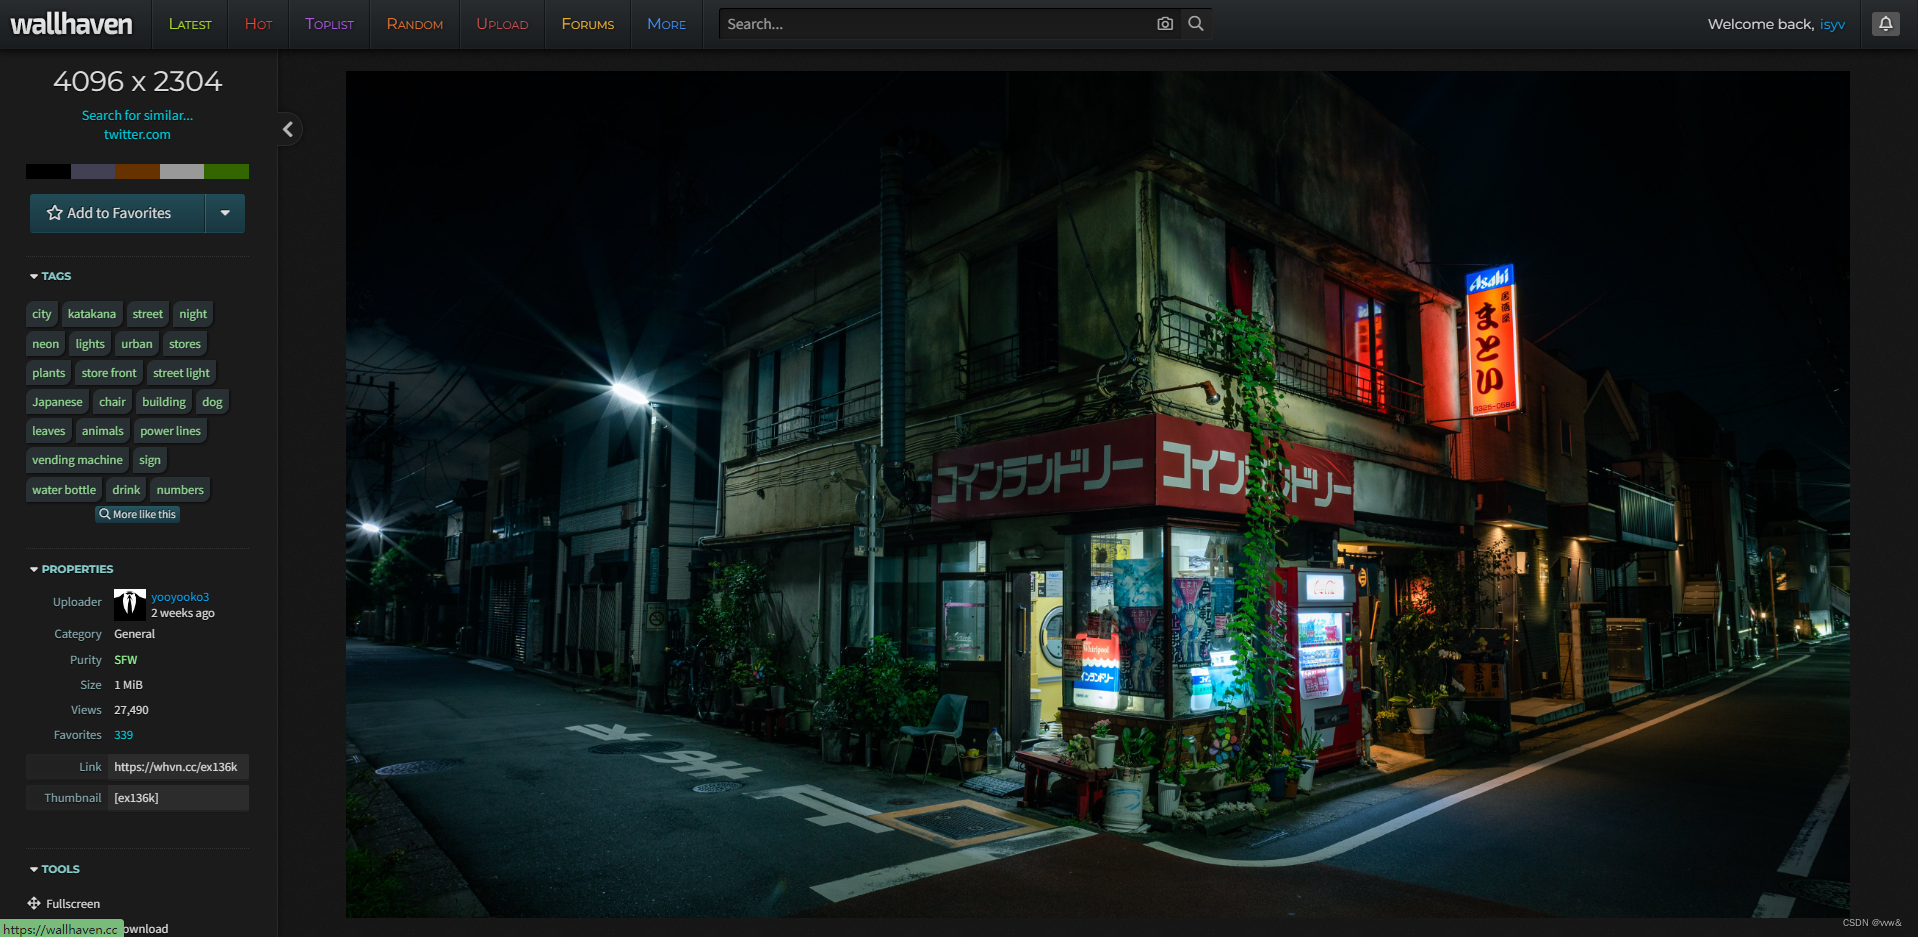
2.查找网站是否有规律
图片规律
以 https://wallhaven.cc/w/ex136k 为例,查找src图片链接,或直接图片右键在新标签页中打开图片,查看图片链接
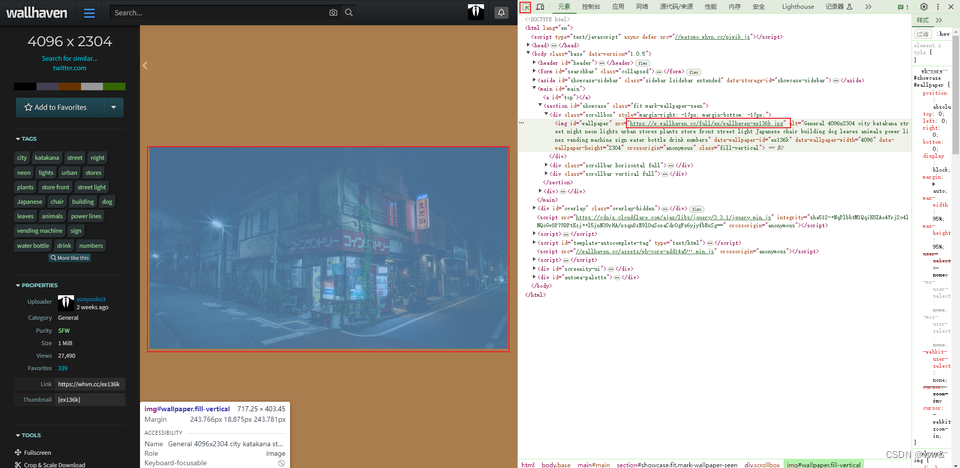
这里我们发现图片直链与图片的预览网址有些许关联,下面展示链接并且多找几张图片查看
# 图片预览链接
https://wallhaven.cc/w/ex136k
# 图片直链
https://w.wallhaven.cc/full/ex/wallhaven-ex136k.jpg

# 对照
https://wallhaven.cc/w/werm6q
https://w.wallhaven.cc/full/we/wallhaven-werm6q.jpg

https://wallhaven.cc/w/kxvmym
https://w.wallhaven.cc/full/kx/wallhaven-kxvmym.jpg

https://wallhaven.cc/w/2y5gjx
https://w.wallhaven.cc/full/2y/wallhaven-2y5gjx.png

https://wallhaven.cc/w/rrz32q
https://w.wallhaven.cc/full/rr/wallhaven-rrz32q.jpg
接下来查找是否有规律
以第一条为例:
# 图片预览链接
https://wallhaven.cc/w/ex136k
# 图片直链
https://w.wallhaven.cc/full/ex/wallhaven-ex136k.jpg
对于 https://wallhaven.cc/w/ex136k
ex136k可能是图片的唯一ID- 且每一个链接都是最后面的
ID会变
对于 https://w.wallhaven.cc/full/ex/wallhaven-ex136k.jpg
https://w.wallhaven.cc似乎不会改变/full应该代表图片是原图/ex/wallhaven-ex136k.jpg- 这一部分
/ex与图片ID:ex136k前两个字符匹配; /wallhaven-这一部分也是不会改变的
- 这一部分
.jpg代表图片的格式,但是对于示例的第四条发现,直链后缀会是png格式的链接,所以后面需要格外处理
获取分页数据规律
打开 控制台→网络→清空已有的网络请求→滚动页面让其获取分页数据
可以发现有一个 /toplist?page=6 和 /toplist?page=7
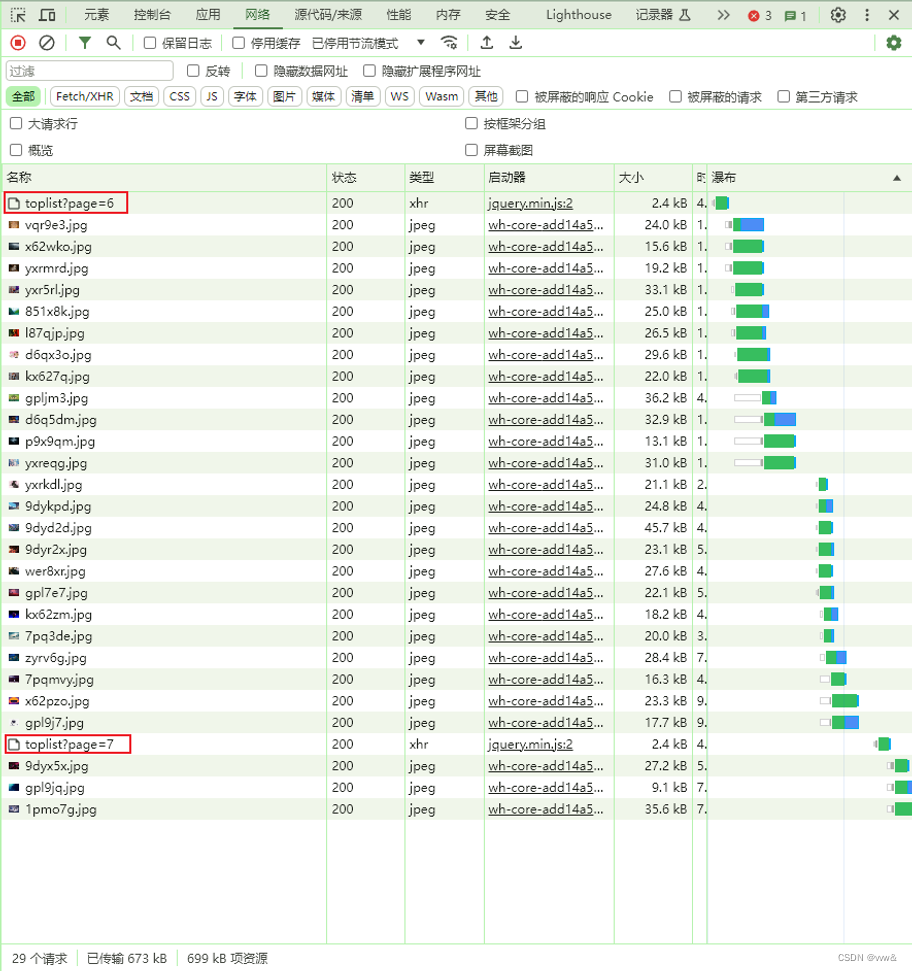
任意点击一个并查看预览,发现响应的是HTML标签(emm不是很好处理🤔)
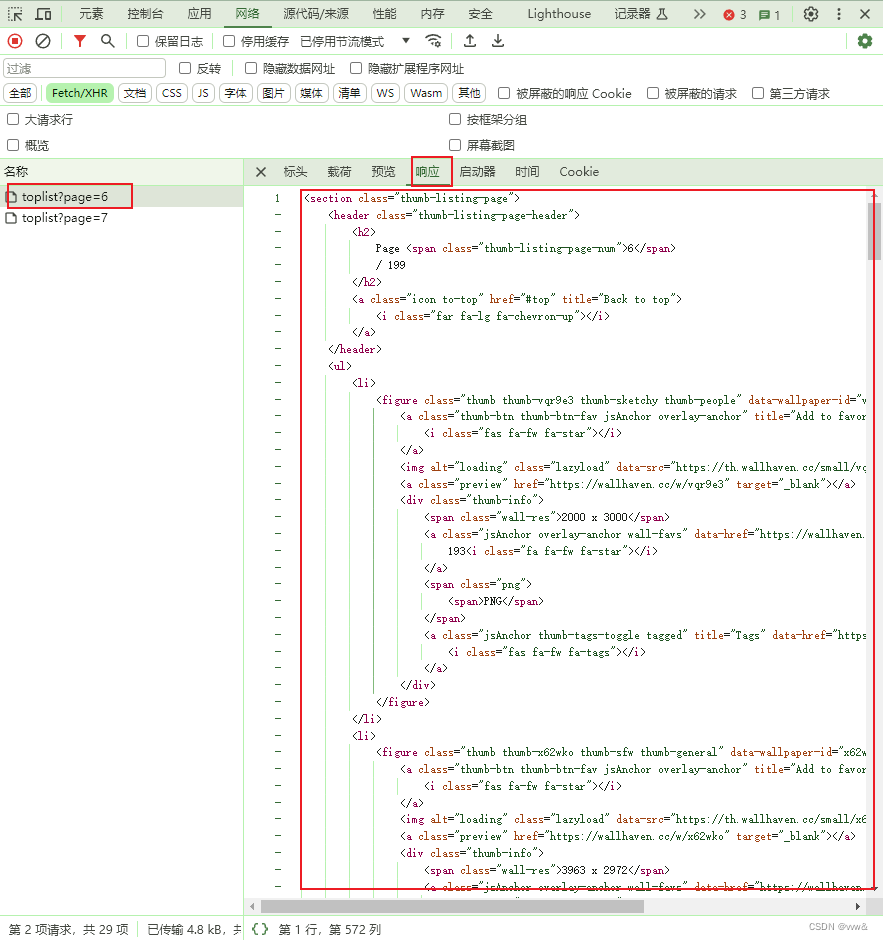
回到页面审查,任意审查一张图片
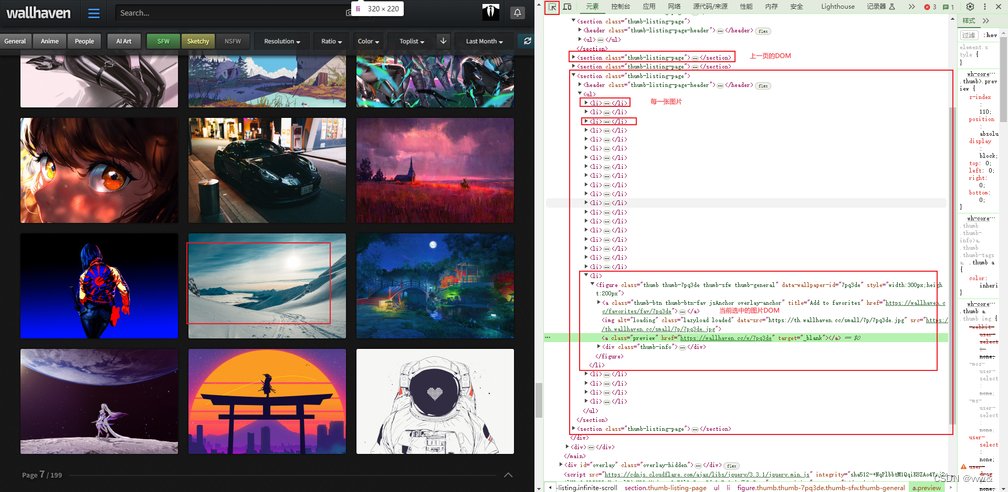
解决发现的问题
尝试解决部分图片直链是 png 格式的问题
继续查看页面
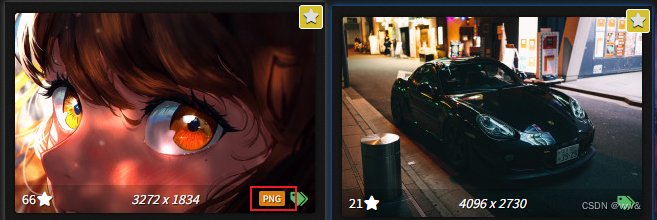
发现部分图片右下角会有一个 PNG 标签
点进去查看图片链接,发现确实是PNG格式的图片
https://wallhaven.cc/w/9dyr2x
https://w.wallhaven.cc/full/9d/wallhaven-9dyr2x.png
审查这个 PNG 标签
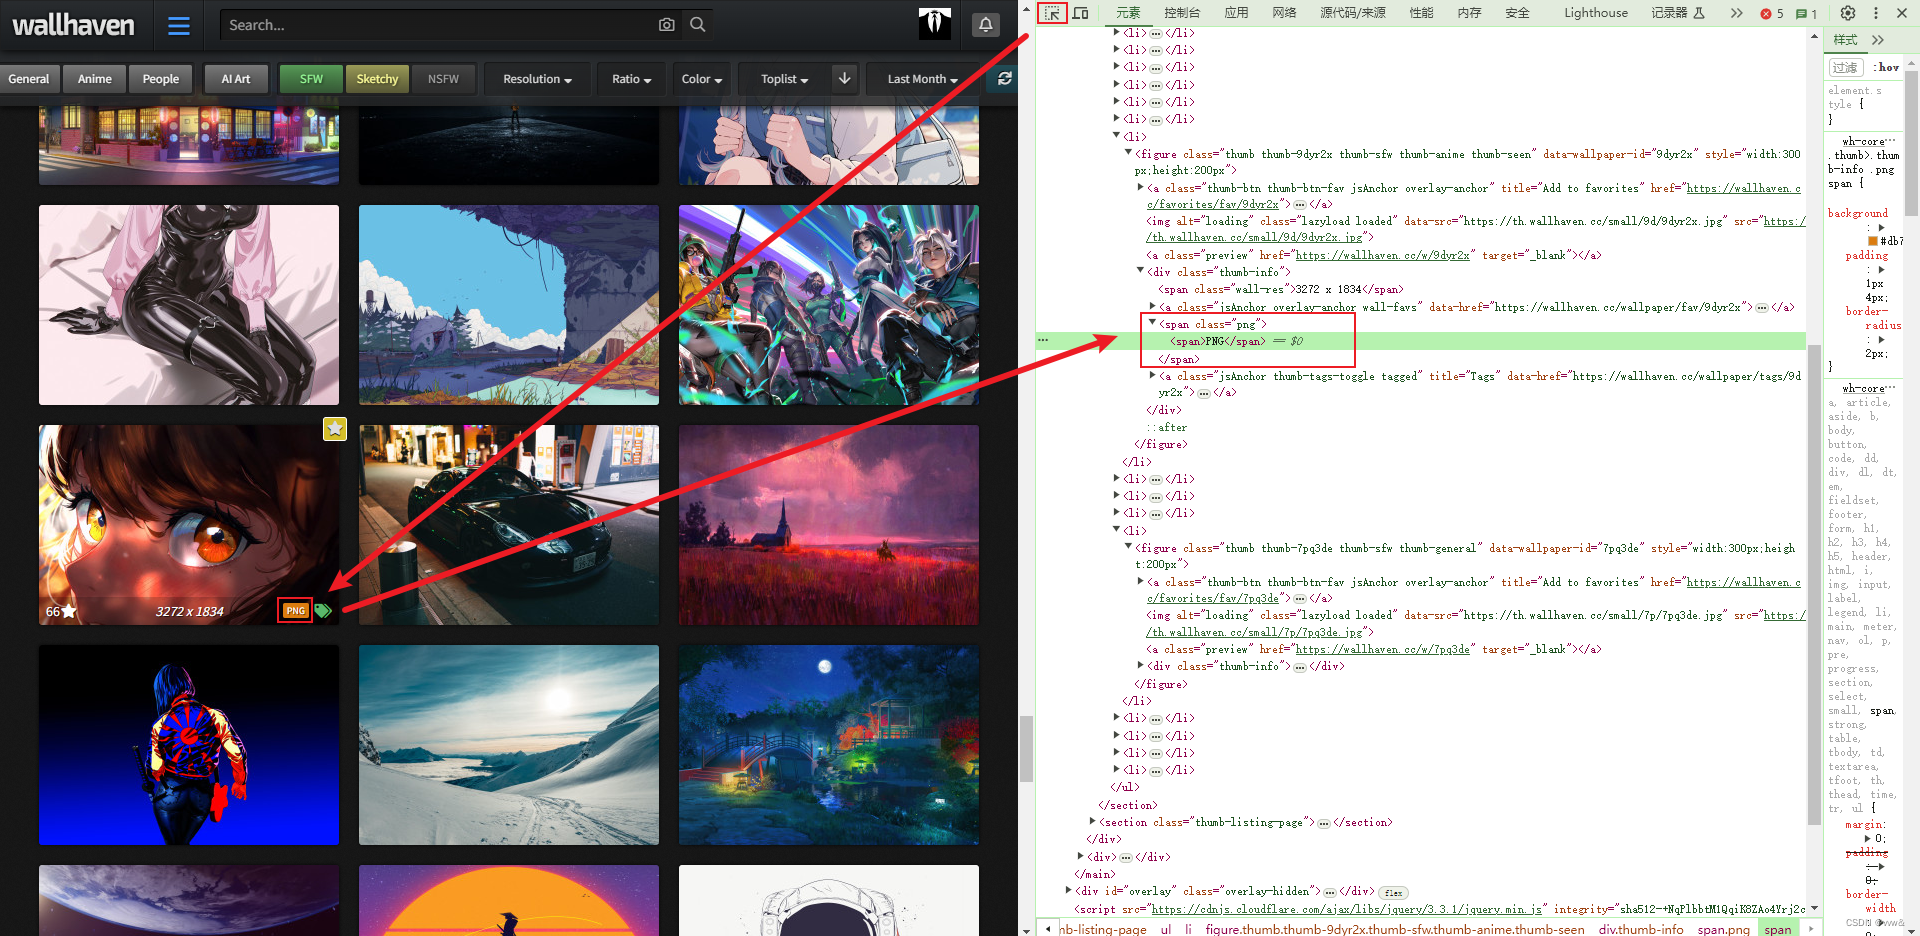
好了,这一个问题解决了,知道怎么判断图片是否是JPG还是PNG 后面可以判断这一个标签内容是否是PNG
技术选型
发现的问题:
- 分页获取的数据不是
JSON格式
使用的技术方案为:
NodeJS:作为后端axios:作为网络请求的库cheerio: 解析HTML元素aria2c: 可以将视频链接以aria2c可读文本格式保存为文本
代码解析
仓库地址 Github
1. 类的定义与初始化
const axios = require("axios");
const fs = require("fs");
const path = require("path");
const cheerio = require("cheerio");

class Utils {
  constructor(options) {
    this.from = options.from; // 起始页
    this.page = options.from; // 当前页
    this.parentDir = options.parentDir; // 保存的父目录
    this.to = options.to; // 目标页
    this.type = options.type; // 爬取的类型有: latest, toplist, hot, random
    this.isPageDir = options.isPageDir; // 是否需要添加页数在文件路径中
    this.cookie = options.cookie; // 请求的 cookie
    this.init(); // 初始化
  }
  // ...
}
这段代码定义了一个 Utils 类,用于处理网页解析和图片下载的相关操作。在类的构造函数中,接受一个包含各种配置选项的对象 options,包括起始页、目标页、爬取类型、父目录等。然后调用 init() 方法进行初始化。
2. 初始化方法
async init() {
  const res = await this.getPageHTML(this.page);
  // 将页面的html传入解析方法 使用cheerio解析
  const info = await this.parseHTML(res);
  this.writeImgInfo(info);
}
init() 方法是类的初始化方法,它首先调用 getPageHTML() 方法获取网页的 HTML 内容,然后调用 parseHTML() 方法解析 HTML,最后调用 writeImgInfo() 方法将图片信息写入文件。
3. 获取网页 HTML 内容
getPageHTML = async (page) => {
  return new Promise(async (resolve) => {
    try {
      const { data: res } = await axios(`https://wallhaven.cc/${this.type}?page=${page}`, {
        headers: this.headers(page),
      });
      resolve(res);
    } catch (error) {
      console.log(error.message);
      console.log("出错了,正在重试");
      await this.sleep(2000);
      const res = await this.getPageHTML(page);
      resolve(res);
    }
  });
};
getPageHTML() 方法使用 axios 发起 HTTP 请求获取网页 HTML 内容。它接受一个页码参数 page,然后通过 Promise 进行异步处理。在请求中,使用了 headers() 方法返回的 headers 对象,该方法用于构造请求的头部信息。
需要注意的是请求的内容可能会返回 429 Too Many Requests 在HTTP 协议中,响应状态码429 Too Many Requests 表示在一定的时间内用户发送了太多的请求,即超出了“频次限制”,所以需要使用 try/cache 递归调用getPageHTML 方法,防止脚本中途报错停止。
4. 构造请求头部信息
headers(page) {
    return {
      accept: "text/html, */*; q=0.01",
      "accept-language": "zh-CN,zh;q=0.9,en-US;q=0.8,en;q=0.7",
      "cache-control": "no-cache",
      pragma: "no-cache",
      "sec-ch-ua": '"Google Chrome";v="107", "Chromium";v="108", "Not=A?Brand";v="24"',
      "sec-ch-ua-mobile": "?0",
      "sec-ch-ua-platform": '"Windows"',
      "sec-fetch-dest": "empty",
      "sec-fetch-mode": "cors",
      "sec-fetch-site": "same-origin",
      "x-requested-with": "XMLHttpRequest",
      cookie: `${this.cookie}`,
      Referer: page
        ? `https://wallhaven.cc/${this.type}?page=${page - 1}`
        : `https://wallhaven.cc/${this.type}`,
      "Referrer-Policy": "strict-origin-when-cross-origin",
      "user-agent": this.userAgent
        ? this.userAgent
        : `Mozilla/5.0 (Windows NT 10.0; Win64; x64) AppleWebKit/537.36 (KHTML, like Gecko) Chrome/108.0.0.0 Safari/537.36`,
    };
  }
headers() 方法用于构造 HTTP 请求的头部信息,其中包括了 Referer、User-Agent、Cookie 等常用的头部信息,以模拟浏览器行为发起请求。
5. 解析 HTML 获取图片信息
async parseHTML(html) {
    return new Promise((resolve, reject) => {
      const $ = cheerio.load(html);
      // 图片信息数组
      const imgInfoList = [];
      // 找到所有的相应元素
      **const figu**re = $("section.thumb-listing-page >ul >li >figure");
      const thumb_info = $("section.thumb-listing-page >ul >li >figure>.thumb-info");
      // 处理每个元素 获取图片地址和相关信息保存起来,用于后面文件命令
      figure.each((index, item) => {
        // 判断每一个 thumb_info 子元素 是否有 .png
        // 如果有则说明是 png 格式的图片
        if ($(thumb_info[index]).find(".png").html() != null) {
          // 通过判断 表示该图片是png图片
          // 获取图片地址
          const imgSrc = $(item).find("img").attr("data-src");
          // 获取图片尺寸
          const imgSize = $(item).find(".wall-res").text();
          // 获取图片ID
          const imgId = imgSrc.split("/").slice(-1)[0].split(".")[0];
          const imgInfo = {
            page: this.page,
            index: index + 1,
            isPng: true,
            imgId,
            imgSize,
            url: this.handleImgUrl(imgSrc, true),
          };
          //   console.log(imgInfo);
          imgInfoList.push(imgInfo);
        } else if ($(thumb_info[index]).find(".png").html() === null) {
          // 表示图片是 jpg 格式的图片
          this.handleImgUrl($(item).find("img").attr("data-src"), false);
          //   获取图片地址;
          const imgSrc = this.handleImgUrl($(item).find("img").attr("data-src"));
          // 获取图片ID
          const imgId = imgSrc.split("/").slice(-1)[0].split(".")[0];
          // 获取图片尺寸
          const imgSize = $(item).find(".wall-res").text();
          const imgInfo = {
            page: this.page,
            index: index + 1,
            isPng: false,
            imgSize,
            imgId,
            url: imgSrc,
          };
          imgInfoList.push(imgInfo);
        }
      });
      // 将图片信息数组返回
      resolve(imgInfoList);
    });
  }
parseHTML() 方法使用 cheerio 模块对 HTML 进行解析,并提取出图片的相关信息,包括图片地址、尺寸、页码等,并将这些信息保存在一个数组中返回。还会对图片是否为PNG格式的进行判断和处理
6. 处理图片地址
 handleImgUrl(url, isPng) {
    // 简单处理预览地址
    let url1 = url.replace("th", "w").replace("small", "full");
    // 在后面的图片 id.jpg 前面加上 wallhaven-
    let url2before = url1.split("/").slice(0, 5).join("/");
    let url2after = "/wallhaven-" + url1.split("/").slice(5);
    let finallyUrl = url2before + url2after;
    // 如果是png格式的图片 则需要将jpg替换为png
    if (isPng) {
      finallyUrl = finallyUrl.replace("jpg", "png");
    }
    // 返回处理好的图片地址字符串
    return finallyUrl;
  }
handleImgUrl() 方法用于处理图片地址,将预览链接转化为原图链接,并根据图片格式添加相应的后缀。
7. 将图片信息写入文件
async writeImgInfo(imgInfoList) {
    return new Promise((resolve, reject) => {
      let text = ``;
      imgInfoList.forEach((item) => {
        text += `${item.url}
            out=p${item.page}-${item.index}-[${item.imgSize}]-${item.imgId}.${
          item.isPng ? "png" : "jpg"
        }
            dir=${this.isPageDir ? `${this.parentDir}/${item.page}` : this.parentDir}
            user-agent=${
              this.userAgent
                ? this.userAgent
                : `Mozilla/5.0 (Windows NT 10.0; Win64; x64) AppleWebKit/537.36 (KHTML, like Gecko) Chrome/108.0.0.0 Safari/537.36`
            }\r\n`;
      });
      // 调用fs模块写入文件
      fs.writeFileSync(`./${this.type}-${this.from}-${this.to}.txt`, text, {
        flag: "a",
      });
      console.log(`第${this.page}页图片信息写入成功`);
      //   判断是否是最后一页
      if (this.page === this.to) {
        console.log("写入完成");
        resolve();
      } else {
        this.page++;
        this.init();
      }
    });
  }
writeImgInfo() 方法将图片信息按照aria2c特定文本格式写入文件,格式包括图片地址、输出文件名、保存目录等,并在写入完成后判断是否是最后一页,如果不是则继续进行下一页的操作。
8. 自定义延迟函数
  async sleep(time) {
    return new Promise((resolve, reject) => {
      setTimeout(() => {
        resolve();
      }, time);
    });
  }
}
sleep() 方法用于实现自定义的异步延迟函数,可用于控制请求的频率,避免请求过于频繁。
下载图片
$ aria2c.exe -c -i ./1-20.txt

北京人形旗下天工造物具身智能开源社区,聚焦具身天工与慧思开物两大平台
更多推荐
 18
18 0
0- 0


 已为社区贡献2条内容

所有评论(0)