python 截图 minicap_将ADB的截图替换为MiniCap的截图
最近在做性能这块的测试。一开始使用的截图方案是用adb自带的命令,格式类似:
adbshell screencap -p /sdcard/screencap.png
这个方式操作简单,但缺陷也有,一个是截图很大,一张图片好几M,还要手动写压缩算法缩减尺寸;另一个就是慢,完成一次截图花费1、2秒是很正常的。
缓慢的adb截图拖慢了整个测试节奏。经常导致6、7秒钟才能截取到一次数据。

之前用过STF,了解到STF的MiniCap速度非常快,在大多数机型上可以完美替代ADBCap。
https://github.com/openstf/minicap/tree/master/example
但MiniCap使用起来相当不便,用户必须手动为每个手机去安装"MiniCap"和"MiniCap.so"两个文件,而且MiniCap.so还区分CPU内核以及安卓版本,不同的so无法混用。
感谢Airtest项目,里面收集了目前主流版本的所有版本的"MiniCap"和"MiniCap.so"。
https://github.com/AirtestProject/Airtest/tree/master/airtest/core/android/static/stf_libs
这样,我们只要加载过airtest项目,就可以很容易为手机匹配到合适的MiniCap了。
实现代码如下:
先
pip install airtest
然后
import os,inspect
parent_path = os.path.abspath(os.path.dirname(inspect.getfile(inspect.currentframe())) + os.path.sep + ".")
root_path = os.path.abspath(os.path.dirname(parent_path) + os.path.sep + ".")
ABIcommand="adb -s {} shell getprop ro.product.cpu.abi".format(devices)
ABI=os.popen(ABIcommand).read().strip()
AndroidVersion = os.popen( "adb -s {} shell getprop ro.build.version.sdk".format(devices)).read().strip()
airtest_minicap_path=os.path.abspath(os.path.dirname(root_path) + os.path.sep + ".")+"\\airtest\\core\\android\\static\\stf_libs"
airtest_minicapso_path= os.path.abspath(os.path.dirname(root_path) + os.path.sep + ".")+"\\airtest\\core\\android\\static\\stf_libs\\minicap-shared\\aosp\\libs\\"+"android-{}\\{}\\minicap.so".format(AndroidVersion,ABI)
push_minicap= "adb -s {} push {}/{}/minicap".format(devices,airtest_minicap_path,ABI) +" /data/local/tmp/"
push_minicapso = "adb -s {} push {}".format(devices, airtest_minicapso_path) + " /data/local/tmp/"
os.popen(push_minicap)
os.popen(push_minicapso)
chmod= "adb -s {} shell chmod 777 /data/local/tmp/*".format(devices)
os.popen(chmod)
wm_size_command="adb -s {} shell wm size".format(devices)
vm_size=os.popen(wm_size_command).read()
vm_size=vm_size.split(":")[1].strip()
start_minicap= "adb -s {} shell LD_LIBRARY_PATH=/data/local/tmp /data/local/tmp/minicap -P {}@{}/0 -t".format(devices,vm_size,vm_size)
result=os.popen(start_minicap).read()
print(result)
print("设备{}上已经成功安装并开启了MiniCap。".format(devices))
解释一下:
我的项目与airtest项目都在python的Lib/site-package目录下。
所以前两行实际上是计算自己项目的根目录的绝对路径。这一步因人而异,各位同学需要自己去计算出Lib/site-package目录的绝对路径。
第3和第4行是去计算传入设备的ABI。
第5行计算安卓版本号,这个版本号是安卓的开发版本号。
第6、7行计算出airtest项目的MiniCap和MiniCap.so所在的位置。
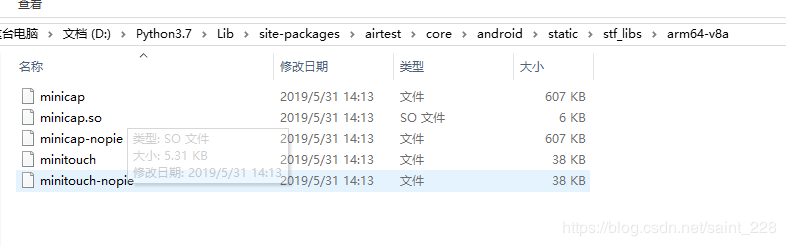
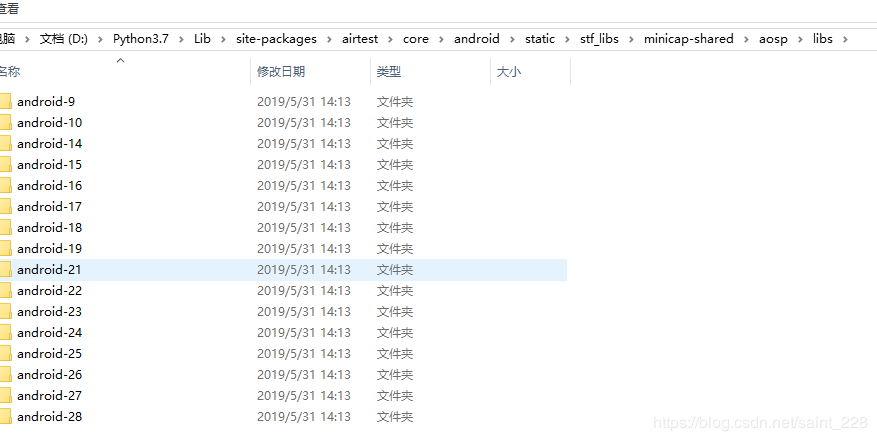
第8-11行则推送MiniCap和MiniCap.so到你的手机上,默认是/data/local/tmp目录,当然,你也可以随意改成你喜欢的路径,前提是你有权限。
12、13行是给上面提到的目录赋予读写权限。
14-16行获得你设备的分辨率,这在开启MiniCap时会用到。
终于到了令人激动的第17-18行,成功在手机上开启了MiniCap。
你应该能在控制台看到这样的信息:

一台手机一般只需要执行一次这种初始化的操作。
MiniCap的服务安装好了,接下去该如何调用呢?
minicapcommand= "adb -s {} shell \" LD_LIBRARY_PATH=/data/local/tmp /data/local/tmp/minicap -P {}@{}/0 -s > /sdcard/screencap.png\"".format(devices,vm_size, vm_size)
os.popen(minicapcommand)
好了,现在你可以在你手机的/sdcard目录里找到一张名为screencap.png的截图了。
再用
os.popen( "adb -s " + devices + " pull /sdcard/screencap.png " + "D:\\"screencap.png")
截图就被转存到你的D盘上了。注意:不要直接从设备上往电脑上生成图片,格式会异常;一定要先存手机上再转存。
让我们看看使用MiniCap以后的速度:
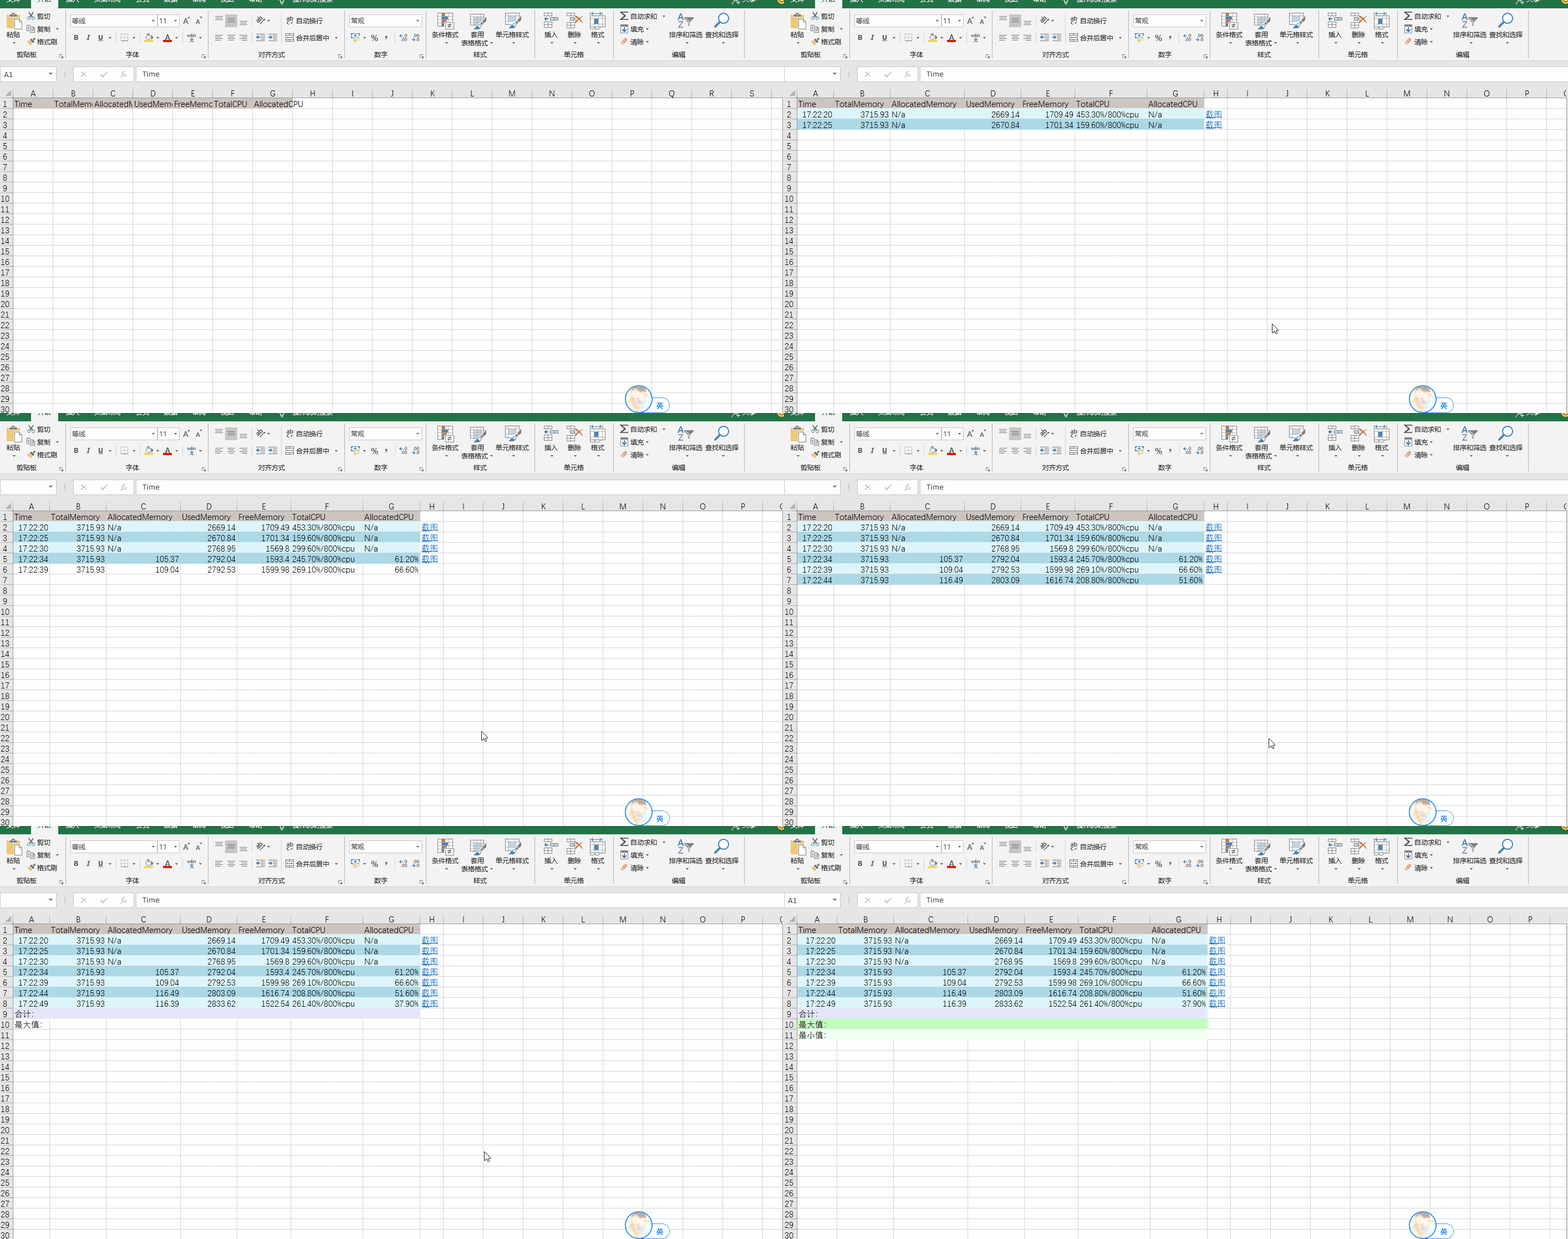
平均时间提升到5秒左右,基本排除了ADBCap对操作性能的影响,毕竟快一秒是一秒不是么?

北京人形旗下天工造物具身智能开源社区,聚焦具身天工与慧思开物两大平台
更多推荐
 0
0 0
0- 0


 已为社区贡献6条内容

所有评论(0)