uniapp开发微信小程序笔记13-uniapp中获取用户头像、昵称、图片上传(uni.uploadFile)、用户定位(uni.getLocation)
·
前言:
在微信小程序的更新过程中,获取用户头像昵称的方式也一直在更新,之前使用的是uni.getUserProfile()方法弹出授权窗口直接获取,现在最新的版本是使用头像昵称填写时获取的方式
一、选择微信头像
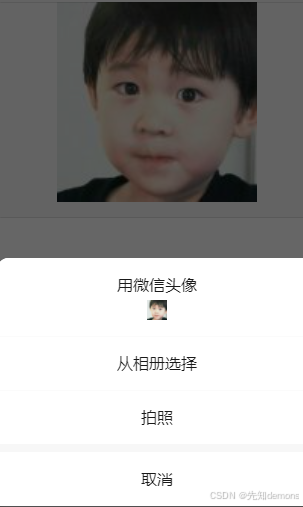
使用button的开放能力
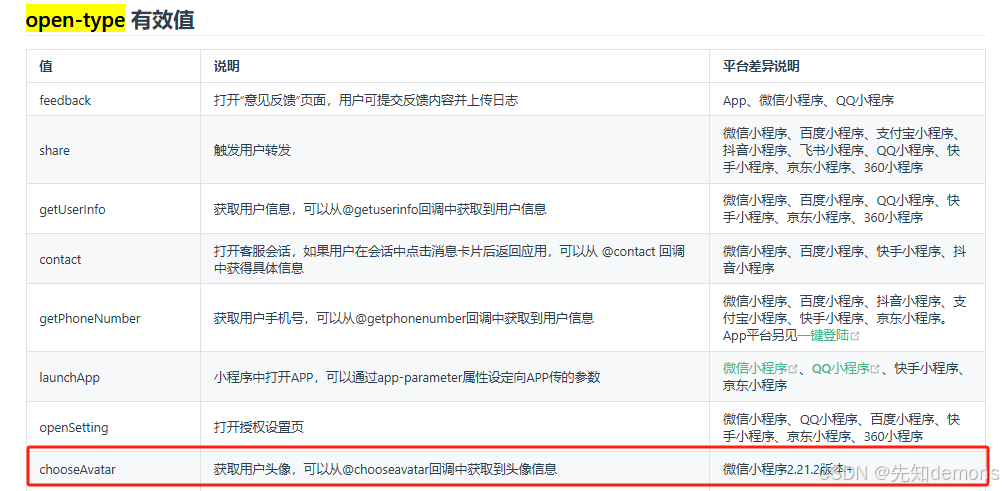
        <button open-type="chooseAvatar" @chooseavatar="chooseAvatarFn">
			<image :src="form.avatar" class="avatarCla"></image>
		</button>
头像的url在回调函数的detail里
    const chooseAvatarFn = ({
		detail
	}) => {
		form.value.avatar = detail.avatarUrl
	}
二、设置微信昵称
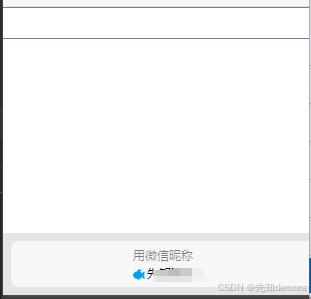
<input type="nickname" class="inputCla" @blur="changeNickname" />
三、图片上传
在第一步里获取到的avatarUrl只是一个临时的地址,过段时间就会失效,所以需要将图片上传到后端数据库进行存储
这里需要用uni.uploadFile(),以下是参数说明:
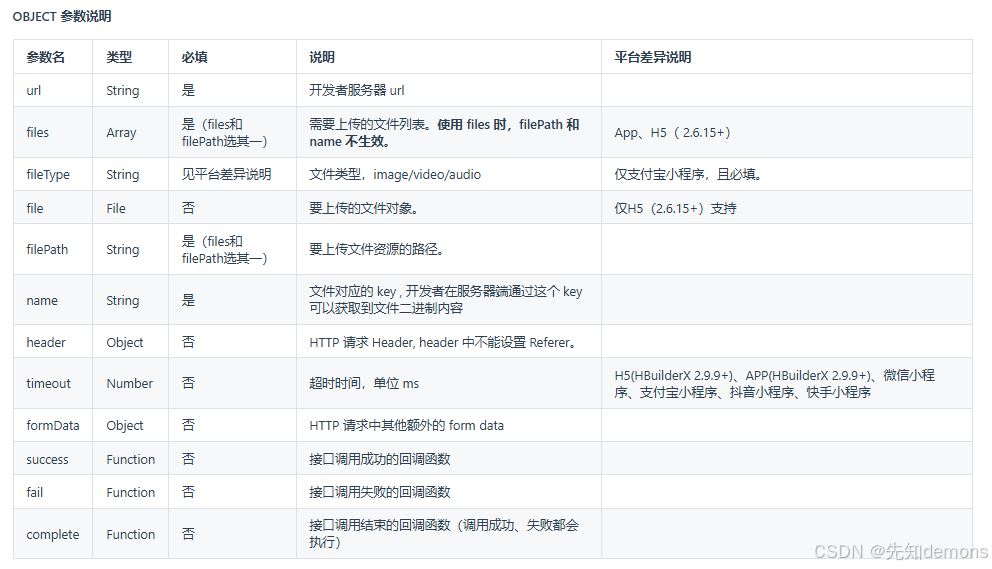
可以像之前封装 uni.request()一样,写在一起
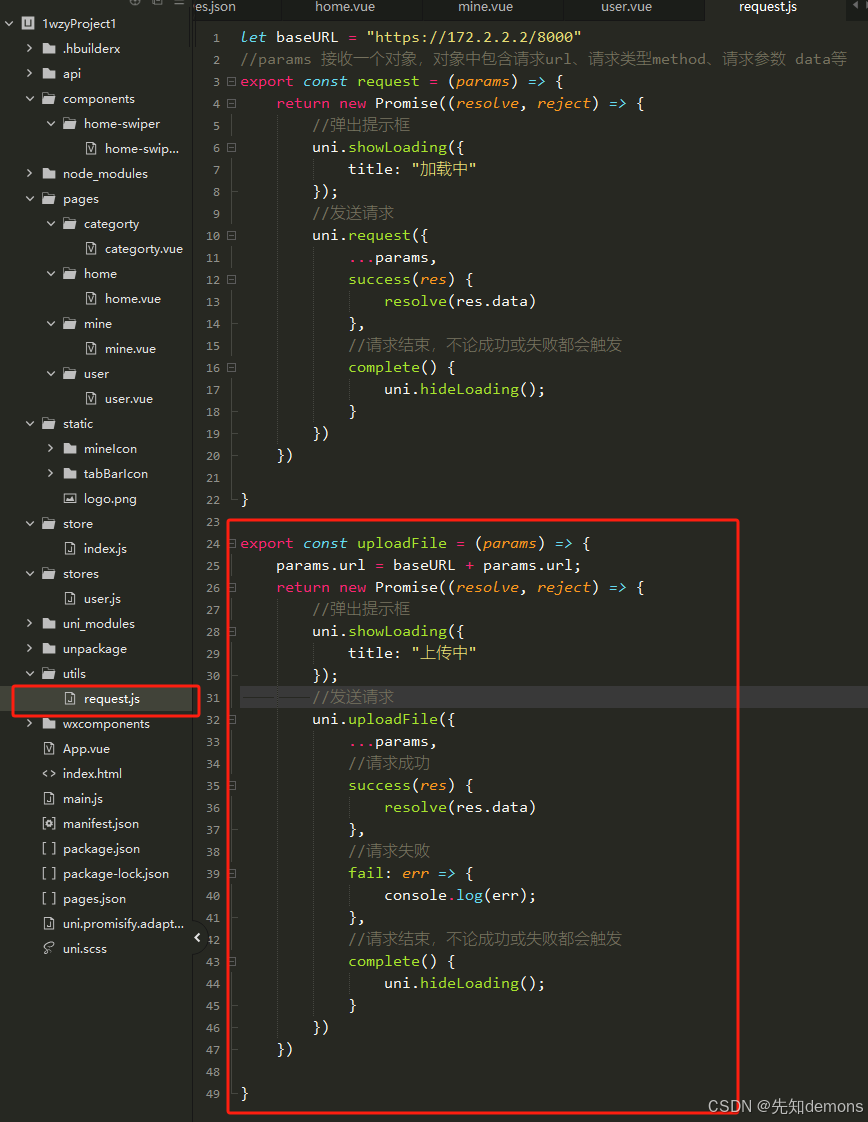
代码:(这里对返回的res.data是字符串格式的,所以要转成对象)
export const uploadFile = (params) => {
	params.url = baseURL + params.url;
	return new Promise((resolve, reject) => {
		//弹出提示框
		uni.showLoading({
			title: "上传中"
		});
		//发送请求
		uni.uploadFile({
			...params,
			//请求成功
			success(res) {
				// resolve(res.data)
				//将后端返回的JSON字符串转换为对象
				JSON.parse(res.data)
			},
			//请求失败
			fail: err => {
				console.log(err);
			},
			//请求结束,不论成功或失败都会触发
			complete() {
				uni.hideLoading();
			}
		})
	})

}
调用uploadFile:
//根据头像临时地址,将图片上传到服务器
	const uploadAvatar = async () => {
		const res = await uploadFile({
			url: '/images/upload',
			filePath: form.value.avatar,
			name: "file"
		})
		if (res.code == 200) {
			from.value.avatar = res.data;
		}
	}

北京人形旗下天工造物具身智能开源社区,聚焦具身天工与慧思开物两大平台
更多推荐
 1
1 0
0- 0


 已为社区贡献1条内容

所有评论(0)