xtuner_llava 微调作业
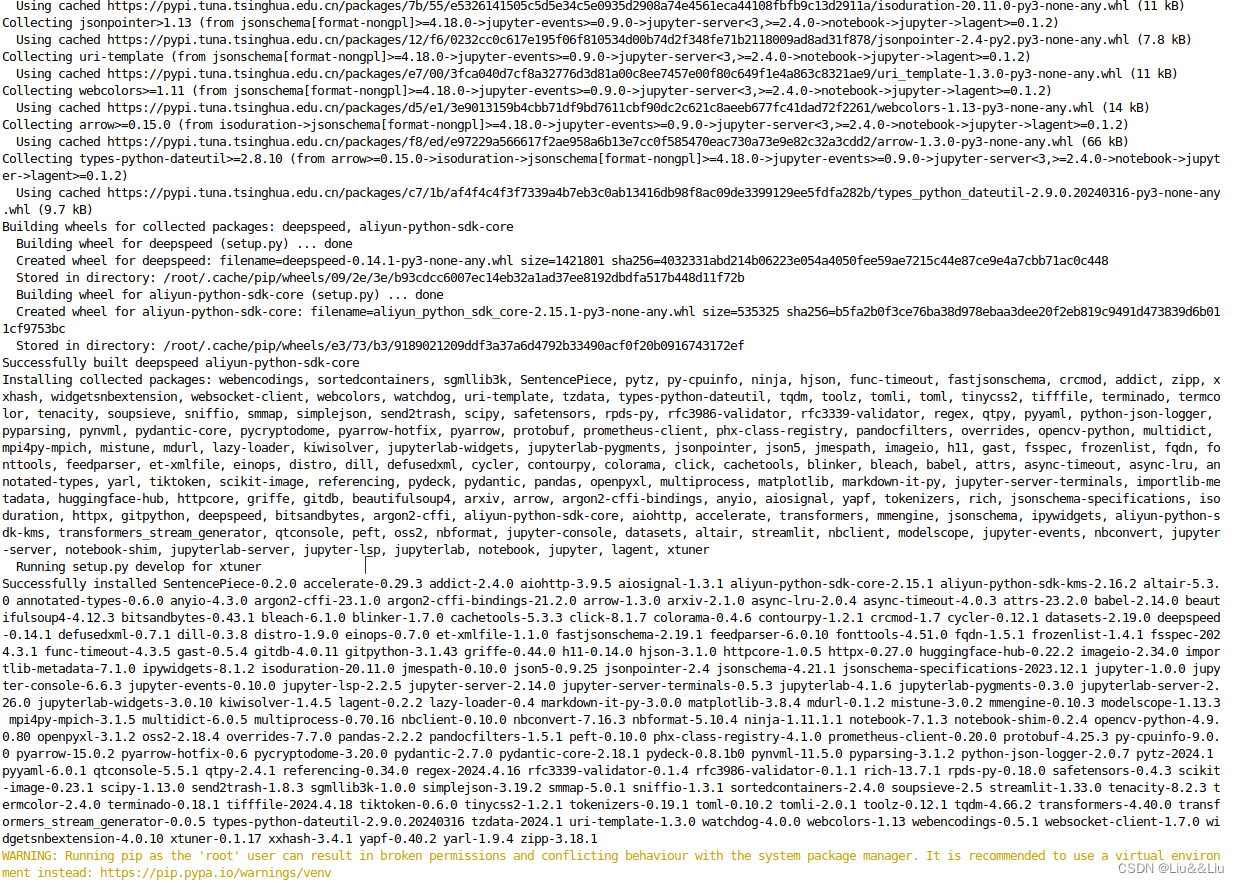
进行环境配置:
# 如果你是在 InternStudio 平台,则从本地 clone 一个已有 pytorch 的环境:
# pytorch 2.0.1 py3.10_cuda11.7_cudnn8.5.0_0
cd ~ && studio-conda xtuner0.1.17
# 如果你是在其他平台:
# conda create --name xtuner0.1.17 python=3.10 -y
# 激活环境
conda activate xtuner0.1.17
# 进入家目录 (~的意思是 “当前用户的home路径”)
cd ~
# 创建版本文件夹并进入,以跟随本教程
mkdir -p /root/xtuner0117 && cd /root/xtuner0117
# 拉取 0.1.17 的版本源码
git clone -b v0.1.17 https://github.com/InternLM/xtuner
# 无法访问github的用户请从 gitee 拉取:
# git clone -b v0.1.15 https://gitee.com/Internlm/xtuner
# 进入源码目录
cd /root/xtuner0117/xtuner
# 从源码安装 XTuner
pip install -e '.[all]' && cd ~
Finetune阶段:
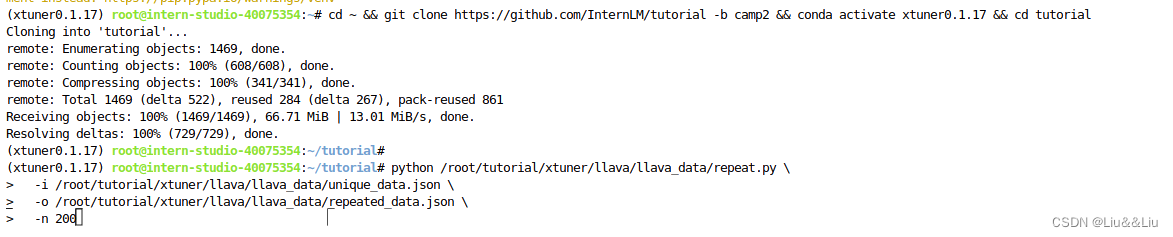
制作训练集:
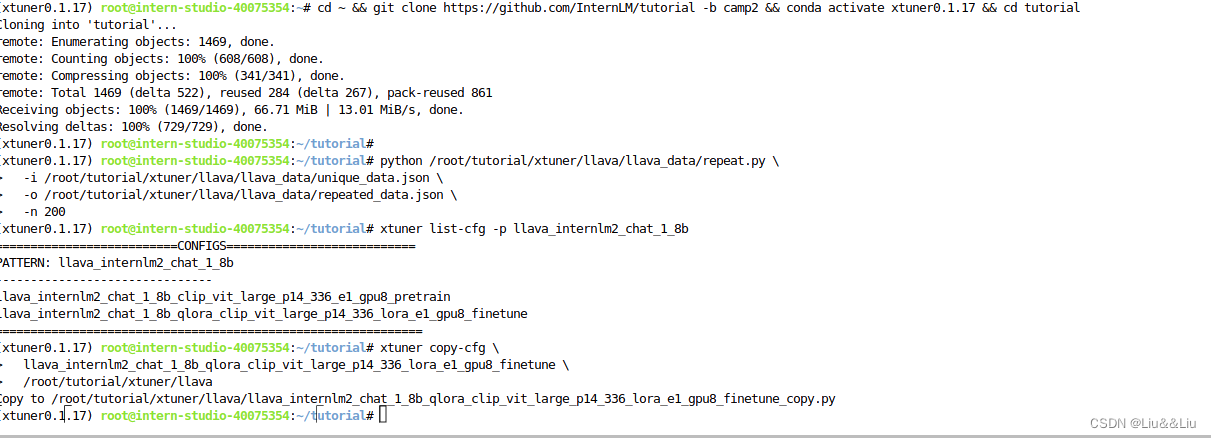
创建配置文件:
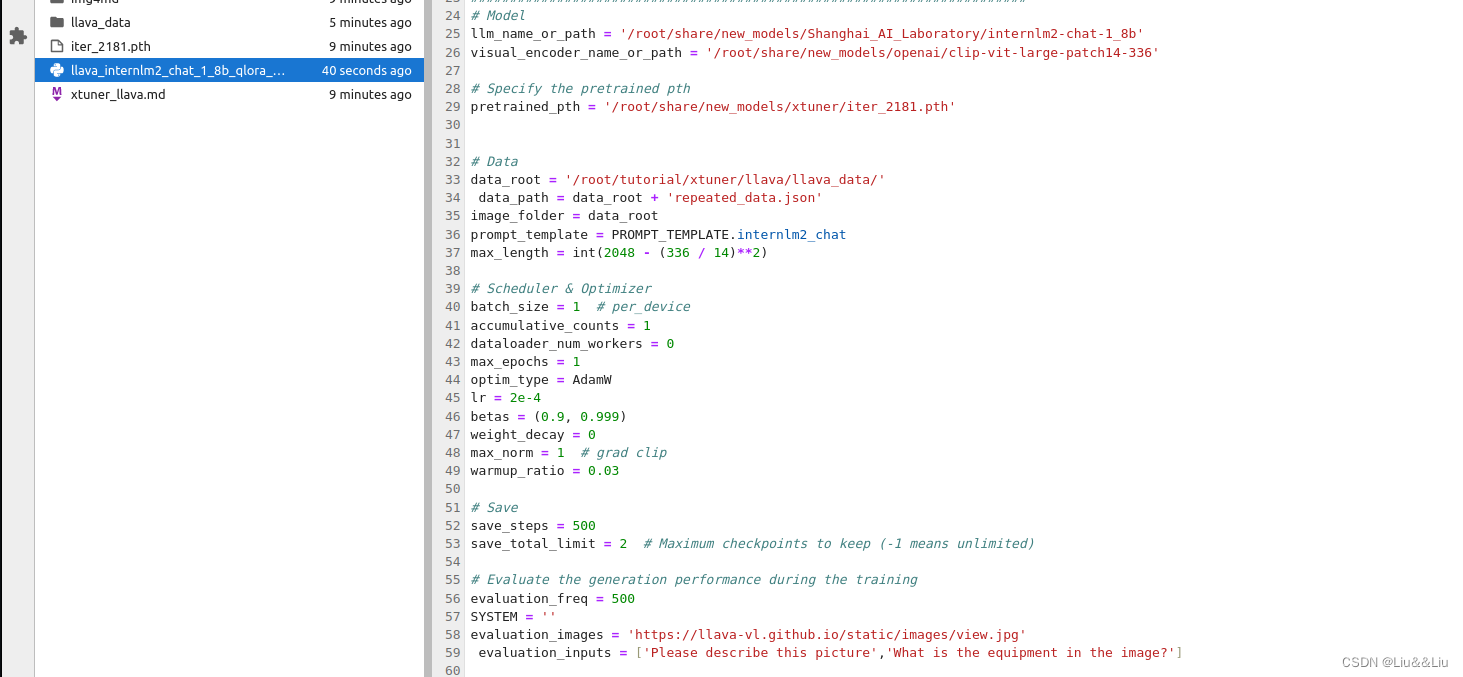
修改配置文件:
在文件llava_internlm2_chat_1_8b_qlora_clip_vit_large_p14_336_lora_e1_gpu8_finetune_copy.py里修改
# Model
- llm_name_or_path = 'internlm/internlm2-chat-1_8b'
+ llm_name_or_path = '/root/share/new_models/Shanghai_AI_Laboratory/internlm2-chat-1_8b'
- visual_encoder_name_or_path = 'openai/clip-vit-large-patch14-336'
+ visual_encoder_name_or_path = '/root/share/new_models/openai/clip-vit-large-patch14-336'
# Specify the pretrained pth
- pretrained_pth = './work_dirs/llava_internlm2_chat_1_8b_clip_vit_large_p14_336_e1_gpu8_pretrain/iter_2181.pth' # noqa: E501
+ pretrained_pth = '/root/share/new_models/xtuner/iter_2181.pth'
# Data
- data_root = './data/llava_data/'
+ data_root = '/root/tutorial/xtuner/llava/llava_data/'
- data_path = data_root + 'LLaVA-Instruct-150K/llava_v1_5_mix665k.json'
+ data_path = data_root + 'repeated_data.json'
- image_folder = data_root + 'llava_images'
+ image_folder = data_root
# Scheduler & Optimizer
- batch_size = 16 # per_device
+ batch_size = 1 # per_device
# evaluation_inputs
- evaluation_inputs = ['请描述一下这张图片','Please describe this picture']
+ evaluation_inputs = ['Please describe this picture','What is the equipment in the image?']
改后:
开始Finetune
 结果:
结果: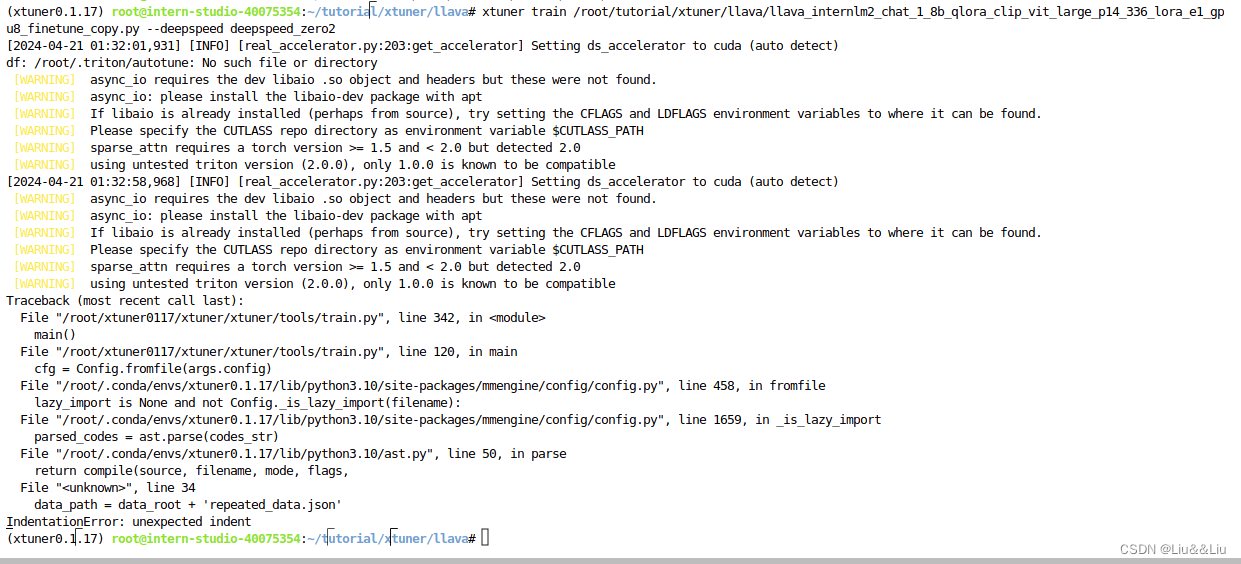 对比Finetune前后的性能差异:
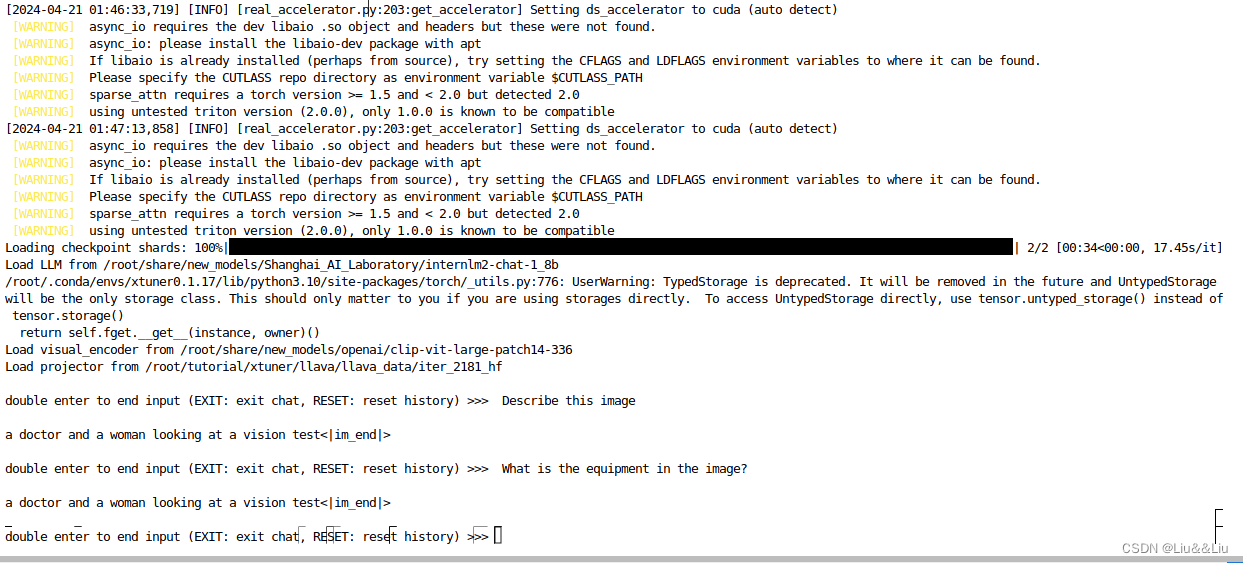
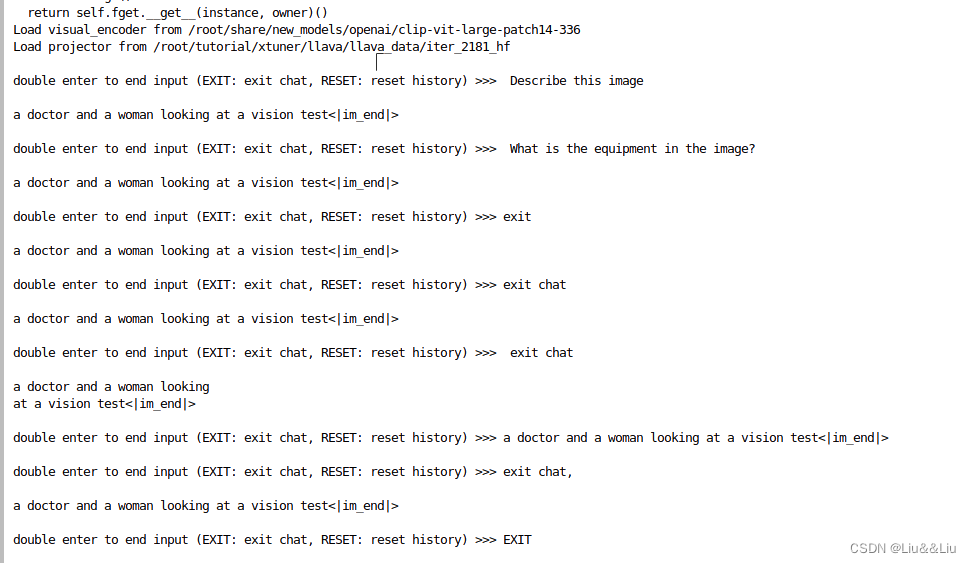
Q1: Describe this image.
Q2: What is the equipment in the image?
Finetune前:
Finetune后:

北京人形旗下天工造物具身智能开源社区,聚焦具身天工与慧思开物两大平台
更多推荐
 33
33 0
0- 0


 已为社区贡献1条内容

所有评论(0)