
mujoco通过字串或是xml文件加载模型
·
mujoco通过字串或是xml文件加载模型。
加载、初始化MuJoCo模型和数据。
1、方式一:字符串形式,即 “from_xml_string”。
#-*-coding:utf-8-*-
# date:2025-12-07
# Author: Eric

import mujoco
import mujoco.viewer
import numpy as np
import time

# 1. 定义MuJoCo XML模型
xml = """
<mujoco model="sphere_circle_trajectory">
    <compiler angle="degree"/>
    <option timestep="0.005"/>  <!-- 仿真步长,越小越平滑 -->
    <worldbody>
        <light diffuse="0.5 0.5 0.5" pos="0 0 3" dir="0 0 -1"/>
        <geom name="ground" type="plane" size="2 2 0.1" rgba="0.5 0.5 0.5 1"/>

        <body name="cube" pos="0 0 0.1">
            <joint type="free"/>
            <geom type="box" size="0.1 0.1 0.1" rgba="0.0 0.0 0.5 1"/>
        </body>

        <!-- 球体 -->
        <body name="sphere" pos="0.0 0.0 0.09">  <!-- z=0.09:球体半径,刚好贴地面 -->
            <!-- 关节:仅允许x/y平移,z轴通过微小range+高阻尼固定 -->
            <joint name="sphere_x" type="slide" axis="1 0 0" damping="1"/>
            <joint name="sphere_y" type="slide" axis="0 1 0" damping="1"/>
            <joint name="sphere_z" type="slide" axis="0 0 1" limited="true"
                   range="0.089 0.091" damping="100"/>  <!-- 微小范围+高阻尼固定z轴 -->
            <geom type="sphere" size="0.09" rgba="0.0 0.9 0.0 1"/>
        </body>
    </worldbody>

    <!-- 控制器:为x/y关节添加位置控制 -->
    <actuator>
        <position name="act_x" joint="sphere_x" kp="1000"/>  <!-- kp:位置增益 -->
        <position name="act_y" joint="sphere_y" kp="1000"/>
    </actuator>
</mujoco>
"""
# 2. 初始化MuJoCo模型和数据
model = mujoco.MjModel.from_xml_string(xml) # 字符串形式初始化、加载模型

data = mujoco.MjData(model)

# 3. 定义圆形轨迹参数
circle_radius = 1.0       # 圆半径
center_x, center_y = 0, 0 # 圆心坐标
angular_velocity = 0.3    # 角速度(rad/s),控制运动速度

# 4. 仿真循环(带可视化)
with mujoco.viewer.launch_passive(model, data) as viewer:
    # 固定仿真帧率
    viewer._paused = False
    start_time = time.time()

    while viewer.is_running():
        # 计算当前时间和角度
        current_time = time.time() - start_time
        theta = angular_velocity * current_time  # 随时间变化的角度

        # 计算圆形轨迹的目标位置(x,y)
        target_x = center_x + circle_radius * np.cos(theta)
        target_y = center_y + circle_radius * np.sin(theta)

        # 方式:直接修改物体状态(无物理约束,慎用)
        data.joint("sphere_x").qpos = target_x
        data.joint("sphere_y").qpos = target_y

        # 运行一步仿真
        mujoco.mj_step(model, data)

        # 同步可视化
        viewer.sync()

        # 控制仿真帧率(避免过快)
        time.sleep(model.opt.timestep)
2、方式二:通过 xml文件方式加载、初始化模型,即 “from_xml_path”。
设置 xml文件test.xml.
test.xml文件内容如下:
xml = """
<mujoco model="sphere_circle_trajectory">
    <compiler angle="degree"/>
    <option timestep="0.005"/>  <!-- 仿真步长,越小越平滑 -->
    <worldbody>
        <light diffuse="0.5 0.5 0.5" pos="0 0 3" dir="0 0 -1"/>
        <geom name="ground" type="plane" size="2 2 0.1" rgba="0.5 0.5 0.5 1"/>

        <body name="cube" pos="0 0 0.1">
            <joint type="free"/>
            <geom type="box" size="0.1 0.1 0.1" rgba="0.0 0.0 0.5 1"/>
        </body>

        <!-- 球体 -->
        <body name="sphere" pos="0.0 0.0 0.09">  <!-- z=0.09:球体半径,刚好贴地面 -->
            <!-- 关节:仅允许x/y平移,z轴通过微小range+高阻尼固定 -->
            <joint name="sphere_x" type="slide" axis="1 0 0" damping="1"/>
            <joint name="sphere_y" type="slide" axis="0 1 0" damping="1"/>
            <joint name="sphere_z" type="slide" axis="0 0 1" limited="true"
                   range="0.089 0.091" damping="100"/>  <!-- 微小范围+高阻尼固定z轴 -->
            <geom type="sphere" size="0.09" rgba="0.0 0.9 0.0 1"/>
        </body>
    </worldbody>

    <!-- 控制器:为x/y关节添加位置控制 -->
    <actuator>
        <position name="act_x" joint="sphere_x" kp="1000"/>  <!-- kp:位置增益 -->
        <position name="act_y" joint="sphere_y" kp="1000"/>
    </actuator>
</mujoco>
代码如下:
#-*-coding:utf-8-*-
# date:2025-12-07
# Author: Eric

import mujoco
import mujoco.viewer
import numpy as np
import time

# from_xml_path
# 2. 初始化MuJoCo模型和数据

model = mujoco.MjModel.from_xml_path("test.xml") # xml文件方式,加载、初始化模型。

data = mujoco.MjData(model)

# 3. 定义圆形轨迹参数
circle_radius = 1.0       # 圆半径
center_x, center_y = 0, 0 # 圆心坐标
angular_velocity = 0.3    # 角速度(rad/s),控制运动速度

# 4. 仿真循环(带可视化)
with mujoco.viewer.launch_passive(model, data) as viewer:
    # 固定仿真帧率
    viewer._paused = False
    start_time = time.time()

    while viewer.is_running():
        # 计算当前时间和角度
        current_time = time.time() - start_time
        theta = angular_velocity * current_time  # 随时间变化的角度

        # 计算圆形轨迹的目标位置(x,y)
        target_x = center_x + circle_radius * np.cos(theta)
        target_y = center_y + circle_radius * np.sin(theta)

        # 方式:直接修改物体状态(无物理约束,慎用)
        data.joint("sphere_x").qpos = target_x
        data.joint("sphere_y").qpos = target_y

        # 运行一步仿真
        mujoco.mj_step(model, data)

        # 同步可视化
        viewer.sync()

        # 控制仿真帧率(避免过快)
        time.sleep(model.opt.timestep)
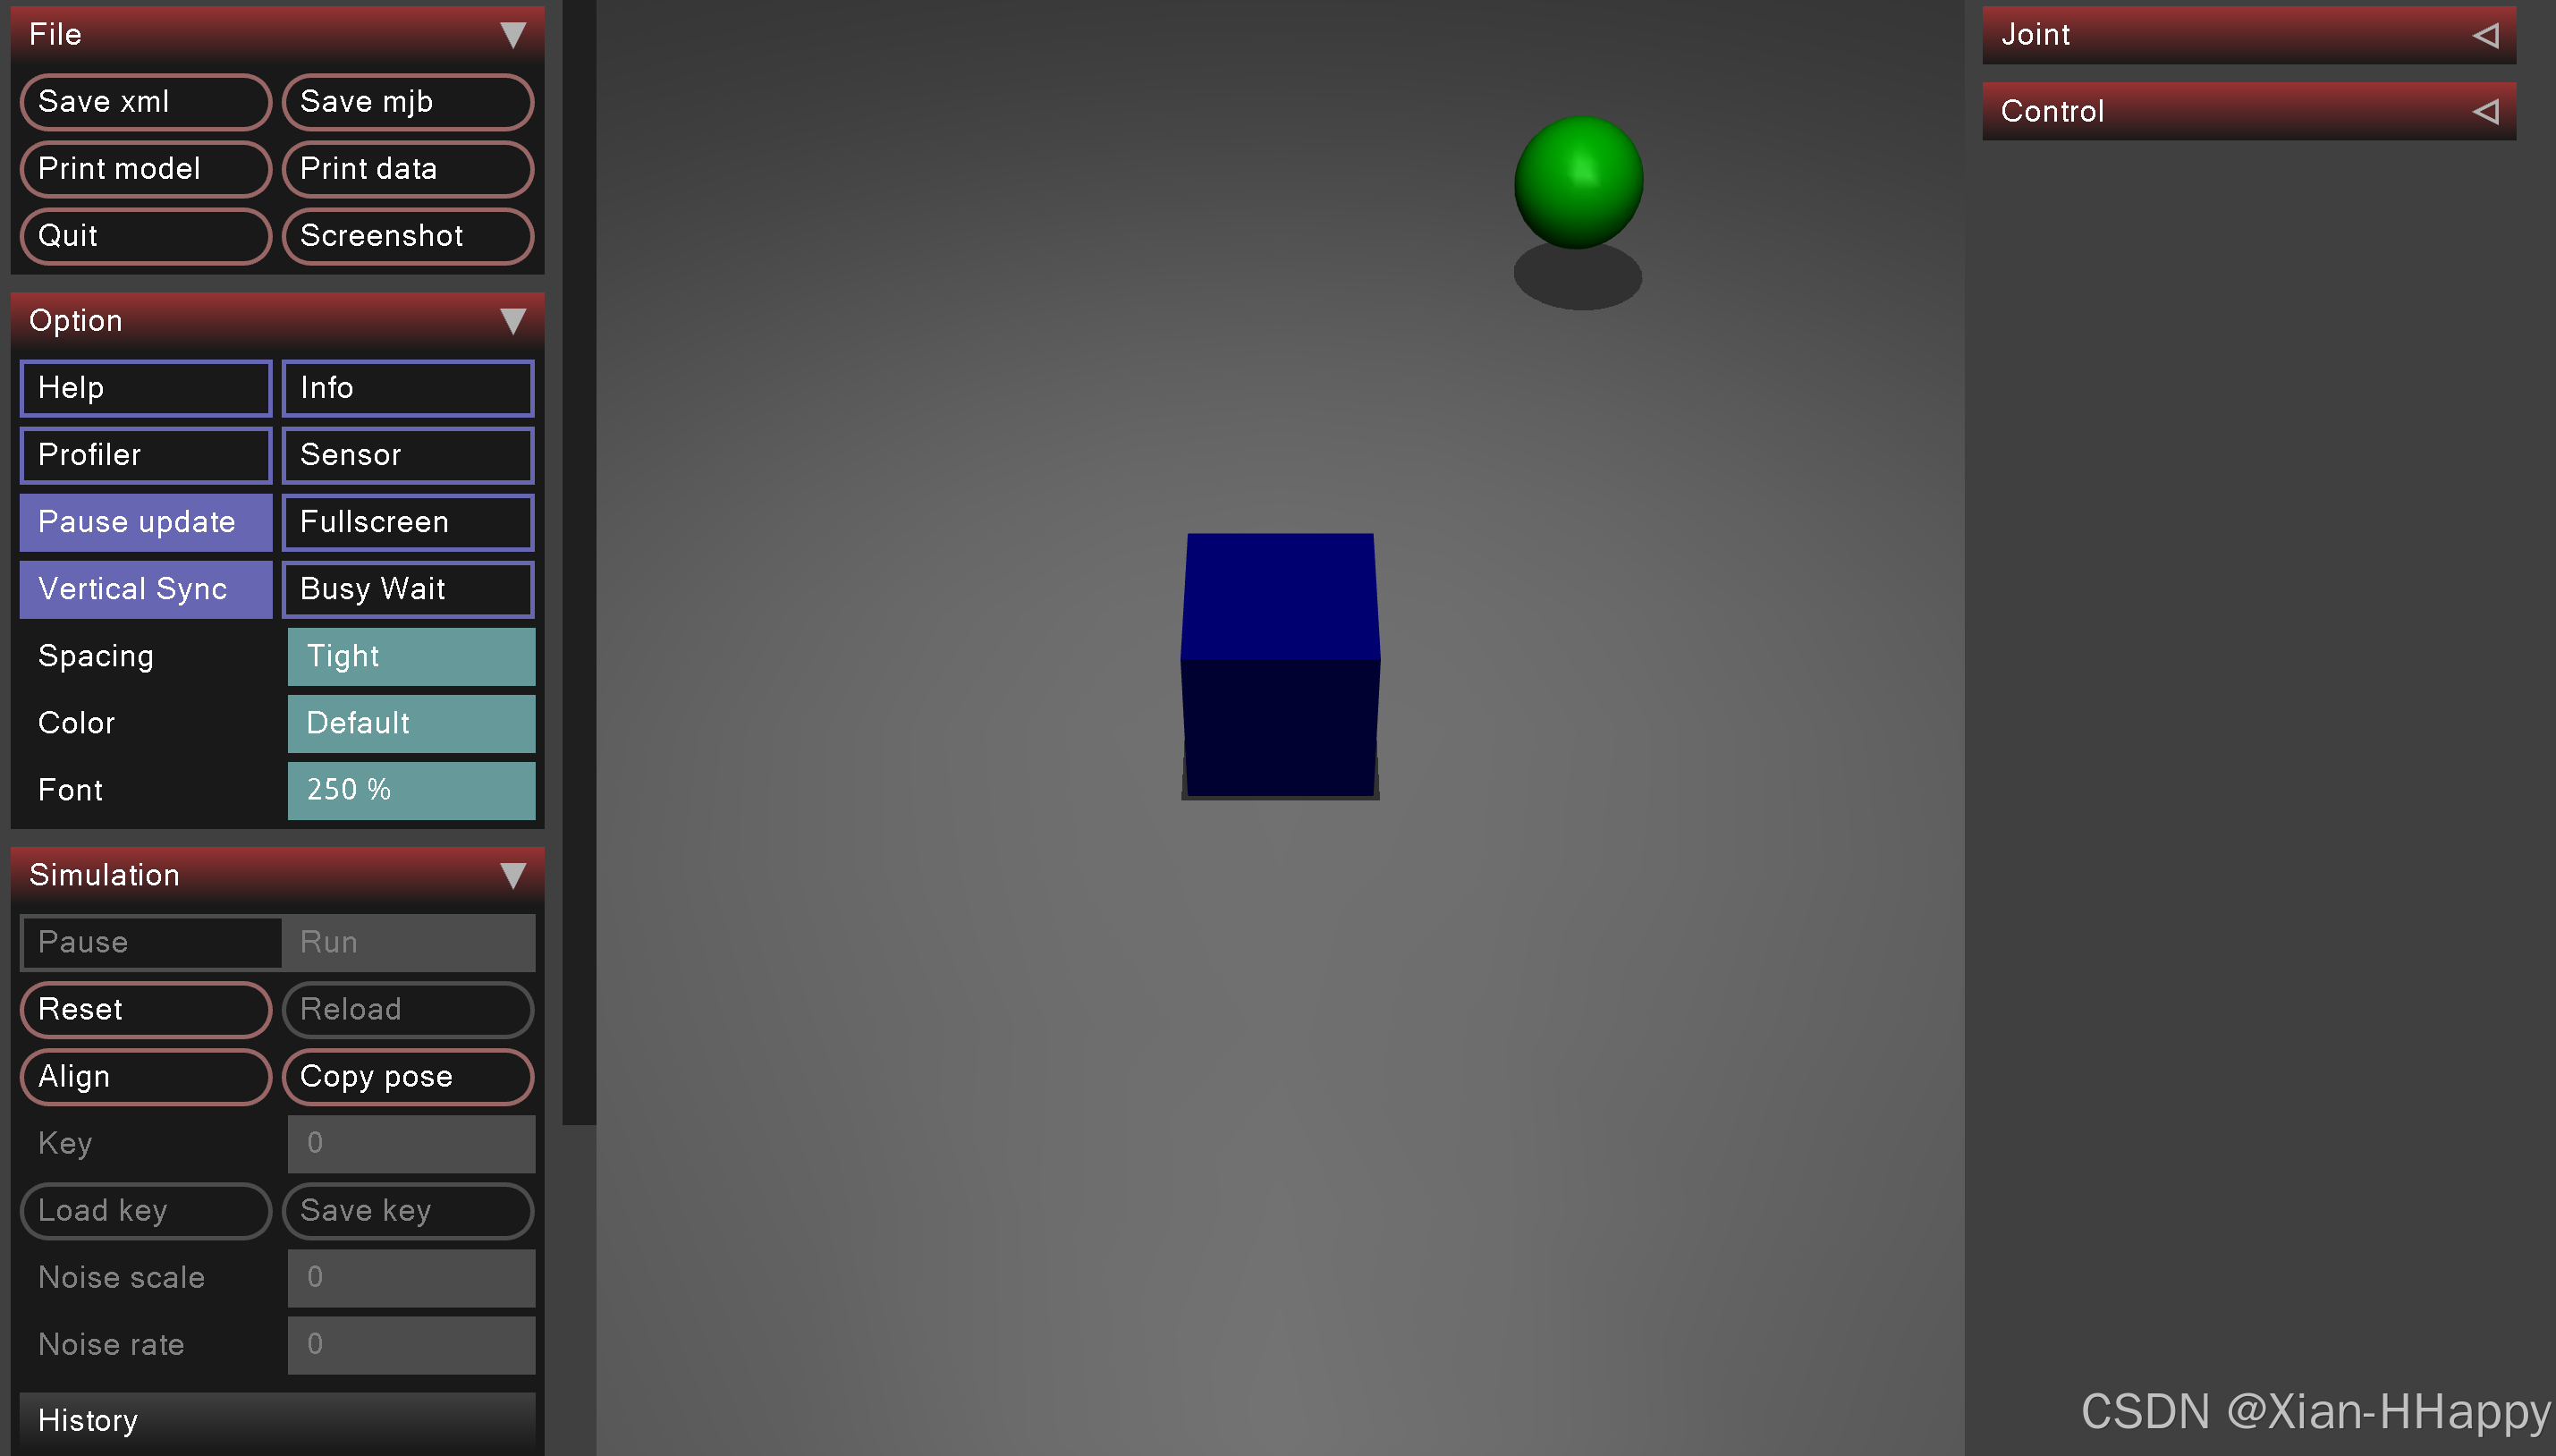
3、显示效果
方式一、方式二的显示效果一样,如下:
更多推荐
 1
1 0
0- 0


 已为社区贡献5条内容

所有评论(0)