
ros2学习笔记
·
文章目录
一、系统架构与初步理解
1、使用开源市场github
由于全为源码,所以要创建工作空间便于正常代码编译
step1 创建工作空间
结构目录:
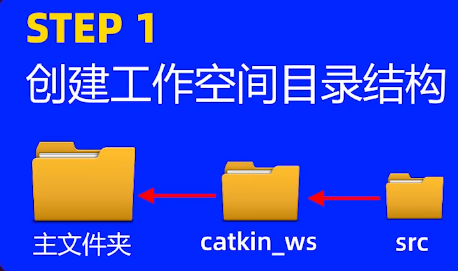
1、创建catkin_ws目录
mkdir catkin_ws
2、移动catkin_ws目录下
cd catkin_ws
3、在catkin_ws目录下再创建src子文件夹储存源代码,
mkdir src
cd src
step2 下载git工具,用于下载源码
sudo apt install git
下载完毕后,前往github寻找源码与下载链接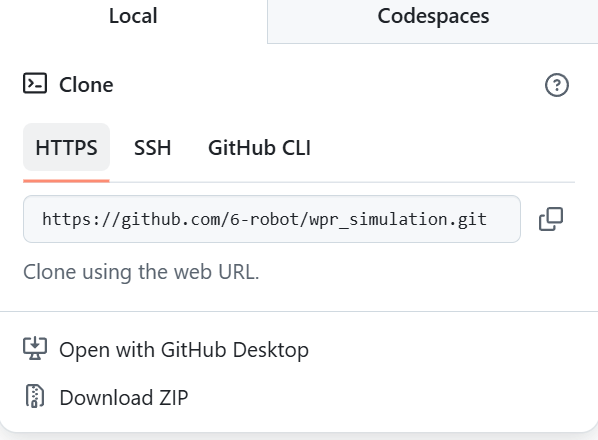
git clone https://github.com/6-robot/wpr_simulation.git #ros1
git clone https://github.com/6-robot/wpr_simulation2.git
下载完毕后:
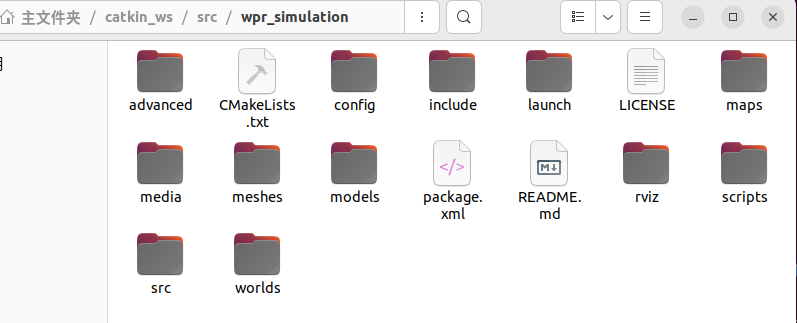
scripts目录下用于放置脚本文件和python程序,另外可以使用命令查看文件夹的子文件名称
ls
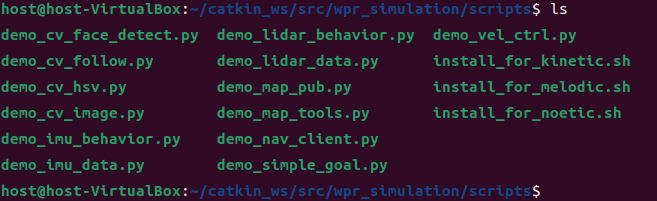
step3 使用脚本编译依赖库
./install_for_ros版本名字.sh
step4 在~/catkin_ws目录下运行catki_make进行编译
cd ~/catkin_ws
colcon build
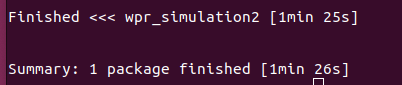
step5 使用source 指令载入工作空间的环境
source install/setup.bash #载入环境
#启动
ros2 launch wpr_simulation2 wpb_simple.launch.py
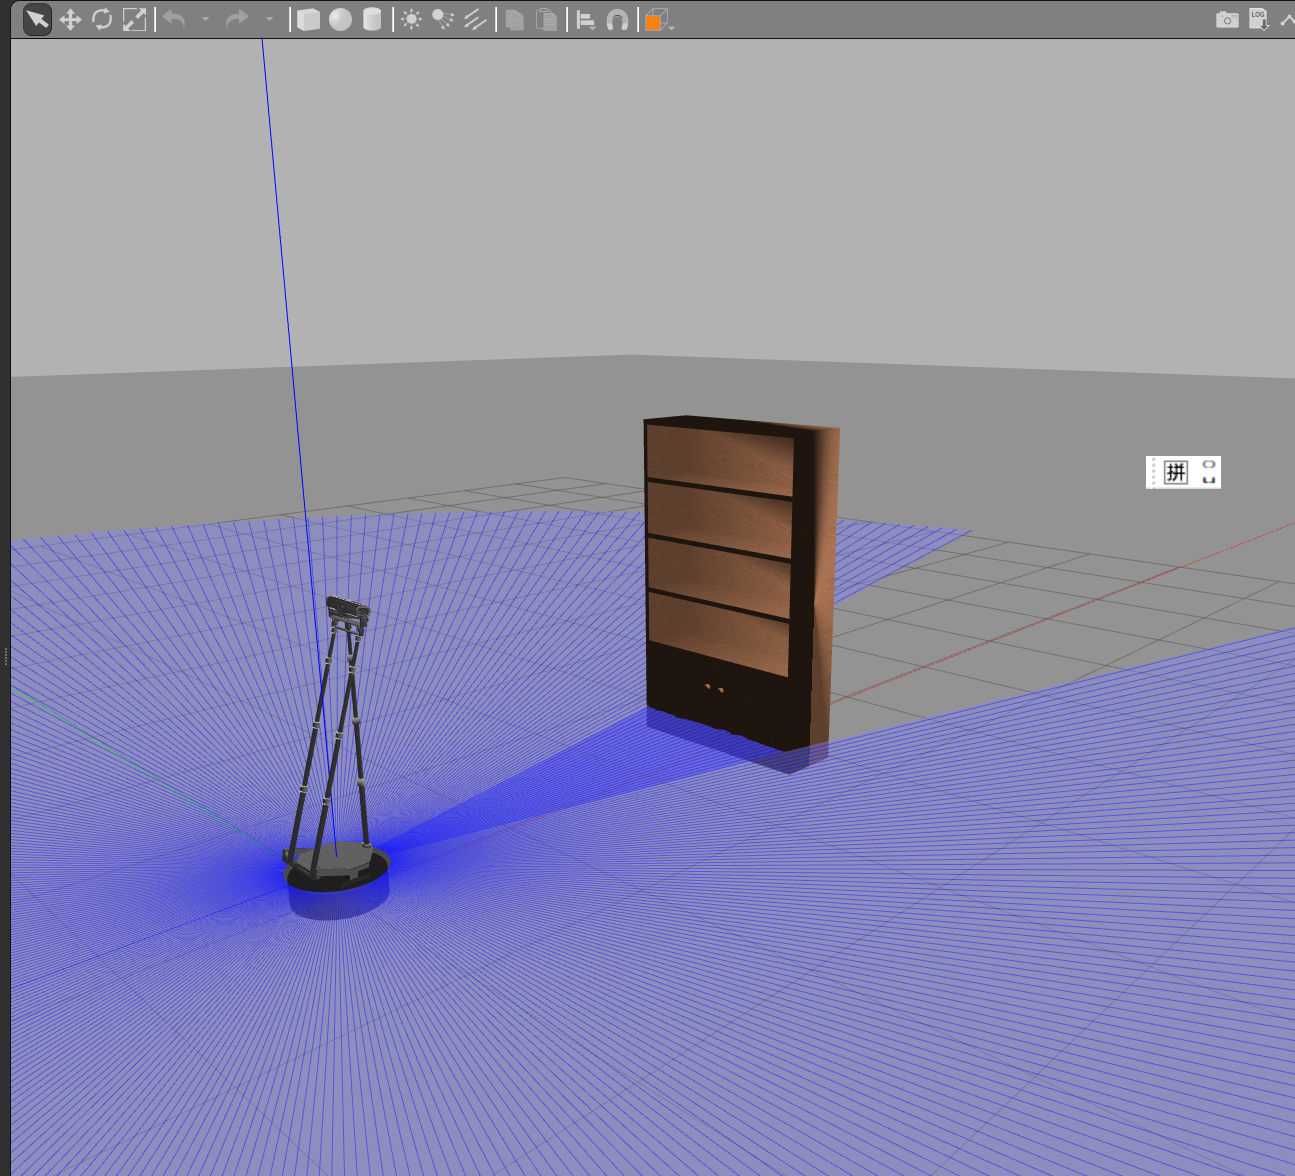
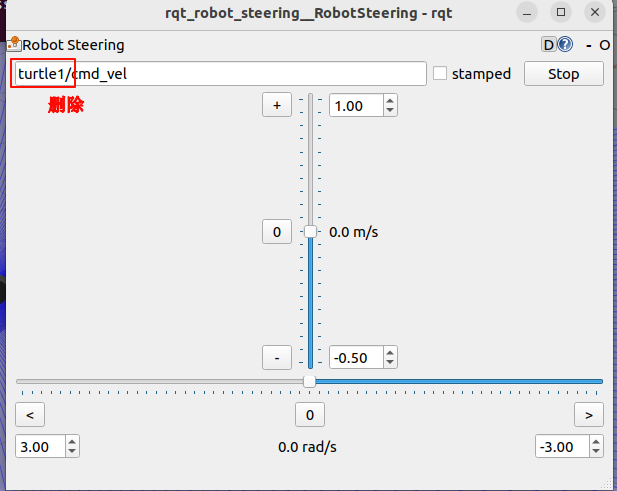
step6 使用控制器
ros2 run rqt_robot_steering rqt_robot_steering
2、便捷设置
将设置工作空间的代码放到初始化部分,避免每次都需要手动加载工作环境
gedit ~/.bashrc

加入方框行
source ~/ros2_ws/install/setup.bash
2、vscode 设置快捷编译
ctrl+shift+B
{
    "version": "2.0.0",
    "tasks": [
        {
            "type": "shell",
            "label": "CMake: 清理重新生成",
            "command": "rm -rf ~/ros2_ws/build ~/ros2_ws/install ~/ros2_ws/log && cd ~/ros2_ws && colcon build",
            "group": {
                "kind": "build",
                "isDefault": true
            },
            "problemMatcher": [],
            "detail": "先清理再重新构建ROS 2工作空间"
        }
    ]
}
3、超级终端使用
在Ubuntu的中自带了一个终端工具。但是那个终端工具在同时打开多个窗口时,显示得不够直观,且切换也不方便。为了便于进行ROS2程序的多窗口运行,建议安装Terminator终端工具。
1、安装超级终端
sudo apt update
sudo apt install terminator
2、使用
-
启动
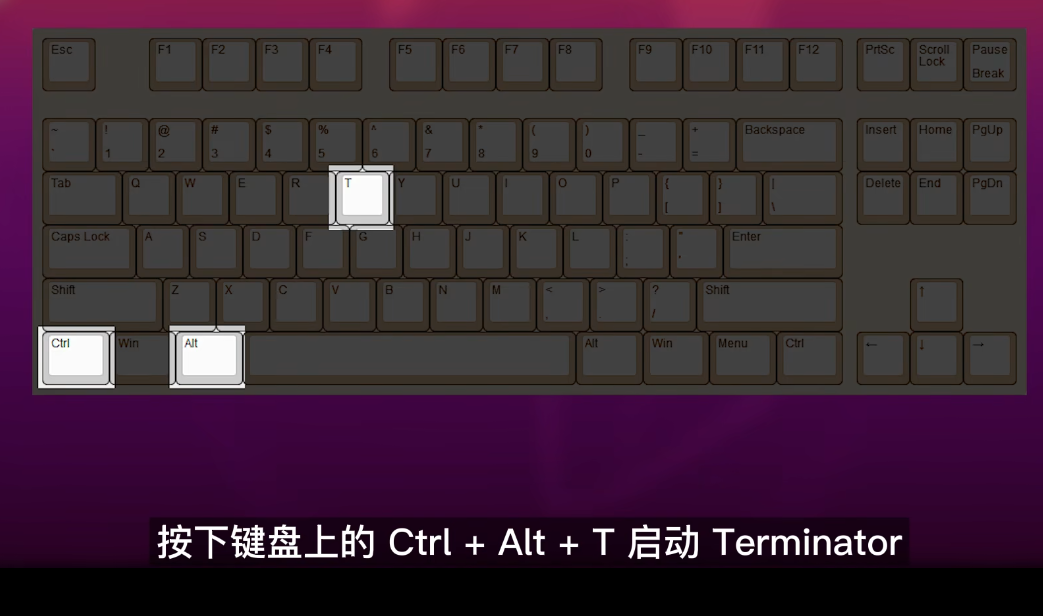
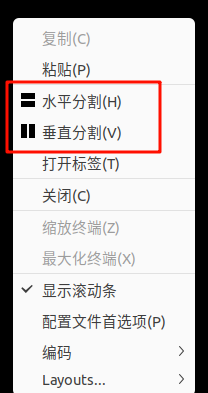
右击选择布局
-
快捷键(EOW)
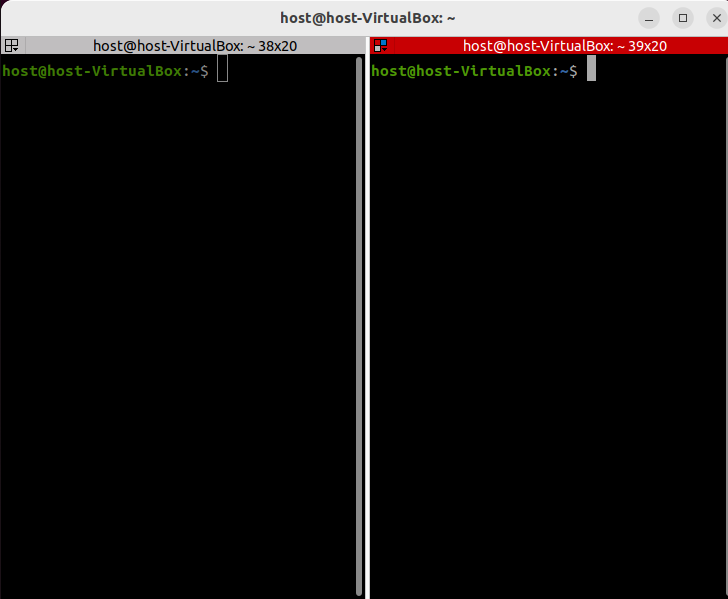
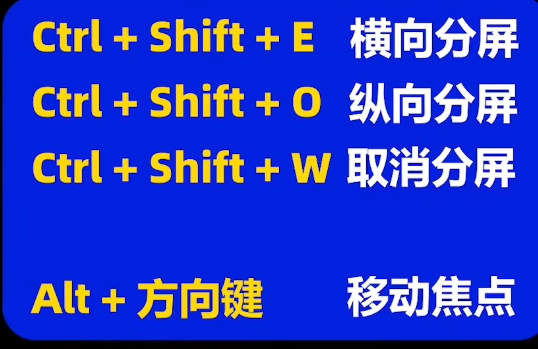
1、Ctrl+Shift+E:左右布局
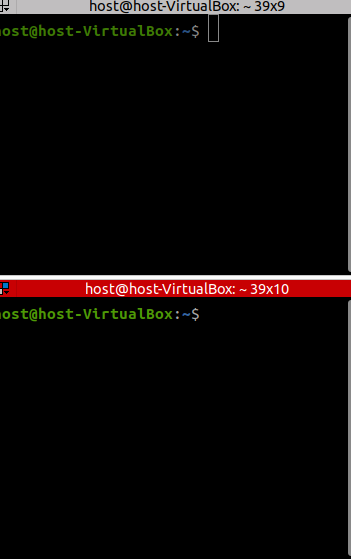
2、Ctrl+Shift+O:上下布局
3、Ctrl+Shift+W:关闭当前操作的终端
4、ALT+方向键切换窗口
更多推荐
 4
4 0
0- 0


 已为社区贡献1条内容

所有评论(0)